Step 5: Team A rejects document and sends email to initiator
- Step 1: Open designer to create workflow
- Step 2: Add the review stages
- Step 3: Assign task to Team A to review the document
- Step 4: Team A approves and sends the document to the next state
- Step 5: Team A rejects document and sends email to initiator
- Step 6: Assign a task to Team B to review document
- Step 7: Team B rejects and sends document to Team A
- Step 8: Team B gives final approval and sends email to initiator
- Step 9: Configure start options
- Step 10: Publish and test the workflow
If the Team A reviewer decides that the document needs more work, they can reject the task. In this step we will look at how to configure the Rejected branch of the Assign a task action in Team A state to send an email to the initiator and exit the state machine.
When the initiator has a new document version ready for review, they'll upload it to the Document library again and a new review process begins.
|
1 |
Add the Send an email action |
- Click the User Interaction category in the action toolbox, select the Send an email action and drag it to the Rejected branch of Team A state.
-
Do one of the following to open the Action configuration window.
- Double-click the action.
- Click
 on the action and then click Configure.
|
2 |
Configure the Send an email action to send an email to the initiator |
-
Add the recipient of the email in the To field. The recipient for this email is the workflow initiator that uploads the document to the Document library so we add the Initiator Context variable. [%Workflow Context:InitiatorUserId%] inserts the initiator of the workflow. The workflow initiator is the user that adds the document to the Document library
Do the following:
- Click
 and in the Equals section that is displayed, select Workflow Context from the Equals drop-down list.
 - Expand the second drop-down list and select Initiator. The Initiator is the user that uploaded the document and started the workflow. An email is sent to the initiator when the first reviewer rejects the task.
- Click Insert.
[%Workflow Context:InitiatorUserId%] displays in the To field.
Note: If you add an external email address in the To field, you have to select the External email and attachment option in the Email service field.
- Click
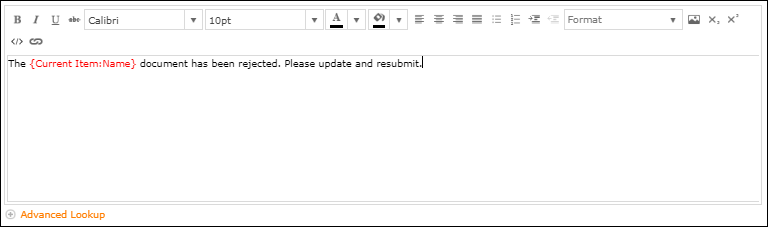
- In the Subject field type The document has been rejected.
- In the Body field add a message to inform the initiator that the document is rejected. You can use the Current item name from the Insert Recurrences pane to indicate the name of the item that is rejected.
- Click Save to save the configuration.
For more information about the Send an email action and the configuration, see Send an email.
|
3 |
Exit state machine |
After rejecting the document the workflow can be set to exit the state machine and the review process to end the workflow.
- Click the Logic and Flow category in the action toolbox, select the Set next state action and drag it under the Send an email action.
-
Do one of the following to open the Action configuration window.
- Double-click the action.
- Click on the action and then click Configure.
- Open the Set next state drop-down and select Exit state machine from the list.
- Click Save.
|
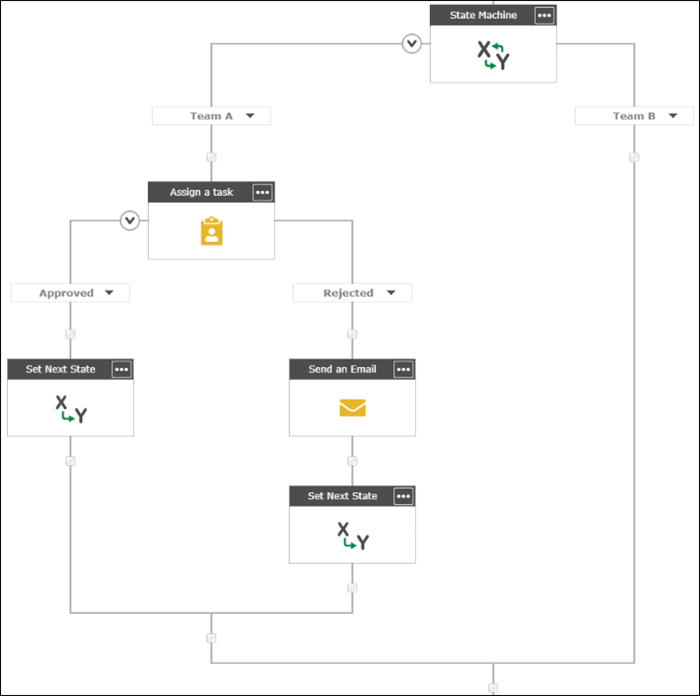
Follow along This is what your workflow looks like at this point in the solution: |
|
Next step:
Step 6: Assign a task to Team B to review document