Step 3: Open the Workflow Gallery
- Step 1: Create the list and columns in SharePoint
- Step 2: Design, configure, and publish the Leave Request form
- Step 3: Open the Workflow Gallery
- Step 4: Send acknowledgment email
- Step 5: Get the response for the leave request
- Step 6: Result notification email
- Step 7: Configure start options
- Step 8: Publish and test the workflow
After we create the list and the columns we can open the Workflow Gallery from the list and open the designer canvas to start building the list workflow.
|
1 |
Open the Workflow Gallery |
On the Leave Request SharePoint list, click Nintex Workflow. The Workflow Gallery for the list is displayed. As this is the first workflow we are creating for the list, the existing workflow list will be empty.
|
2 |
Grant access to user profile service |
You must grant access for the workflow to access the user profile service before you configure the workflow actions to use the manager references in the workflow. For more information see, User Profile.
Note: Requires tenant administrator privileges. If you do not have administrator privileges, contact the tenant admin and request access to the user profile service for the workflow.
- Click Settings on the left navigation pane.
- Select General.
-
In the User profile section, click Grant access to Workflow.
A new tab appears asking for confirmation of trust settings for the Workflow app.
If the new tab does not appear, then the browser may be blocking pop-ups from the site. Update your browser configuration to allow pop-ups from the site.
-
In the new tab, click Trust It. The User Profiles service is now accessible by the Workflow app and you can now use manager references in your workflows.
|
2 |
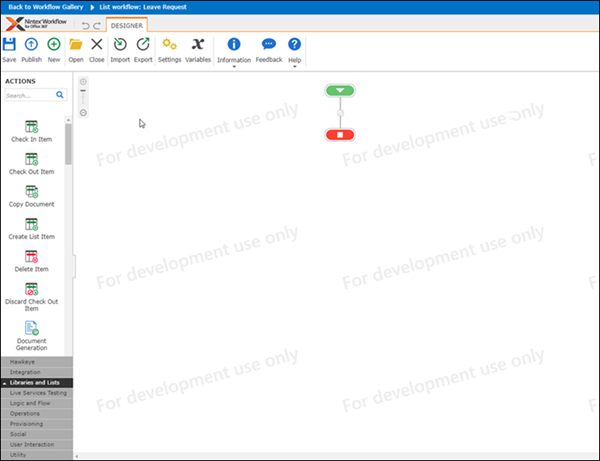
Open the designer |
On the Workflow Gallery page, click Create List Workflow. The Designer page opens. The Designer page displays the designer canvas, toolbar, and actions toolbox.
|
Follow along The designer page opens for the Leave request list: |
|
|
Previous step: Step 2: Design, configure, and publish the Leave Request form |
Next step: |