Step 4: Send acknowledgment email
- Step 1: Create the list and columns in SharePoint
- Step 2: Design, configure, and publish the Leave Request form
- Step 3: Open the Workflow Gallery
- Step 4: Send acknowledgment email
- Step 5: Get the response for the leave request
- Step 6: Result notification email
- Step 7: Configure start options
- Step 8: Publish and test the workflow
Now you can add actions to build the Leave Request workflow. An action A tool for building the processes, logic, and direction within workflows. Actions are the steps the workflow performs to complete a process. is used to complete each activity in the process.
The first step is to use the Send an Emailaction to set up the leave request receipt notification email that will be sent to the initiator. Follow the steps below:
|
1 |
Add the action and open the action configuration window |
- Click the User Interaction action group in the action toolbox and find the Send an Email action.
- Add the action to the designer canvas and do one of the following to open the Action configuration window. For more information, see Action configuration window.
- Double-click the action.
- Click
 on the action and then click Configure.
or
Type Send an Email in the Search field at the top of the action toolbox.
|
2 |
Configure the action and Save |
- Add the recipient of the email in the To field:
- Click
 and in the Equals section that appears select Workflow Context in the first drop-down.
 - Expand the second drop-down and select Initiator.
- Click Insert.
[%Workflow Context:InitiatorUserId%] displays in the To field.
- Click
- In the Subject enter the following:
- Click inside the field. The Insert Reference pane opens on the right.
- Expand the Item Properties section and double-click on Leave Type.
Your {Current Item:Leave type} has been submitted
{Current Item:Leave type} is a reference you can select from the Insert References pane. To insert a reference do the following:
- In the Body field enter the following:
- Click Save to save the configuration for the action.
Your {Current Item:Leave type}({Current Item:Start date} - {Current Item:End date}) has been submitted to your manager for approval.
Note: In the above body content, select the Item Properties, {Current Item:Leave type} ({Current Item:Start date} and {Current Item:End date}) from the Insert References pane.
This is what the configuration will look like:
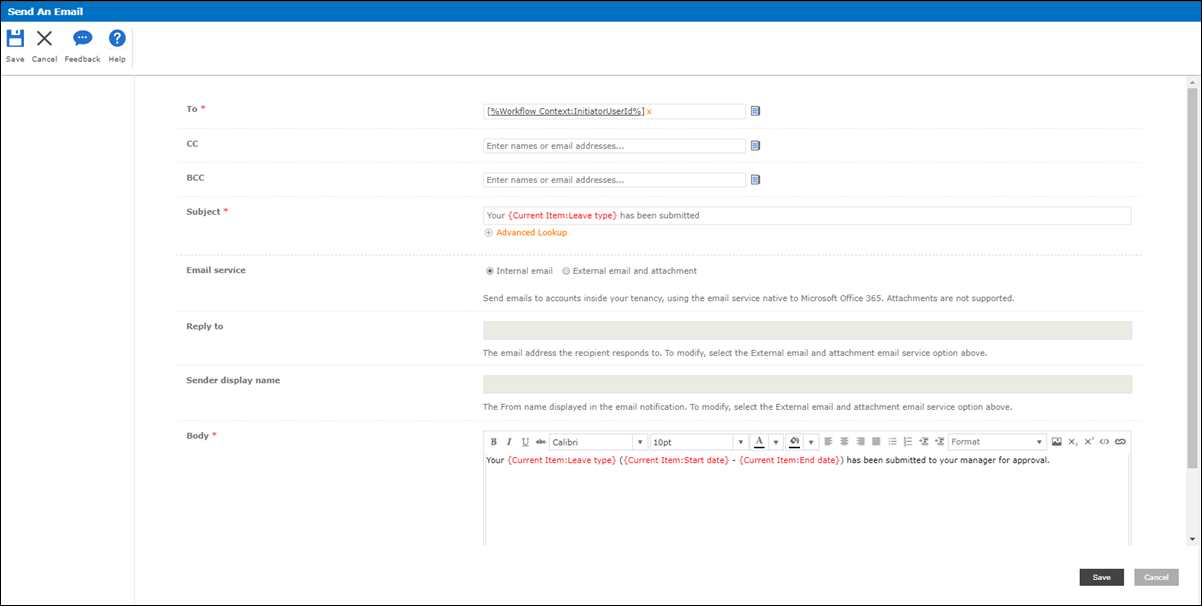
With the above configuration, an email notification is sent to the person who initiated the workflow instance when the workflow runs. The notification automatically lists the leave type, start date, and end date of the submitted leave request.
For more information about the fields, buttons and settings of the Send an email action, see Send an email fields, buttons, and settings.
|
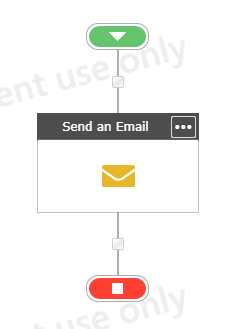
Follow along This is what your workflow looks like at this point in the solution: |
|
|
Previous step: |
Next step: |