
Available only with Enterprise Edition
This topic is a step-by-step walkthrough of Component Library. Use the procedures in this topic to create a component group and a few individual components. Link the component group to a DocGen Package, then add the field tag for the component group to a template. When you generate documents, every component you created is added to the output, in the order you specified in the component group.
Create your first component group
Open the component group editor from a DocGen Package. In the empty component group, create a few components and then order them how they should appear in output documents. Click Save and the app prompts you to link the new component group to the DocGen Package from which you started.
Note: To use Component Library, you must have Enterprise Edition and you may need to enable Component Library. For more information, see Enable Component Library after update and Purchase, upgrade, or manage edition options.
To access the component group editor and create components
-
From the Force.com app menu, select Nintex DocGen, and then click DocGen Packages.
Tip: You can also select this from Lightning with the
 App Launcher.
 -
Open a DocGen Package.
-
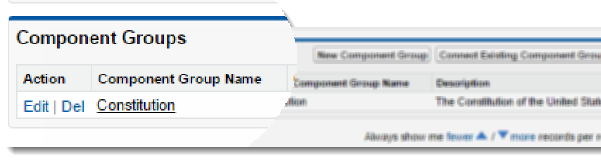
From the Component Groups related list, click New Component Group. The New Component Group page opens with no components available.
-
In the component group editor, under the Available list, click New.
The New Component editor opens.
-
Give the component a descriptive name and then enter the text you intend to use for an output document in the body. The body text will appear in your output document, the name of the component will not.
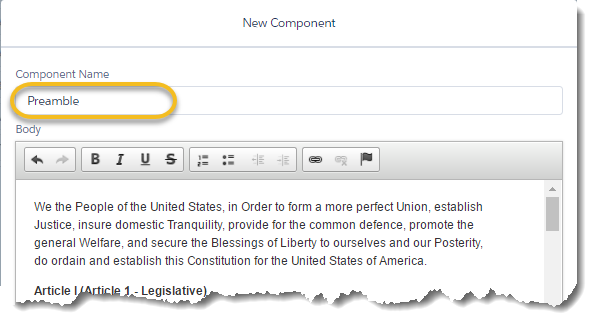
Tip: Add field tags and rich text to the body of a component, including links, lists and typographical emphasis (like bold, italic, and underline). For more information, see Working with the component editor.
-
Click Create.
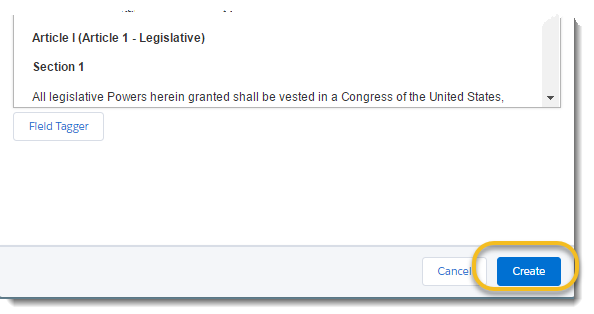
The component appears in the Selected list.
-
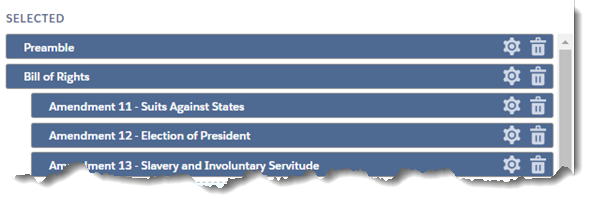
Repeat steps 3 through 6 to create additional components. These appear in the Selected list.

-
(Optional) Order components they way you want them to appear in output documents. Drag components to the right to indent.
More optional actions:
-
Click the gear icon in the available list to preview a component.
-
Click the gear icon in the selected list to edit a component.
-
Click the trash can icon to remove a component from the selected list.
Tip: You can also dynamically filter some components out of a group (or groups from a DocGen Package) based on the data in your organization. For more information, see Filtering components and component groups .
-
-
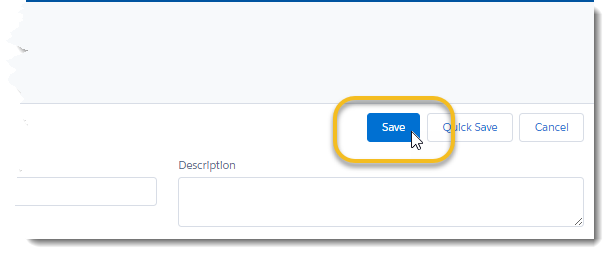
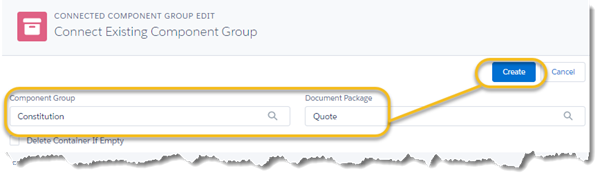
In Component Group Name, enter a unique name.

-
Click Save.
The Connect Existing Component Group page appears, with the saved component group loaded. Also listed on this screen is the DocGen Package you started from in step 2.
-
Click Create.
This associates the component group to the DocGen Package.
Generate documents from the component group
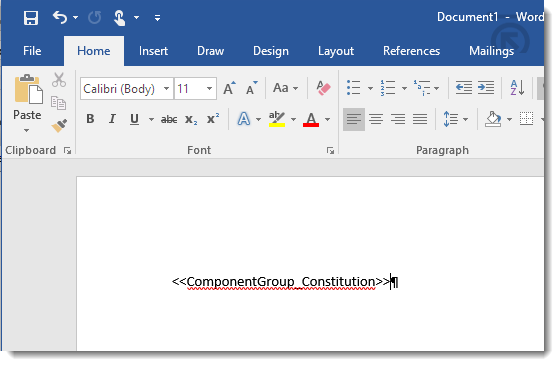
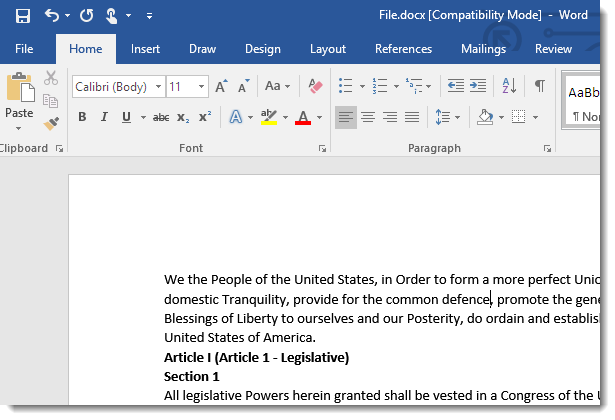
Add the component group tag to a template, and then generate documents. The formatting for the output document is in the individual components, so the template is just a blank Microsoft Word file, with the component group tag added.
Tip: You can add an ordered lists to a template to create numbered paragraphs for contracts. For more information, see Working with Component Library templates.
To generate documents from a component group
-
From the Force.com app menu, select Nintex DocGen, and then click DocGen Packages.
Tip: You can also select this from Lightning with the
App Launcher. -
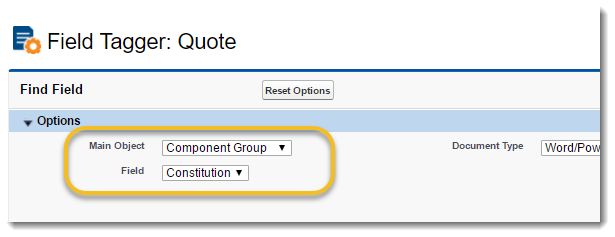
Open a DocGen Package with the component group you created in the previous procedure and click Field Tagger.
-
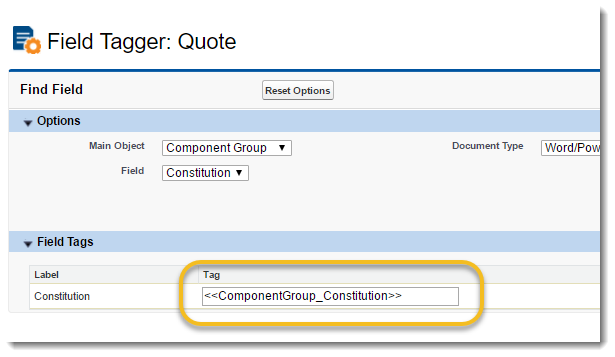
From Main Object, select Component Group.
-
Select the field tag and copy it to the clipboard. Press Control + v (for Windows) or Command + c (for Mac).
-
Paste the tag into a Microsoft Word template, then add the file to your DocGen Package. For more information, see Adding template files to DocGen Packages.
-
Generate documents for this DocGen Package. For more information, see DocGen Package object testing.
Enable Component Library after update
Create and link component groups
Filtering components and component groups
Remove empty spaces from output documents
Working with Component Library templates