
Filtering components and component groups
Available only with Enterprise Edition
Filtering enables you to tailor the documents you create for your customers based on the data in your organization. You can filter at the component level, the component group level, or both levels.
Filtering at the group level
Filtering at the component group level is helpful if you have multiple component groups connected to a DocGen Package and you want to dynamically add certain groups based on the record used to generate the documents. For example, if new customers with businesses in California get service level agreement (SLA) documents during customer on boarding, you could create a filter to add the component group that creates the SLA for only customers in California.
To create a filter on a new component group
-
From the Force.com app menu, select Nintex DocGen, and then click DocGen Packages.
Tip: You can also select this from Lightning with the
 App Launcher.
 -
Open a DocGen Package.
-
From the Component Groups related list, click New Component Group.
The New Component Group page opens with no components selected.
-
Type a name in Component Group Name and click Save.
The Connect Existing Component Group page appears.
-
Click Create.
-
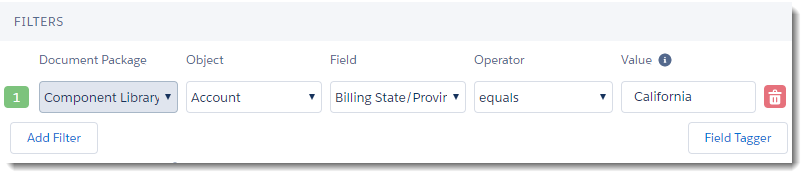
Under Filters, take any of the following actions:
-
Click Add Filter to add a filter.
-
Click the Trash icon to remove a filter.
-
Select a value in Object, Field, or Operator to edit a filter.
-
Type or paste a tag in Value to edit a filter.
-
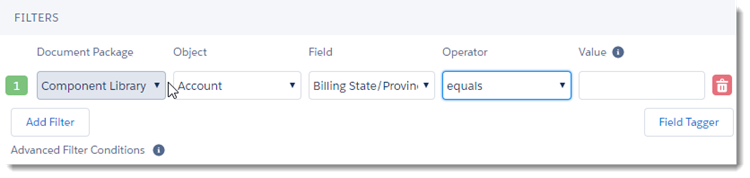
If you have more than one filter, type conditions into Advanced Filter Conditions to refine your filters.
-
-
Click Create.
To create a filter on an existing component group
You have to link the existing component group to a DocGen Package to add a filter.
-
From the Force.com app menu, select Nintex DocGen, and then click DocGen Packages.
Tip: You can also select this from Lightning with the
App Launcher. -
Open a DocGen Package.
-
From the Component Groups related list, click Connect Existing Component Group.
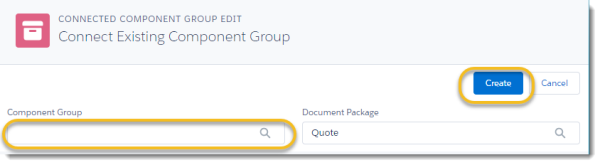
The Connect Existing Component Group page opens.
-
In Component Group, type the name of the existing component group and then click Create.
Tip: Click the magnifying glass to use the lookup for all component groups in the organization.
-
Under Filters, take any of the following actions:
-
Click Add Filter to add a filter.
-
Click the Trash icon to remove a filter.
-
Select a value in Object, Field, or Operator to edit a filter.
-
Type or paste a tag in Value to edit a filter.
-
If you have more than one filter, type conditions into Advanced Filter Conditions to refine your filters.
-
-
Select Create.
To modify a filter on a component group
-
From the Force.com app menu, select Nintex DocGen, and then click DocGen Packages.
Tip: You can also select this from Lightning with the
App Launcher. -
Open a DocGen Package.
-
From the Component Groups related list, on a component group record, under Filters, click Edit.
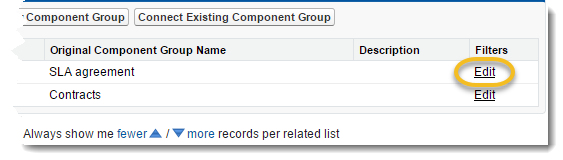
The Connected Component Group page opens.
-
Under Filters, take any of the following actions:
-
Click Add Filter to add a filter.
-
Click the Trash icon to remove a filter.
-
Select a value in Object, Field, or Operator to edit a filter.
-
Type or paste a tag in Value to edit a filter.
-
If you have more than one filter, type conditions into Advanced Filter Conditions to refine your filters.
-
-
Select Update.
Filtering at the component level
Filtering at the component level is helpful if you have different sections of a document for different types of customers. For example, if new customers with businesses in California get service level agreement (SLA) documents during customer on boarding, but customers with businesses in Los Osos, California require an SLA with different requirements than other customers in California. You create a filter to add a component with those requirements to the SLA group for only customers in Los Osos, California.
To add a filter to a component
-
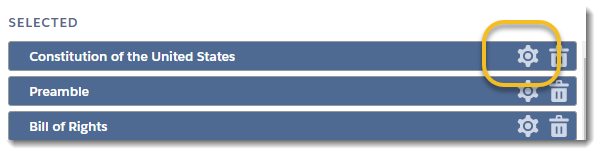
In the Selected list, click the Gear icon on the second component.
-
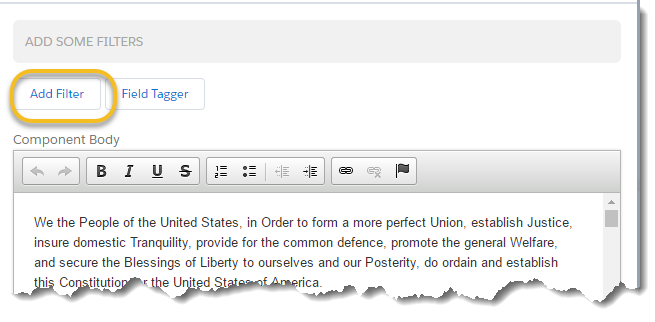
Click Add Filter.
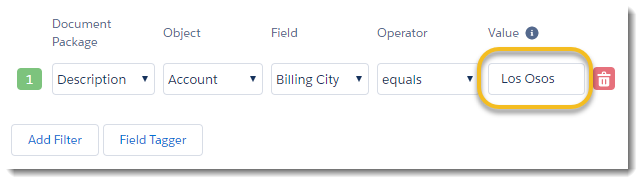
- Fill out the filter:
- Select an Object.
- Select a Field.
- Select an Operator.
Enter a value and click Done.
Tip: You can add more filters by clicking Add Filter. If you add more than one filter, you can use logical AND and OR operators or parenthesis in Advanced Filter Conditions.
Using multiple filters
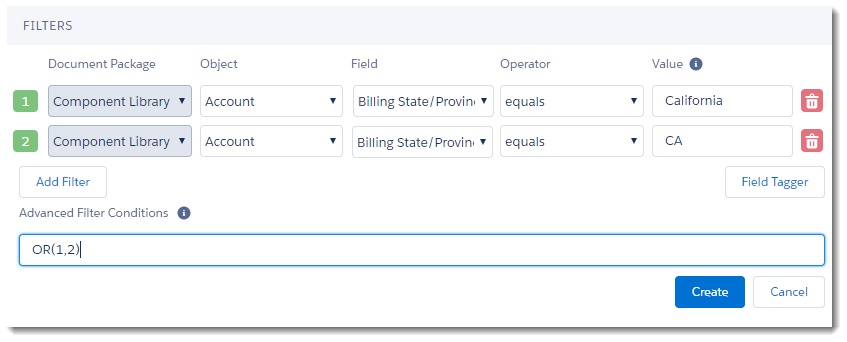
If you add more than one filter, you can add advanced filter conditions. This is filter logic that governs how and when components and component groups apply to the documents you generate. After adding a filter, the filter is numbered. Your first filter is 1 and your second is 2. You apply advanced filter conditions based on these numbered filters. For example, the component group filters pictured below would include this component group for records with a value of California or CA in the Billing State/Province field.
To add advanced filter conditions
Note: You must have at least two filters to add advanced filter conditions.
-
Click Add Filter and enter filter criteria.
Repeat until you have all the filters you require.
-
In Advanced Filter Conditions, type an operator, an open parenthesis, filter numbers separated by a comma, and a close parenthesis.
For example, AND(1,2) find records that match criteria in both values.
Here is a table of available operators:
Operator
Definition
AND Finds records that match both values. OR Finds records that mach either value.
Create and link component groups