How to: Use Microsoft Power Automate to redirect a task
You can use Microsoft Power Automate to redirect a workflow task. For example, you may want to configure a flow so that any task notification emails sent to you are forwarded to someone else. Because the task notification email contains a link to a task that is specific to your username, however, you cannot just forward the email - you also need to redirect the task to the other person.
In this article, you create a leave request application with a SmartObject, SmartForm, and workflow that contains a custom notification for the workflow task. You also create a flow that starts when the task notification email arrives, and then redirects the task to another manager.
Microsoft Power Automate redirects a workflow task when the notification email arrives.
- See How to: Use Microsoft Power Automate to start a workflow when a SharePoint list item is created for an example of using a flow to start a workflow from a Microsoft SharePoint action
- See How to: Use Microsoft Power Automate to start a workflow when an email arrives in a folder in Outlook for an example of using the Microsoft Outlook action in a flow to start a workflow when an email arrives
- See How To: Send a Message from a workflow to Microsoft Power Automate for an example of sending information from a workflow to a flow, use that information in the flow, and then return to continue your workflow
Scenario
You receive leave task notifications by email, and have an Outlook rule that moves them into your Leave Tasks folder. As you are currently busy with another project, you need to redirect the workflow tasks to another manager, so you use Microsoft Power Automate to redirect the task when the new email arrives in your folder.
Steps
You create a SmartObject, a SmartForm, and a workflow. You modify the workflow task notification to send the task serial number as the email subject. Then you configure your flow to start when a new email arrives in your Leave Tasks folder. Your flow redirects the task to another manager.
Before You Begin
If you have not done so already,
- Enable the Workflow REST API in the Management site. See Configuring the Workflow REST API for more information about enabling the API.
- Create a custom connector to the Workflow REST API in Microsoft Power Automate. See Create a custom connector in Microsoft Power Automate to call the Workflow REST API for more information.
Setup Steps
The following steps set up the scenario from start to finish. If you already have your application and want to skip the setup steps and view the topic step, go to Step 4: Create a Microsoft Power Automate flow using the Outlook When a new email arrives action to redirect the Leave Approval Review workflow task.
-
In the Designer create the Leave Request Application as described in How To: Getting Started.
- Create A SmartBox SmartObject. Create a Leave Request SmartBox SmartObject.
- Create an Item View and a List View. Create an item view and a list view using the Leave Request SmartObject created in the previous step.
- Create a Form. Create a form containing the item view and a list view created in the previous.
- Create a Workflow. Create a basic workflow in the Designer using the items created in the previous steps.
- Create A SmartBox SmartObject. Create a Leave Request SmartBox SmartObject.
-
Customize the Task Notification in your workflow to send the task serial number as the notification email subject, so that Microsoft Power Automate can read the task serial number.
- Open your Leave Request Workflow.
- On the Leave Request Review task step select the Task Notification tab.
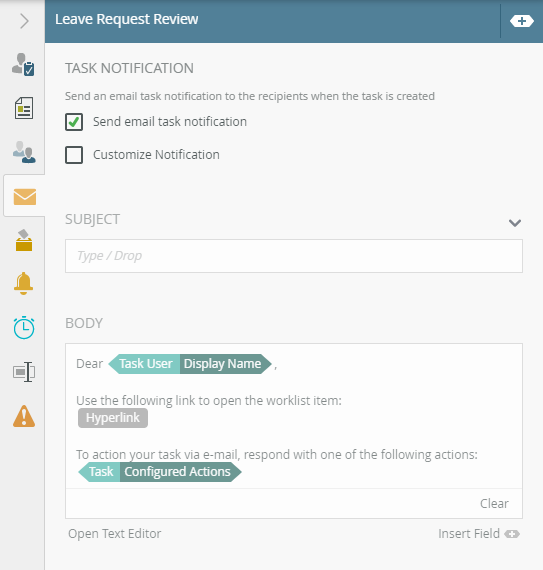
- Activate the Custom Notification check box.
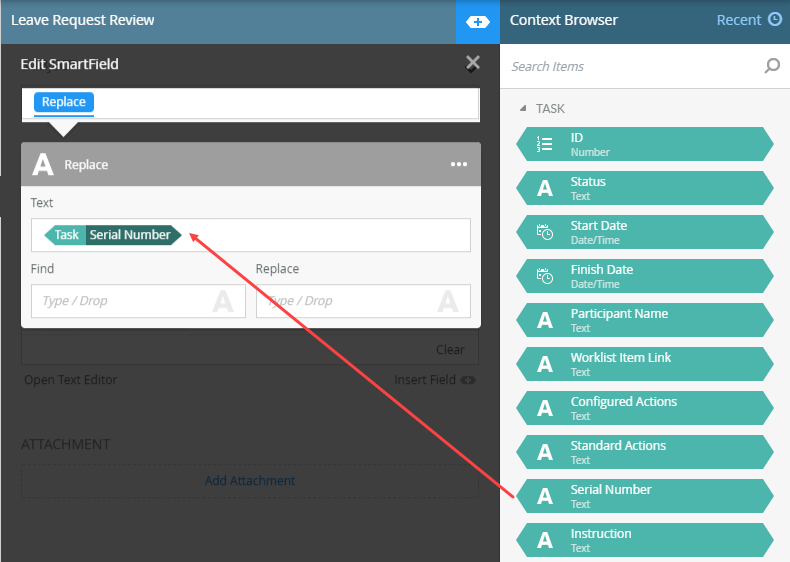
- The Task serial number format is SN=nnnn. Your Microsoft Power Automate flow needs the serial number value to identify the task, so use the replace function to remove the SN= portion. Expand the Context Browser and select the Functions panel. Expand the Text functions.
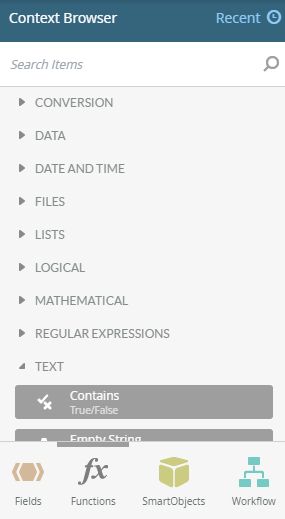
- Scroll down to and drag the Replace function to the Subject field.

- Select the Workflow panel of the Context Browser and expand the Task references.
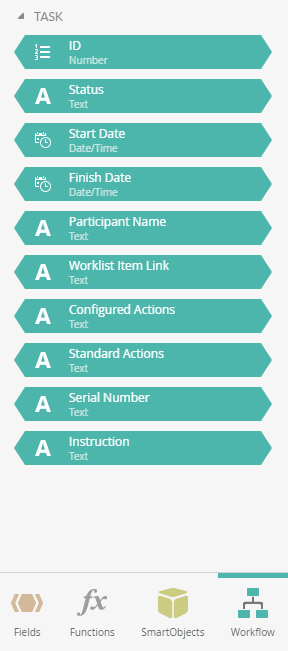
- Drag Serial Number to the Replace Text field.
- Specify SN= in the Find field. Leave the Replace field blank.
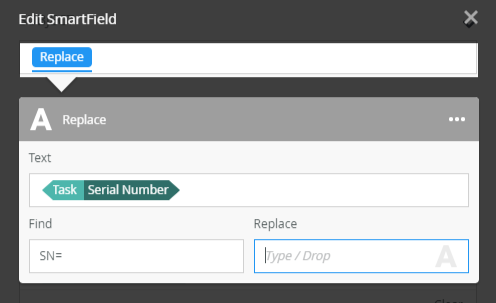
- Close the SmartField.
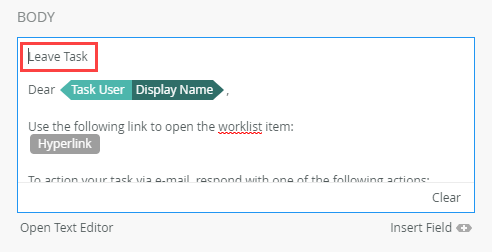
- Modify the notification Body by adding Leave Task to the top of the email. In the next step you create a Microsoft Outlook email rule to move task notifications to your Leave Tasks folder based on this phrase.
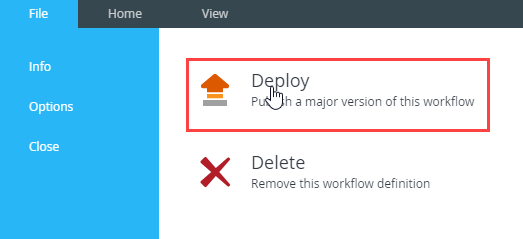
- Deploy the changes to your workflow.
-
Create an email rule in Microsoft Outlook to move leave task emails to your Leave Tasks folder.
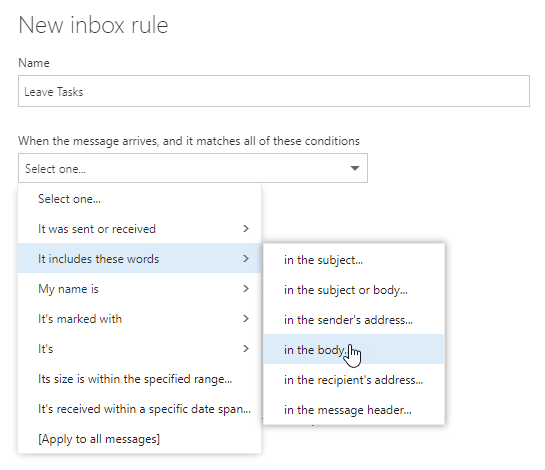
- In your Outlook inbox configuration, create a new inbox rule.
- Specify Leave Tasks as the rule Name.
- Select It includes these words > in the body from the conditions drop down.
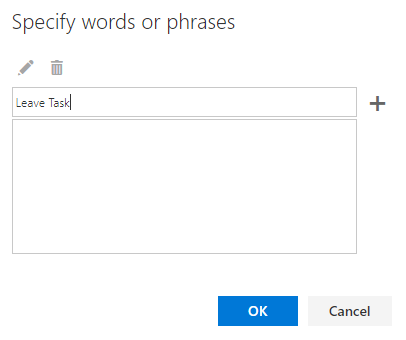
- Add Leave Task as the matching phrase. Click OK.
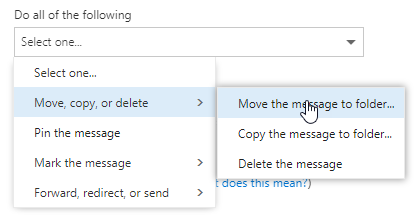
- Select the Move, copy, or delete > Move the message to folder action.
- Select the Leave Tasks folder.
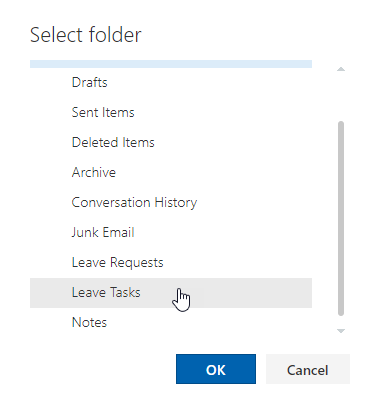
- Click OK.
Create a Microsoft Power Automate flow that redirects a workflow task when a task notification arrives in your Outlook Leave Tasks folder.
This scenario is based on you receiving leave request notification emails in a separate folder in Outlook. If you have not already done so, create a Leave Tasks folder and set up an email rule to move all emails with Leave Task in the body to your Leave Tasks folder.
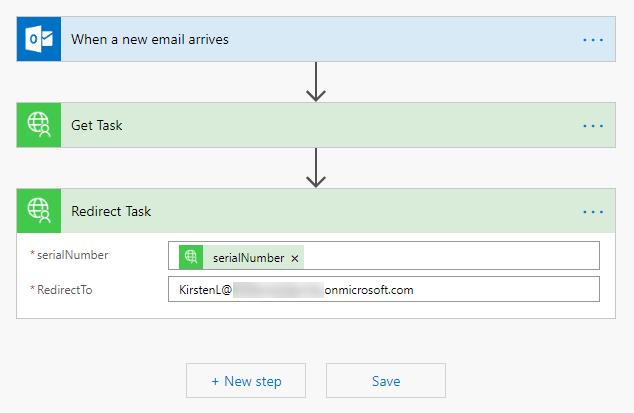
- Create a flow using the Outlook When a new email arrives action to redirect the Leave Approval Review workflow task.
- In Microsoft Power Automate, click Home and select the Office 365 Outlook popular service.
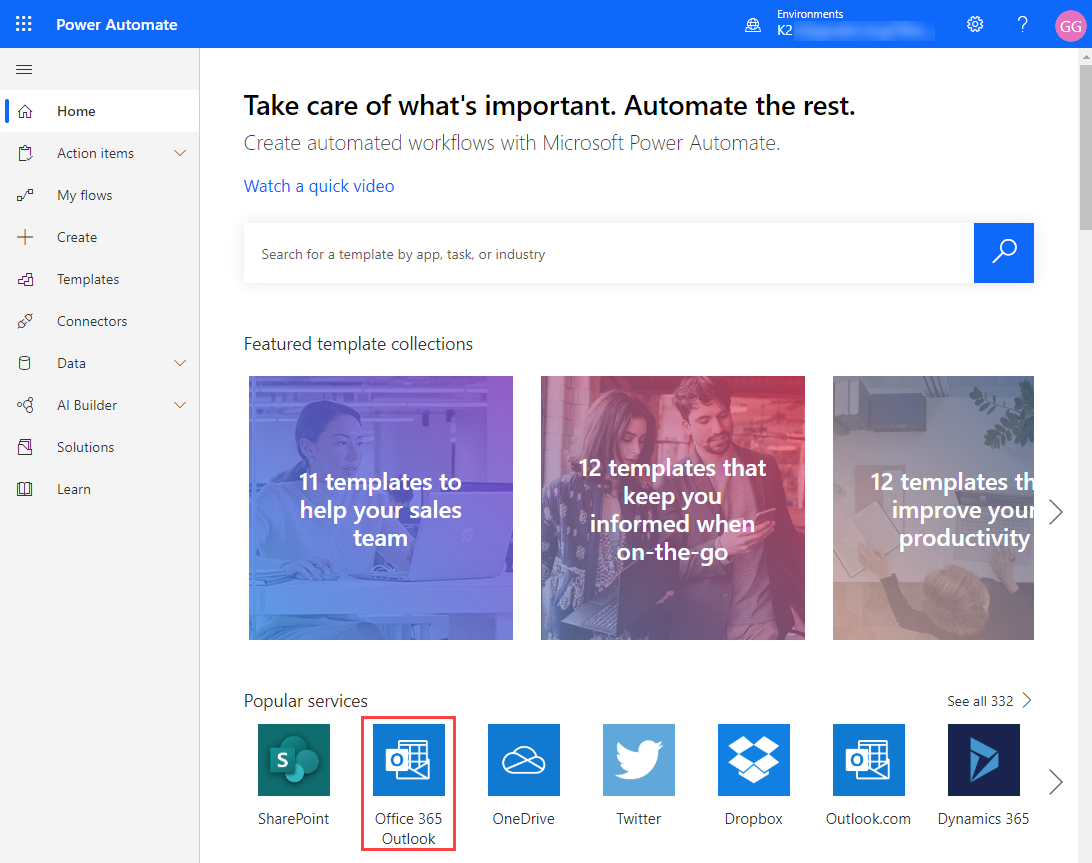
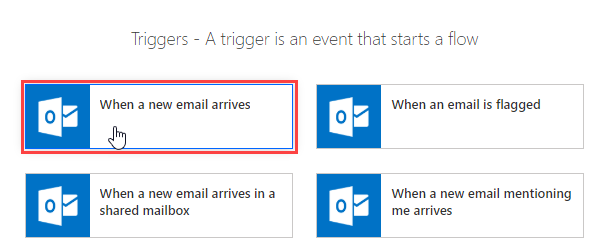
- Click When a new email arrives.
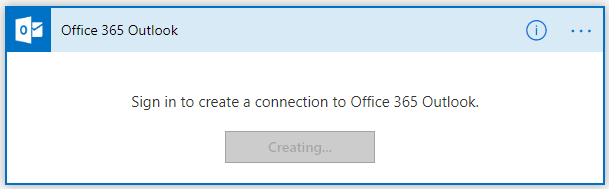
- If you have not already created a connection to your Outlook, log in to create this connection.
.
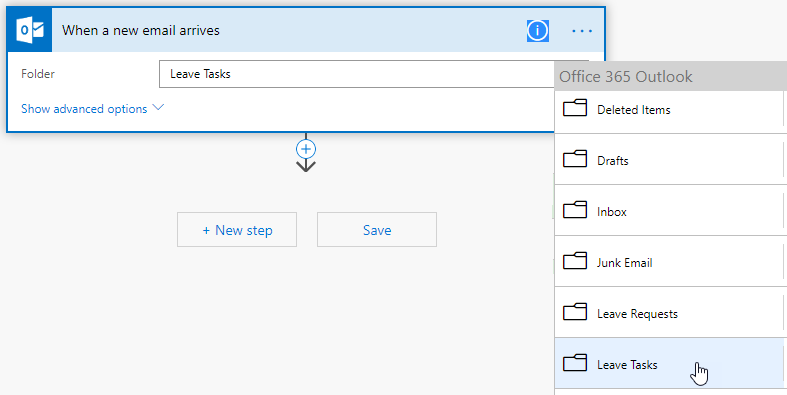
- Select your Leave Tasks Outlook folder in the Folder drop down.
- Click + New Step.
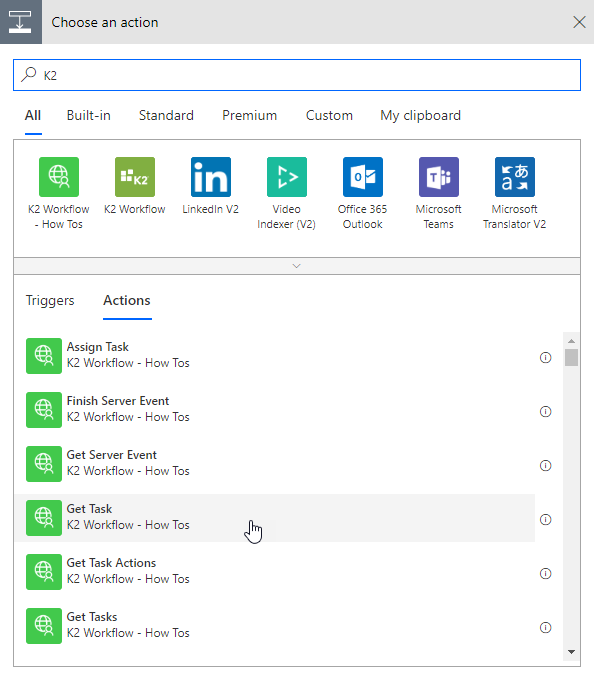
- Specify K2 in the action search bar, then click the Get Task action from your K2 Connector. This action uses the serial number to get the task from the server.
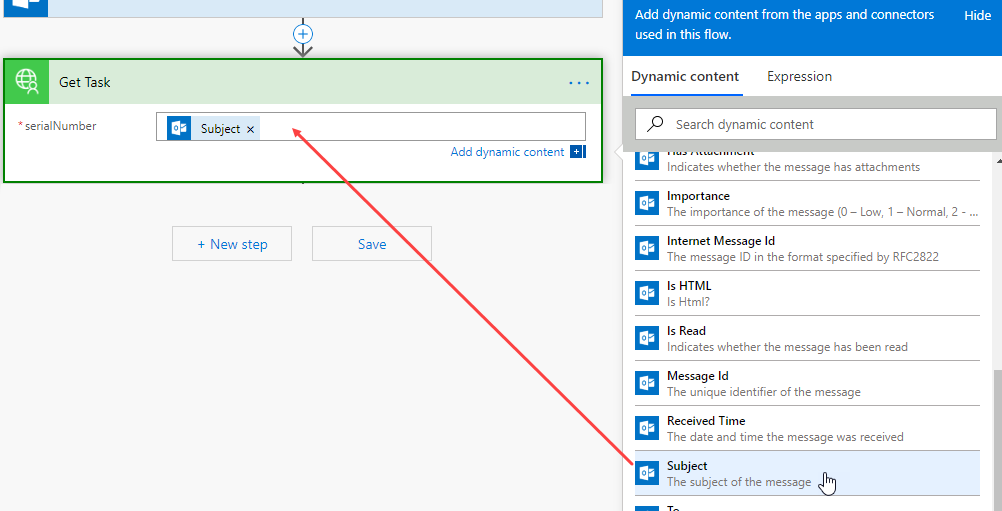
- From the Dynamic content tab select the email Subject to set the task serial number. (Remember that you edited the workflow to send the task serial number as the message subject.)
- Click + New step.
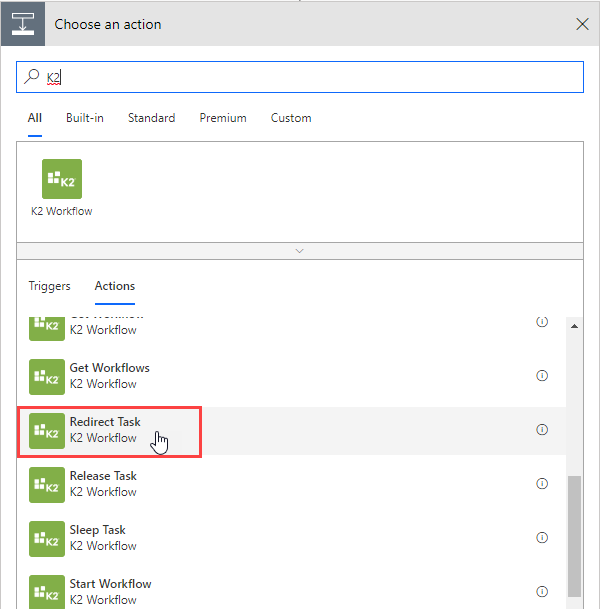
- Search for the K2 actions. Select Redirect Task. This action instructs the server to send the task to the designated user or group.
- Select the serialNumber text box and scroll down and click the serialNumber field from the Dynamic content tab.
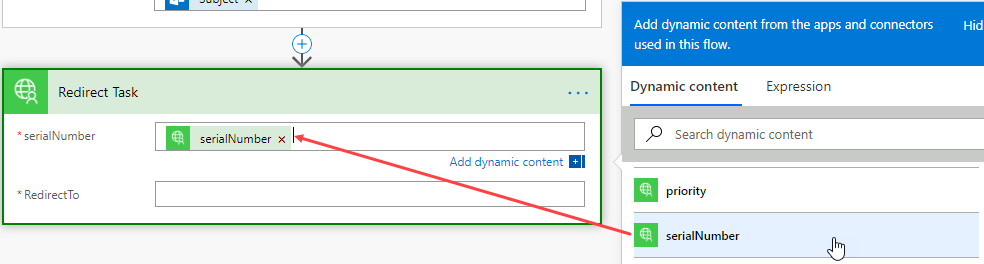
- Select the Redirect To text box and specify the email address of the person that this task is redirected to. In this scenario the task is redirected to another manager.
. - Click on your flow name (top right side) and specify Redirect Leave Task as the name.
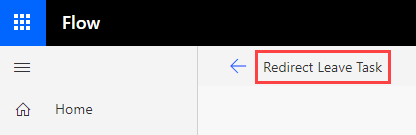
- Click Save to complete your flow.
- In Microsoft Power Automate, click Home and select the Office 365 Outlook popular service.
- Test your flow by using your Employee Leave Request form.
- Submit an employee leave request.

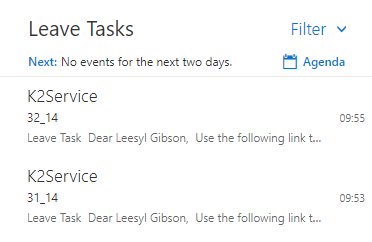
- Check your Leave Task folder in Outlook to make sure the notification has arrived.
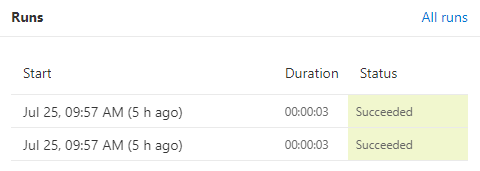
- Check your flow Runs report to see that the flow has succeeded.
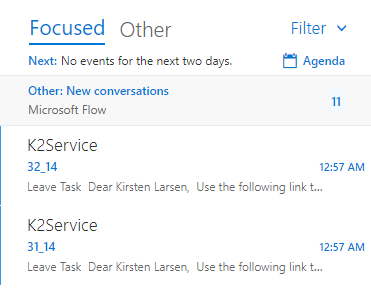
- Check the Outlook folder of the person receiving the redirected task.
- Submit an employee leave request.
Review
In this article you created a Microsoft Power Automate flow that integrates with a workflow using a Microsoft Outlook When a new email arrives action. The flow starts when a workflow task notification email arrives, and redirects the workflow task to another manager.