How to: Use Microsoft Power Automate to start a workflow when an email arrives in a folder in Outlook
You can use the Microsoft Outlook action in Microsoft Power Automate to start a workflow when an email arrives. In this article, you create an application with a SmartObject, SmartForm, and workflow, then configure a flow to start the workflow and send content from your flow to the workflow using data fields.
Microsoft Power Automate starts a workflow to add entries to your Leave Request emails SmartObject

- See How to: Use Microsoft Power Automate to start a workflow when a SharePoint list item is created for an example of using a flow to start a workflow from a Microsoft SharePoint action
- See How to: Use Microsoft Power Automate to redirect a task for an example of using a flow to redirect a workflow task
- See How To: Send a Message from a workflow to Microsoft Power Automate for an example of sending information from a workflow to a flow, use that information in the flow, and then return to continue your workflow
Scenario
You receive leave requests by email, and have an Outlook rule that moves them into your Leave Request folder. You want to store a list of leave request emails in a separate SmartObject. You use Microsoft Power Automate to start a workflow when an email arrives in your Leave Requests folder. As part of the flow, you send the email Subject and From fields to your workflow to store in your SmartObject.
Steps
You create a SmartObject, a SmartForm, and a workflow. In the workflow you create two variables to receive the email Subject and From fields from Microsoft Power Automate. Then you configure your flow to start the workflow when a new email arrives in your Leave Requests folder. Your flow sends the From and Subject content from the email to your workflow, which creates a new entry in your SmartObject.
Before You Begin
If you have not done so already,
- Enable the Workflow REST API in the Management site. See Configuring the Workflow REST API for more information about enabling the API.
- Create a custom connector to the Workflow REST API in Microsoft Power Automate. See Create a custom connector in Microsoft Power Automate to call the Workflow REST API for more information.
Setup Steps
The following steps set up the scenario from start to finish. If you already have your application and want to skip the setup steps and view the topic step, go to Step 5: Create a Microsoft Power Automate flow using the Outlook When a new email arrives action to start the LeaveRequestList workflow.
-
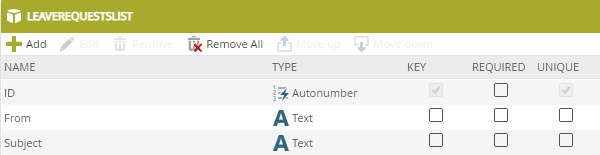
In the Designer create a SmartObject named LeaveRequestList. Add From and Subject properties.
If you are not familiar with creating a SmartBox SmartObject, see How To: Create A SmartBox SmartObject.
- In the Designer click the create SmartObject option.
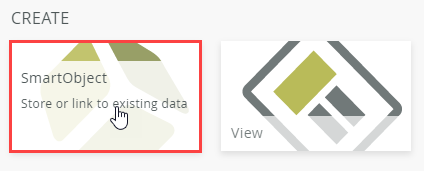
- Specify LeaveRequestList as the SmartObject name.
- Specify a Description and Category.
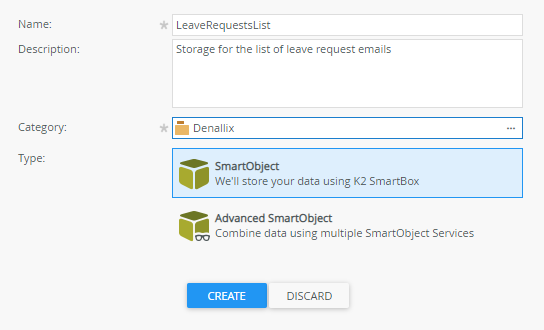
- Click Create.
- Add the following SmartObject properties:
- Click Finish to complete your SmartObject.
- In the Designer click the create SmartObject option.
-
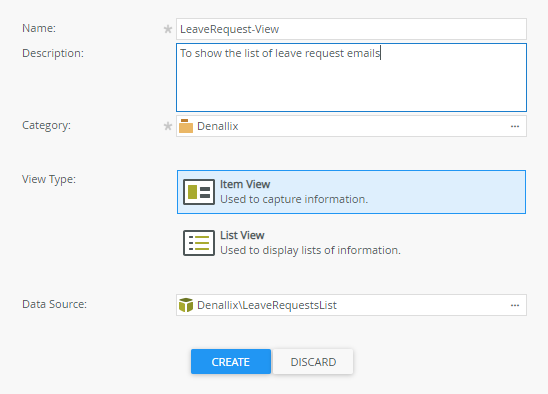
Create a view of the LeaveRequestList SmartObject.
If you are not familiar with creating views, see How To: Create an Item View and a List View.
- One the LeaveRequestList SmartObject page, click Design a new View.

- Specify LeaveRequest-View as the Name. Specify a Description.
- Leave Item View as the View Type.
- Click Create.
- Select Create Labels and Controls.
- Select the From and Subject fields, and the Create method.

- Click OK.
- Your view should look like this:

- Click Finish.
- One the LeaveRequestList SmartObject page, click Design a new View.
-
Create a form for your LeaveRequest-View.
If you are not familiar with creating forms, see How To: Create a Form.
- On your LeaveRequest-View page click Design a new Form.
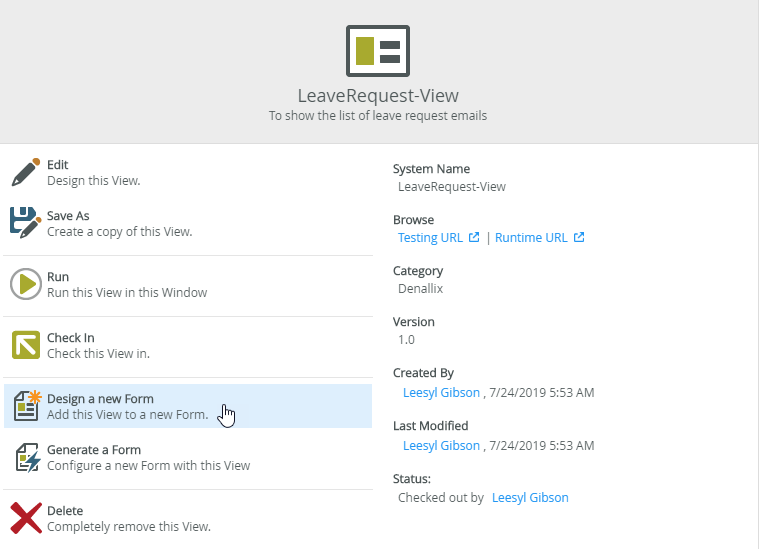
- Specify LeaveRequest-Form as the Name.
- Specify a Description and click Create.

- Click the Title bar and specify Leave Request Emails.

- Click Finish.
- On your LeaveRequest-View page click Design a new Form.
- Create a workflow using your LeaveRequest-Form. In your workflow create two variables to receive the From and Subject values from an email. Add a SmartObject step to create a new entry using the From and Subject values.
If you are not familiar with creating workflows, see How To: Create a Workflow.
- On your LeaveRequest-Form page click Design a new Workflow.
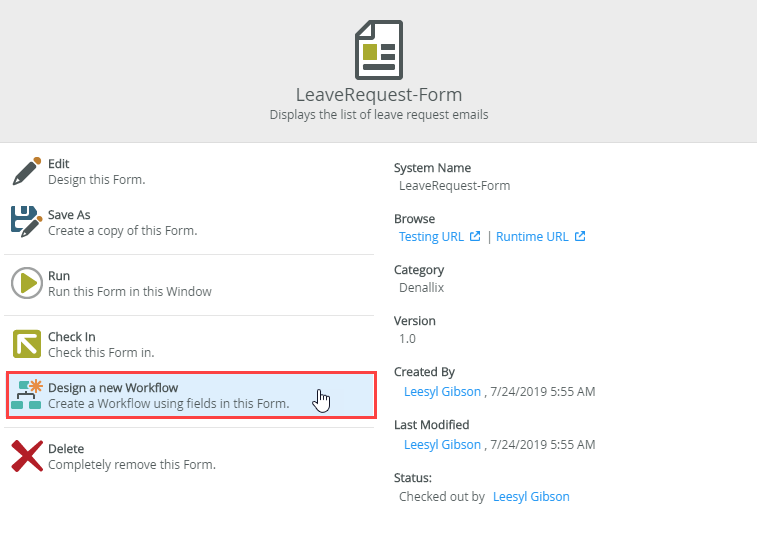
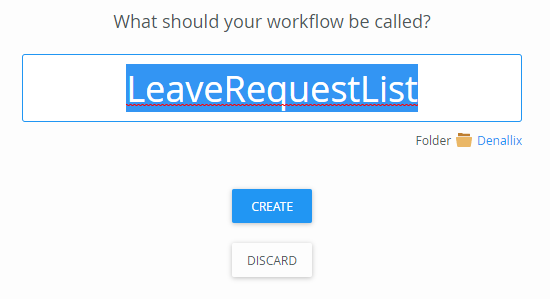
- Specify LeaveRequestList as the workflow name and click Create.
- Expand the Start Events panel (on the right) and click Edit.
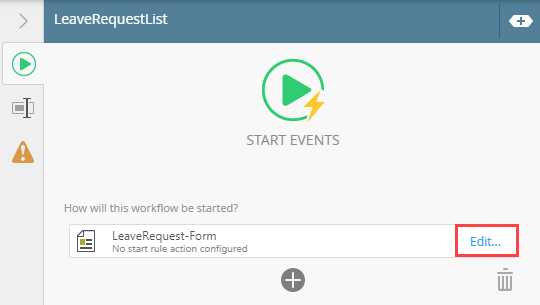
- Click Next.
- Leave the default option of Do it for me! and click Next.

- Click Save and Finish.
- Click OK.
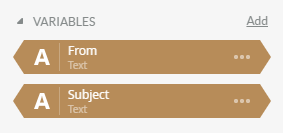
- Expand the Context Browser and click Add in the Variables section.

- Create a From and a Subject variable, both of data type Text.
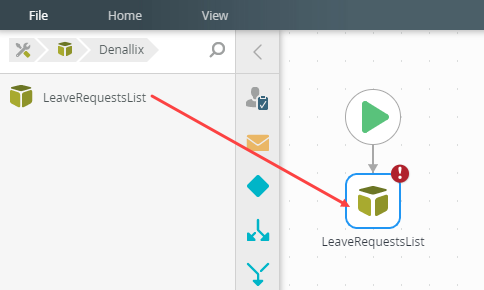
- Back on your workflow design canvas, expand the SmartObjects > Denallix folders and drag the LeaveRequestList SmartObject onto the workflow step.
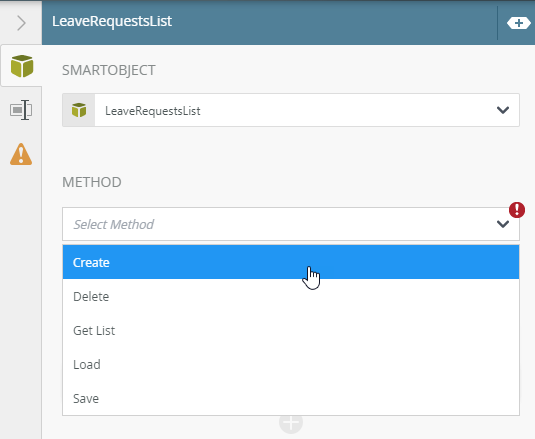
- In the LeaveRequestList configuration select the Create method.
- Click the Add icon in Input Mappings and add the From and Subject input properties.
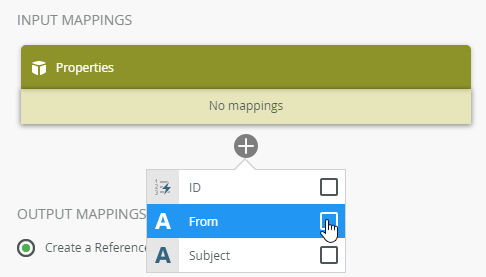
- Expand the Context Browser and drag and drop your From and Subject variables to the matching input properties. This maps the data fields to the SmartObject, so when your flow starts the workflow and sends this content through, the workflow adds the information to the SmartObject.

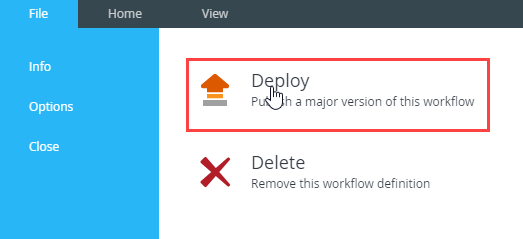
- Click File. Click Deploy.
- On your LeaveRequest-Form page click Design a new Workflow.
Create a Microsoft Power Automate flow that starts a workflow when a new email arrives in your Outlook Leave Request folder.
This scenario is based on you receiving leave request emails in a separate folder in Outlook. If you have not already done so, create a Leave Request folder and set up an email rule to move all emails with Leave Request in the subject to your Leave Request folder.
- Create a flow using the Outlook When a new email arrives action to start the LeaveRequestList workflow.
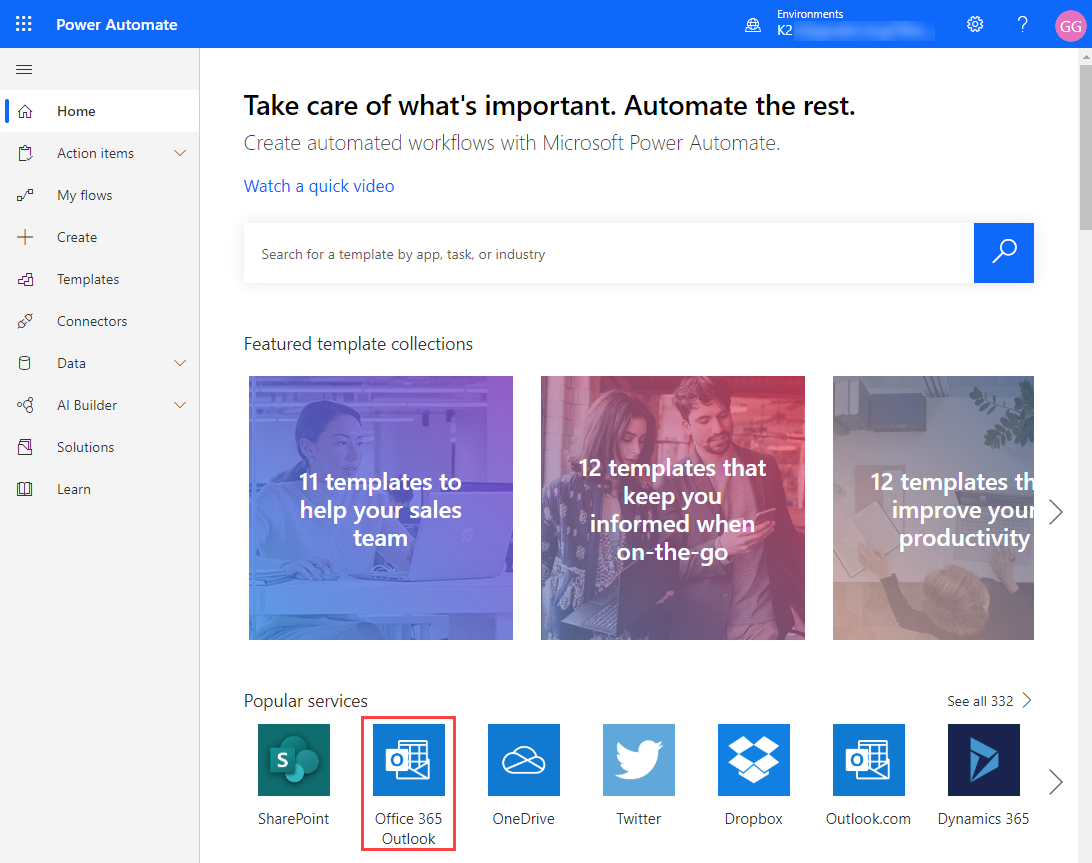
- In Microsoft Power Automate, click Home and select the Office 365 Outlook popular service.
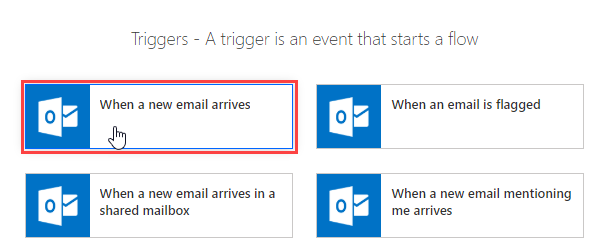
- Click When a new email arrives.
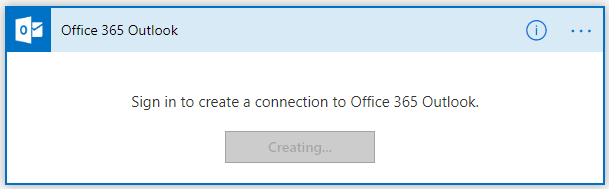
- If you have not already created a connection to your Outlook, log in to create this connection.
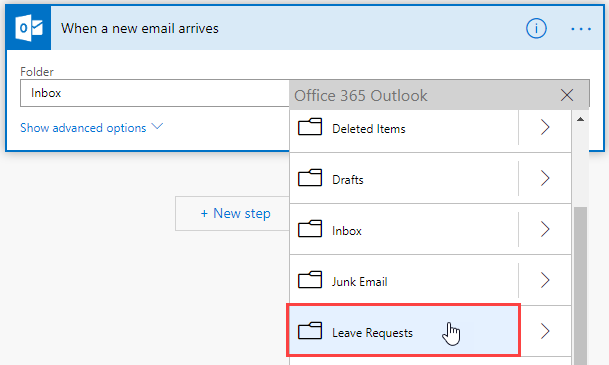
- Select your Leave Requests Outlook folder in the Folder drop down.
- Click + New Step.
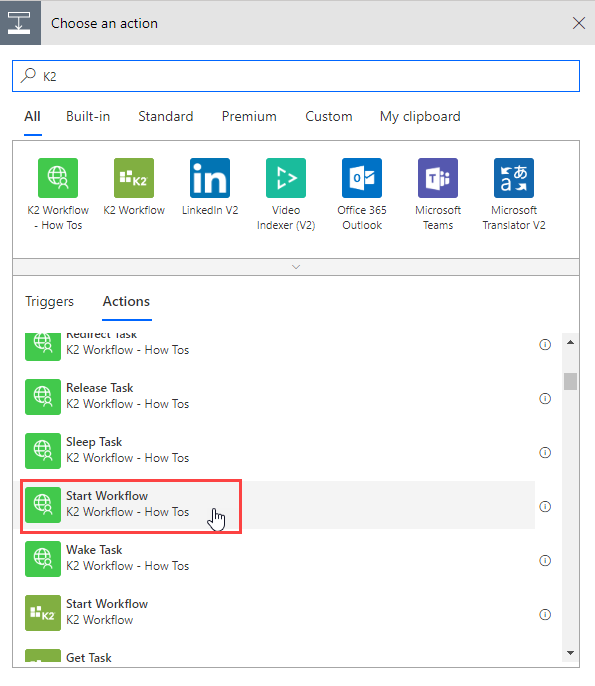
- Specify K2 in the action search bar, then click the Start Workflow action from your K2 Connector.
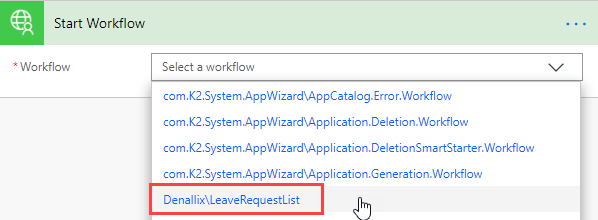
- Select your LeaveRequestList workflow from the Workflow drop down. If you have not configured a workflow connection, complete the connection settings to create one and then make your Workflow selection.
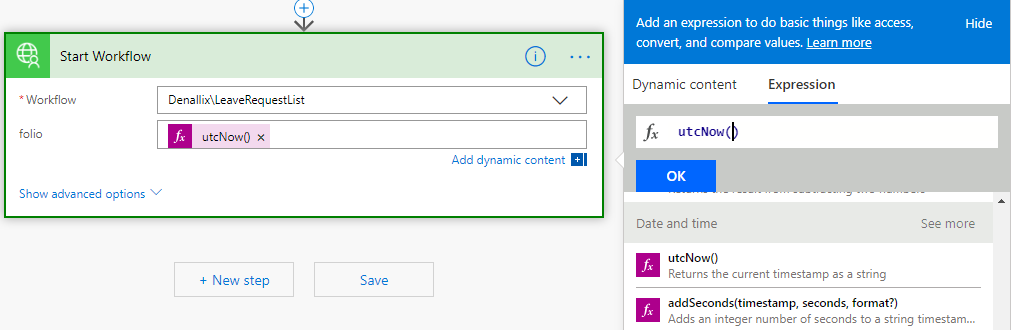
- Select the folio field. Select the Expression tab and scroll down to the Date and time section. Click uctNow() and click OK. This sets the workflow folio to the time value when this flow starts the workflow.
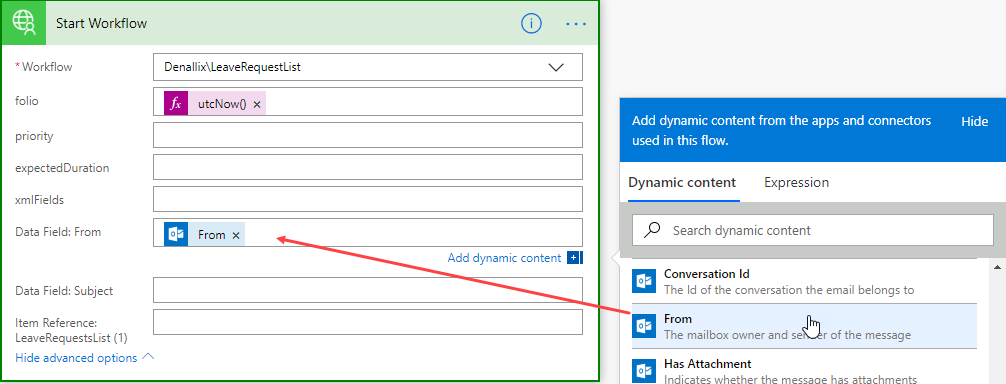
- Click Show advanced options. Select the Data Field: From field. Scroll down the Dynamic content list and select From from the Outlook dynamic content. This sends the email's From value to your workflow.
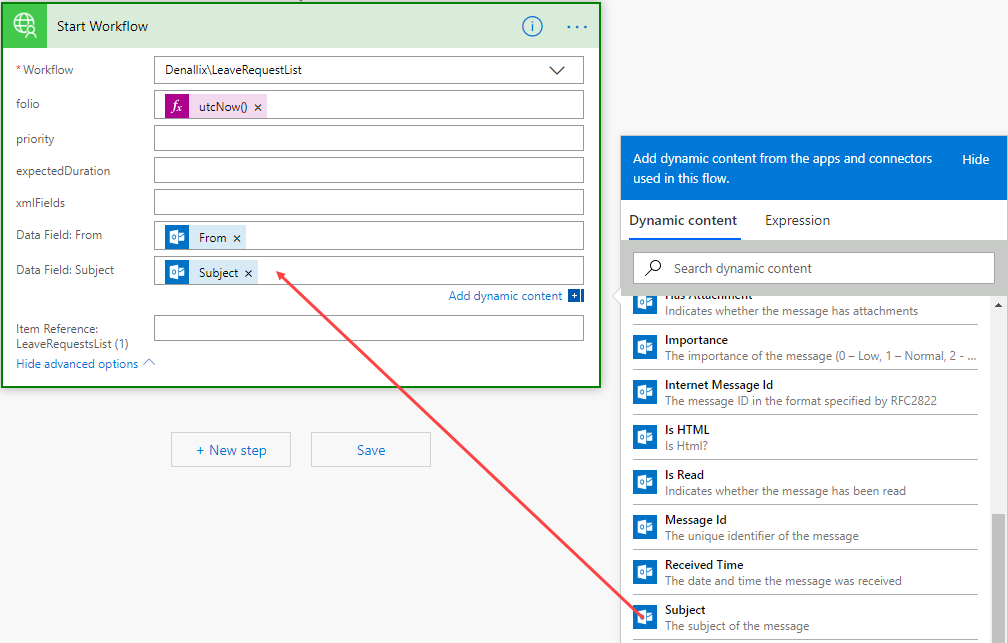
- Do the same for the Subject data field.
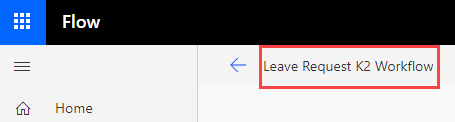
- Click on your flow name (top right side) and specify Leave Request workflow as the name.
- Click Save to complete your flow.
- In Microsoft Power Automate, click Home and select the Office 365 Outlook popular service.
- Test your flow by sending a new leave request email. Create a new SmartForm to show the list of received leave request emails.
- Send some leave request emails.
- Check your Leave Request folder in Outlook to make sure they have arrived.
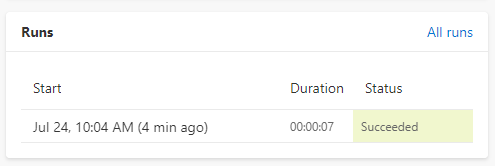
- Check your flow Runs report to make sure that the flow has succeeded.
- In the Designer, browse to your LeaveRequestList SmartObject.
- Click Design a new View.
- Specify ShowLeaveRequest-View as the view name. Specify a Description.
- Select List View as the View Type.
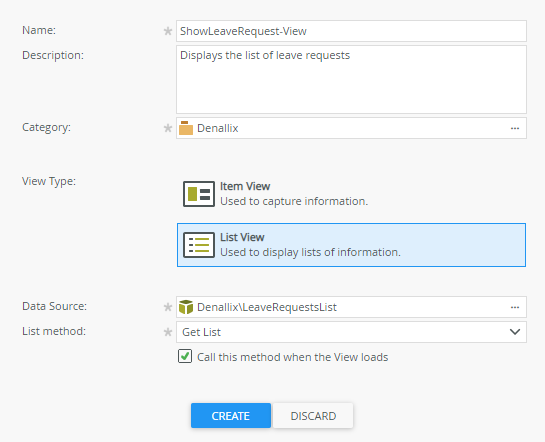
- Click Create.
- Select the From and Subject fields.
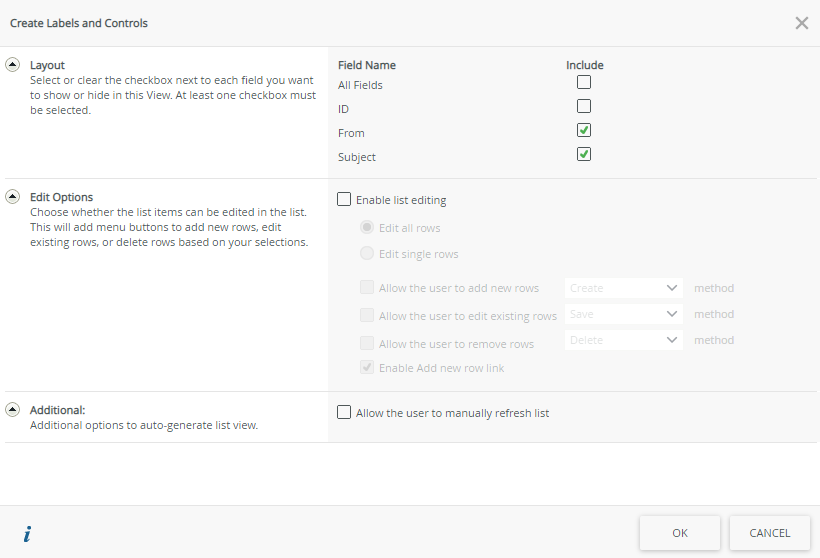
- Click OK.
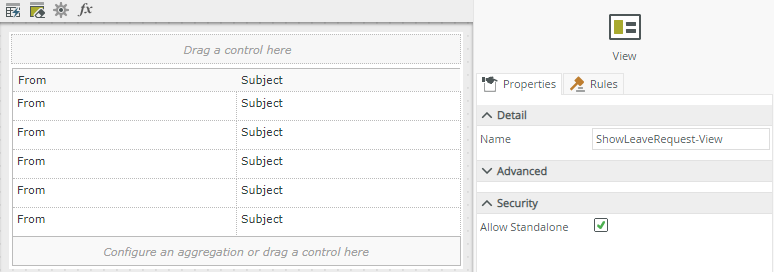
- Click Finish to complete the view.
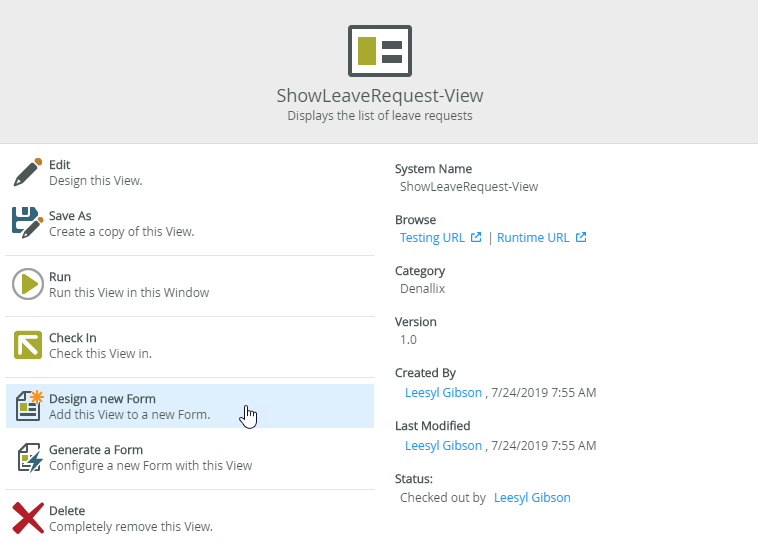
- Click Design a new Form.
- Specify ShowLeaveRequest-Form as the form Name.
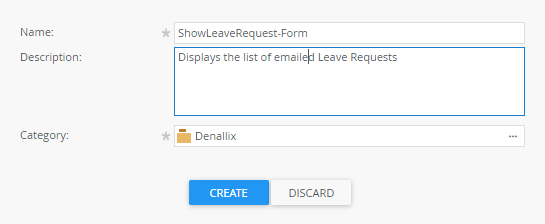
- Specify a Description. Click Create.
- Click on the Title bar and specify List of received leave request emails.

- Click Finish.
- Click Run to load the SmartForm and view the content of the SmartObject.
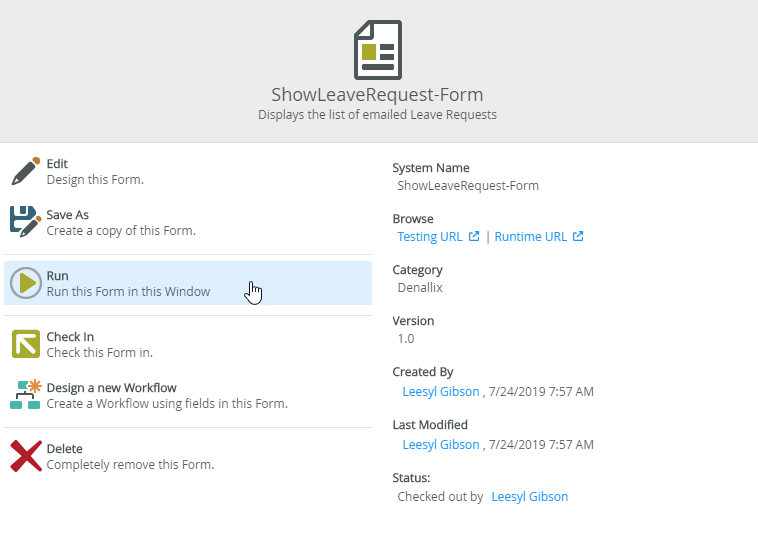
- You should see the list of received leave request emails.
Review
In this article you create a Microsoft Power Automate flow that integrates with a workflow using a Microsoft Outlook When a new email arrives action. The workflow receives the From and Subject values from the email and stores them in your SmartObject.