How To: Send a Message from a workflow to Microsoft Power Automate Flow
You can send information from a workflow to Microsoft Power Automate, use that information in a flow, and then return to continue your workflow. In this article you use a SmartObject method in a workflow to send a serial number, email address, and message to flow. Your Microsoft Power Automate flow receives the information and sends a message to Microsoft Teams. Then the flow returns the serial number to the workflow using the Finish Server Event action.
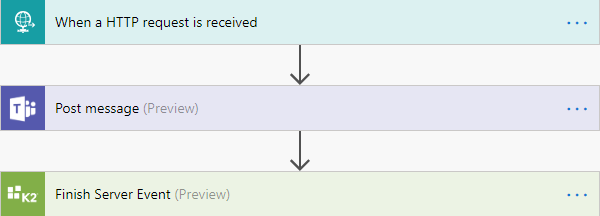
Using an HTTP request and Finish Server Event Action to integrate with a workflow
Scenario
You create a sales order form that starts a workflow. The workflow sends a message to your flow and then flow sends the content of that message to your Microsoft Teams Sales channel. Your workflow continues once the flow sends the serial number back to the system using the Finish Server Event.
Steps
You first create a flow in Microsoft Power Automate with an HTTP request step. This step creates the Host Post URL that you use to configure the SmartObject in your workflow. You then register your REST service instance using the provided JSON Swagger (OpenAPI) file. This creates the objects with properties matching those used in the HTTP request step. Finally, you create a SmartForm-based workflow containing a SmartObject step to send the serial number, email address, and message from the workflow to your flow. The flow sends a message to your Teams Sales channel and then returns the serial number to the workflow to complete the step.
Before You Begin
If you have not done so already,
- Enable the Workflow REST API in the Management site. See Configuring the Workflow REST API for more information about enabling the API.
- Create a custom connector to the Workflow REST API in Microsoft Power Automate. See Create a custom connector in Microsoft Power Automate to call the Workflow REST API for more information.
Setup Steps
The following steps set up the scenario from start to finish. If you already have your Host Post URL and want to skip the setup steps and view the topic step, go to Step 5: Create your REST service instance.
-
In Microsoft Power Automate, create a new flow starting with an HTTP request step. Configure the HTTP request step to receive a serial number, email address, and message from the SmartObject you create in Step 5.
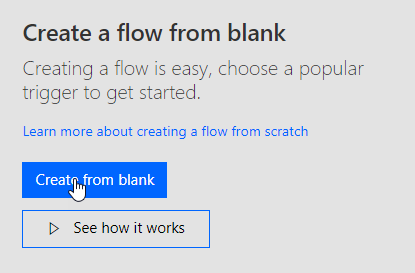
- In Microsoft Power Automate, click Create from blank.

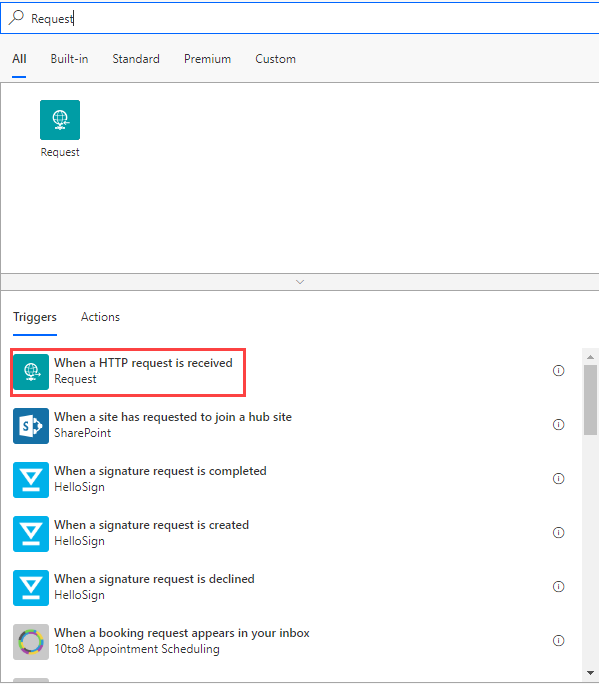
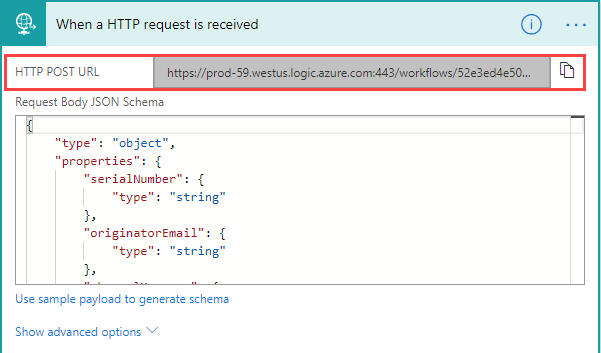
- Specify Request in the search bar, then select When a HTTP request is received.
- Copy and paste the following JSON schema into the Request Body JSON Schema text box. This sets up the flow to receive a serial number, email address, and message from the SmartObject you create in Step 5.Copy
Request Body JSON Schema
{
"type":"object",
"properties":{
"serialNumber":{
"type":"string"
},
"originatorEmail":{
"type":"string"
},
"channelMessage":{
"type":"string"
}
}
}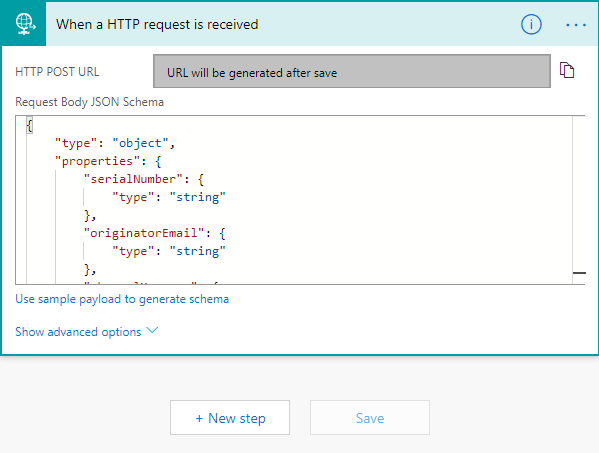
- The HTTP POST URL is used when you create your workflow, but is only generated once you finish and save your flow.
- Click + New step.
- In Microsoft Power Automate, click Create from blank.
-
Configure a Microsoft Teams Post message action using the channelMessage field from the previous step.You must setup WebHooks in Microsoft Teams to access Teams in Microsoft Power Automate. See How to add connectors in Microsoft Teams for more information.
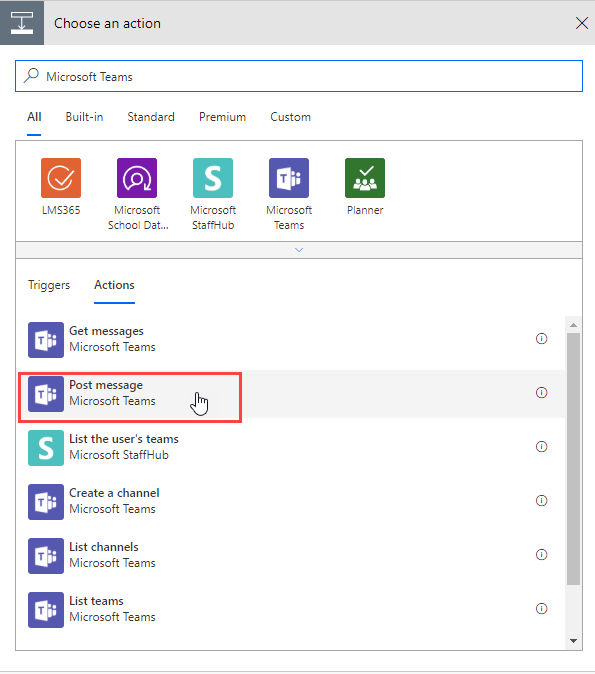
- Search for Microsoft Teams on the Choose an action dialog. Select Post message from the Actions tab.
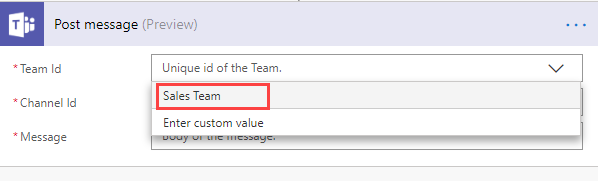
- Click the Team Id drop down and select your team. In this scenario it is the Sales Team.
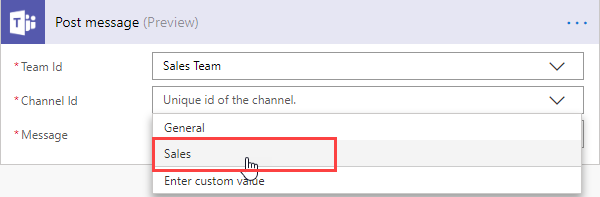
- Click the Channel Id drop down and select your channel. In this scenario it is the Sales channel.
- Select the Message box and from the Dynamic content tab click channelMessage. This is the message field of the HTTP post from the workflow.

- Click + New step.
- Search for Microsoft Teams on the Choose an action dialog. Select Post message from the Actions tab.
-
Configure a workflow Finish Server Event using the serial number received from the HTTP post and save your flow.
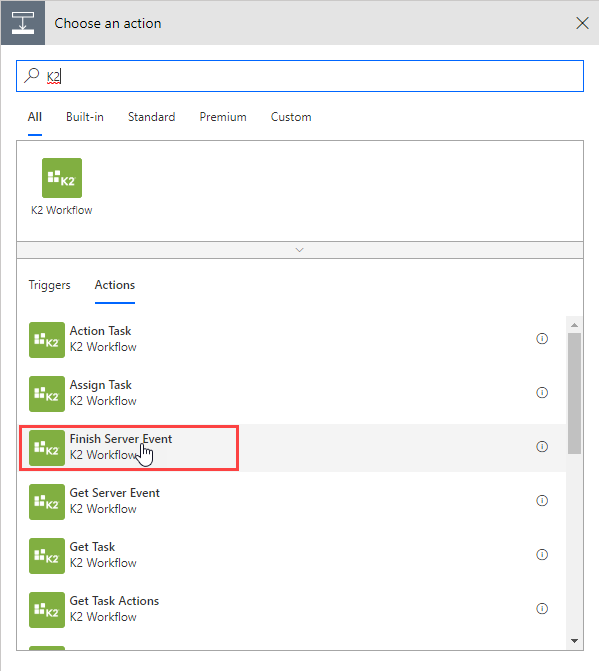
- Specify K2 in the search bar and select Finish Server Event on the Actions tab.
- Select the Server Event Serial Number box and click the serialNumber field from the Dynamic content tab. This is the serial number from the HTTP post.
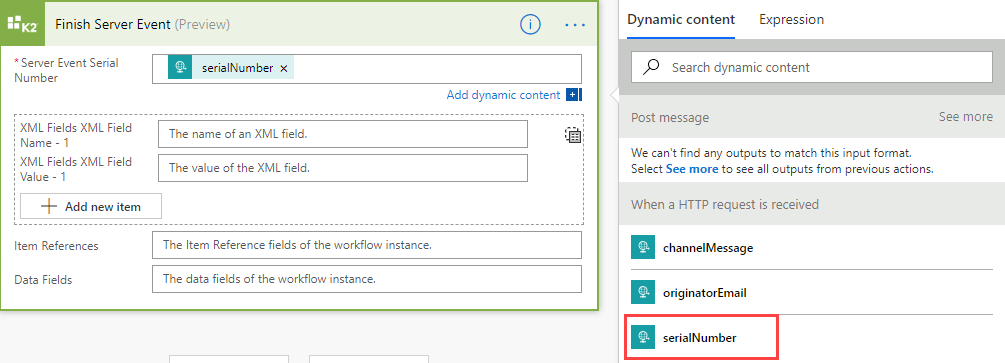
- There are no XML fields, item references, or data fields from the workflow.
- Click Save to finish creating your flow.

- Specify K2 in the search bar and select Finish Server Event on the Actions tab.
- Copy the HTTP POST URL from your flow.
- In your Microsoft Power Automate flow, select your HTTP Request flow and select Edit flow.
- Select the When a HTTP request is received step and click the copy icon of the HOST POST URL field.
- Open a text editor such as Notepad and paste the URL.
- The SmartObject needs the following information to send information to your flow. Make a note of these values.
- The workflow ID from the first section of the URL

- The api-version

- The sp value

- the sv value

- And the sig value

- The workflow ID from the first section of the URL
Create a REST service instance and SmartObject to use in your workflow
Create your REST service instance that defines the data connection between your environment and Microsoft Power Automate using a SmartObject. The objects and methods defined in your JSON file are used to send information from your workflow to your flow.
- Create the REST service instance that communicates with Microsoft Power Automate
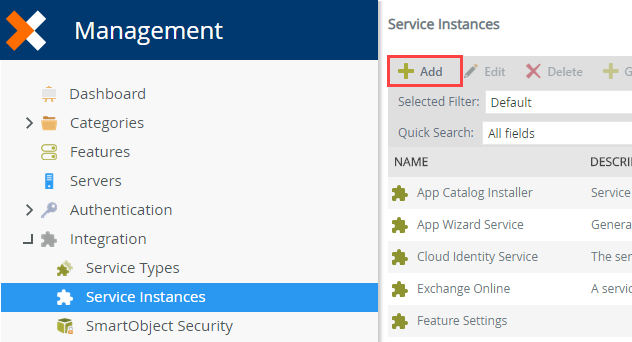
- In Management Site, go to Integration > Service Instances.
- Click Add.
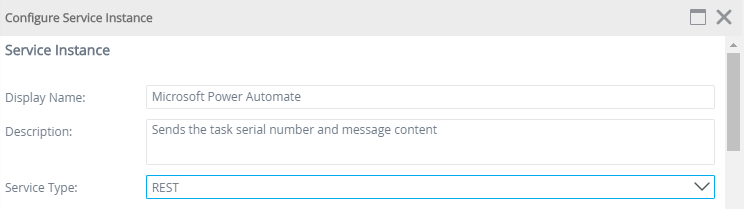
- Specify Microsoft Power Automate for the Display Name, Send task serial number and message content for the Description, and select REST from the Service Type drop down.
- Paste the JSON file in the Descriptor Location field. You can create your own using Swagger - MicrosoftPowerAutomate.json. See REST Swagger File Reference Format for more information about generating and using Swagger files. Note that you must update the "host" value in the reference Swagger file to match the post URL you copied.
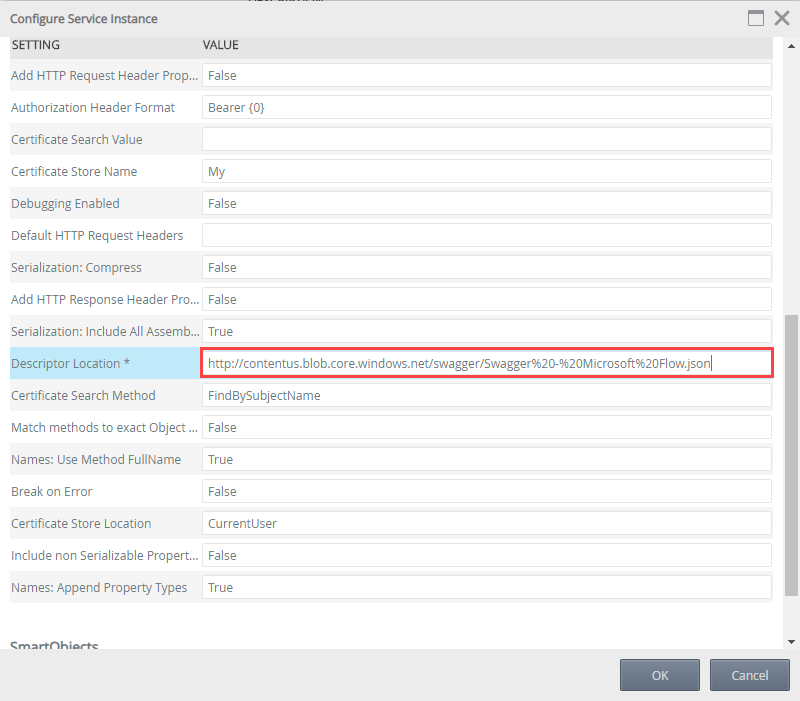
- At the bottom of the Configure Service Instance page, check the Generate SmartObjects for this Service Instance option. This creates the SmartObjects you use in your workflow.

- Click OK.
- Your new Microsoft Power Automate service instance shows in the list. You can also look in the REST > Microsoft Power Automate category for your new Power Automate SmartObject.

- Create a simple sales order form using a SmartObject, with inputs for Item, Quantity, and Ordered By. This information is used in the message sent to Microsoft Power Automate and posted to the Teams Sales channel.
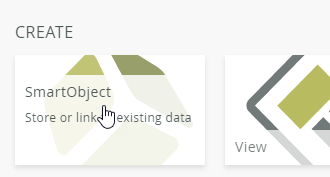
- In the Designer, create a new SmartObject.
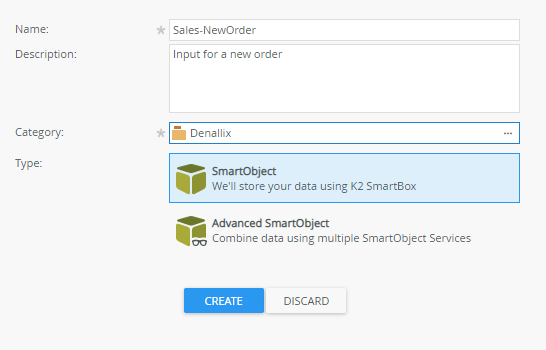
- Specify Sales-NewOrder for the name, Input for a new order for the description, select your category, and click Create.
- Add Item, Quantity, and Ordered By fields, as shown here:
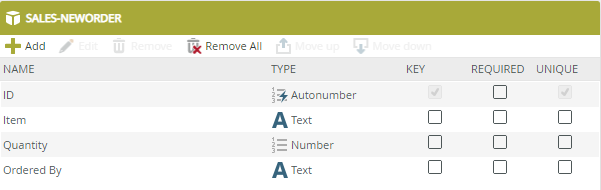
- Click Finish to save the SmartObject.
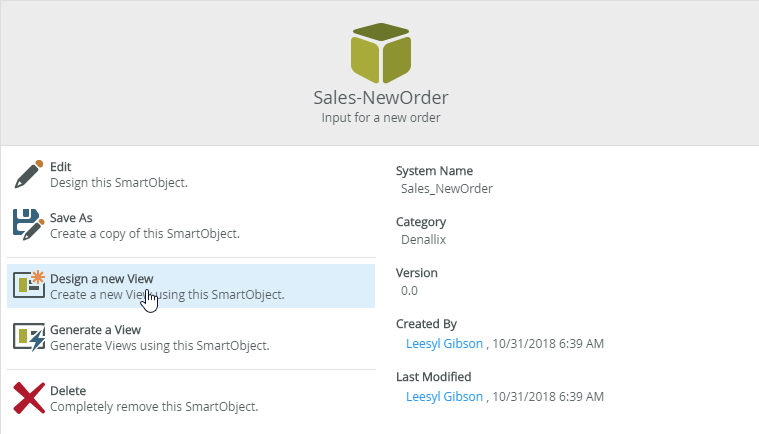
- Select Design a new View on the Sales-NewOrder page to create a new view from the SmartObject.
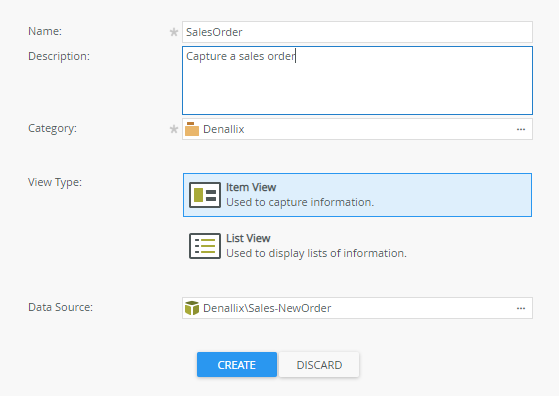
- Specify SalesOrder for the name and Capture a sales order for the description as shown here. Click Create.
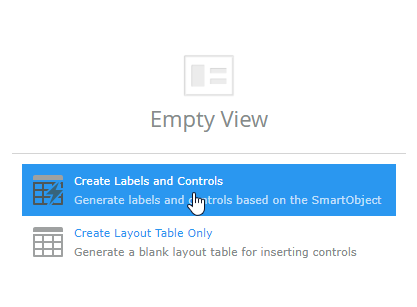
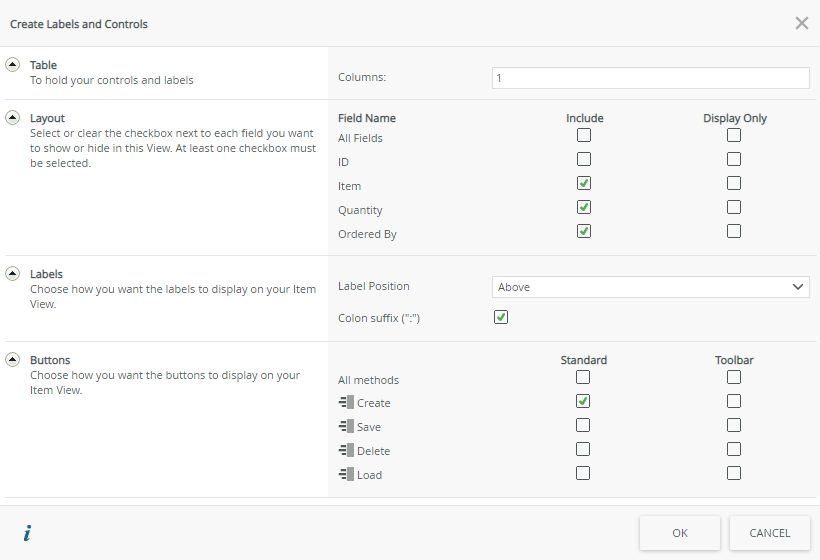
- Click Create Labels and Controls.
- Select Item, Quantity, and Ordered By fields to include in the view. Select the Create standard button. Change the number of Columns to one (1) and check the Colon suffix (":") label option as shown here:
- Click Finish to save your view.
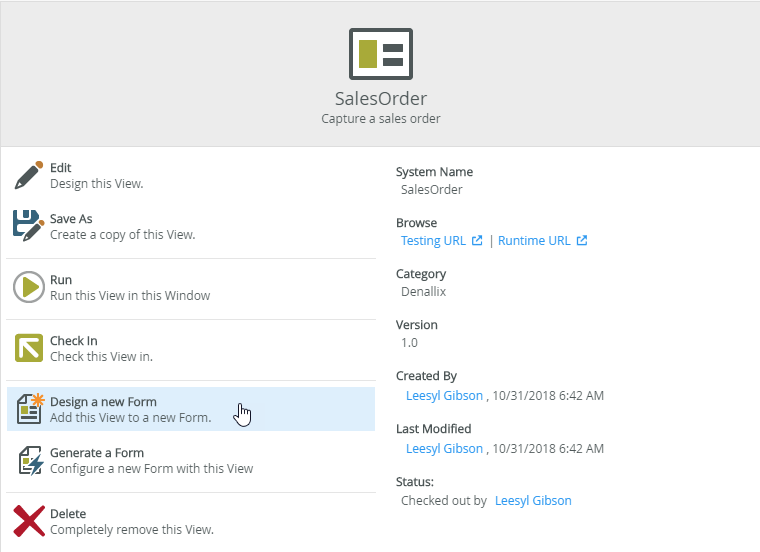
- Select Design a new Form on the SalesOrder page to design a new form containing the view.
- Specify SalesOrder-Form for the name and Capture the order information for the description as shown here:
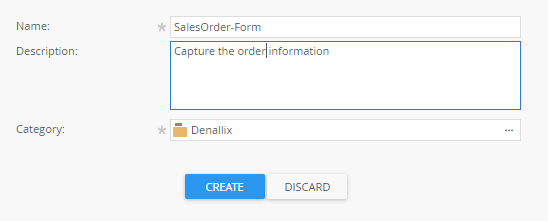
- Click Create.
- Select the title bar and type New Order for the title.
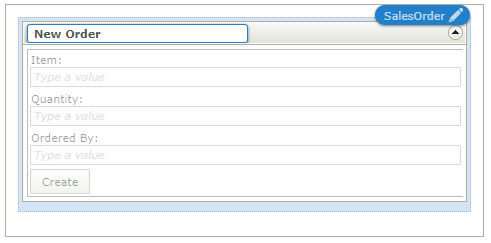
- Click Finish to save your form.
- In the Designer, create a new SmartObject.
- Create your workflow and configure the start event to use the Create button.
- Select Design a new Workflow on the SalesOrder-Form page to create a new workflow.
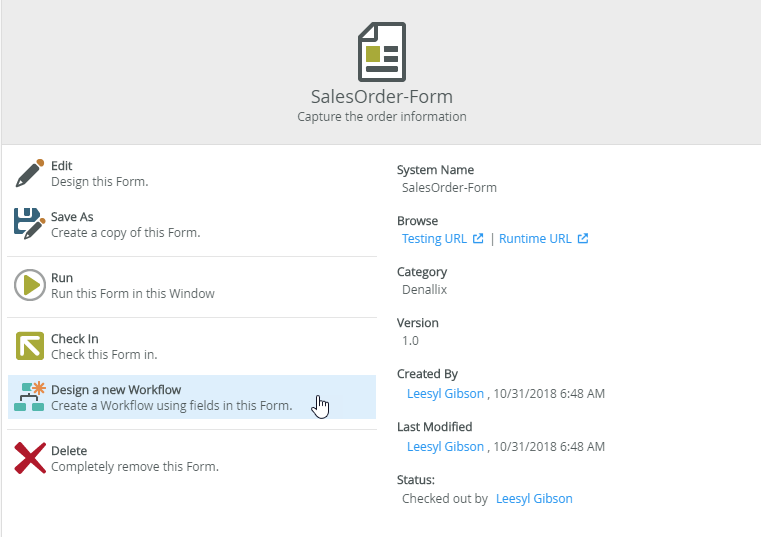
- Specify SalesOrder-Workflow for the name.
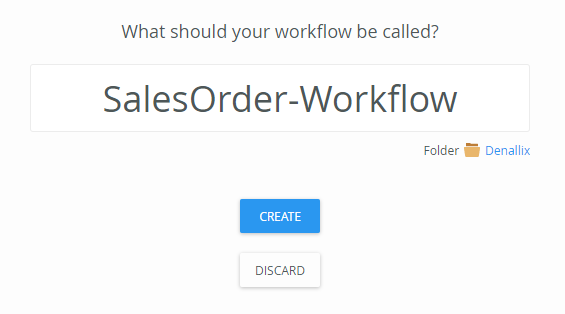
- Click Create.
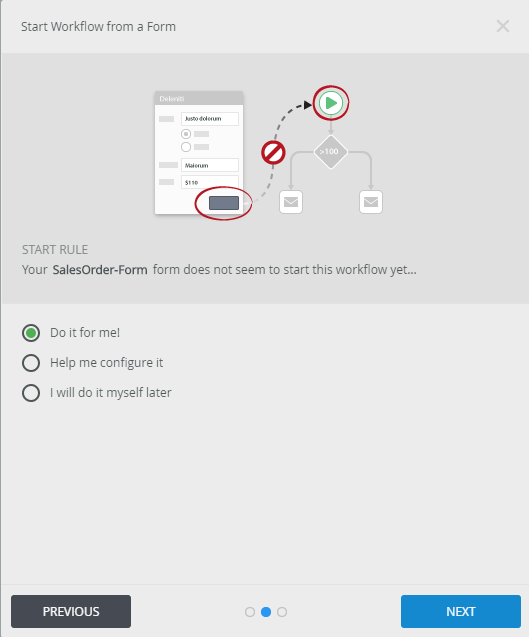
- Expand the right panel to see the Start Events page. Click Edit.

- Click Next, then Next again, keeping the default options.
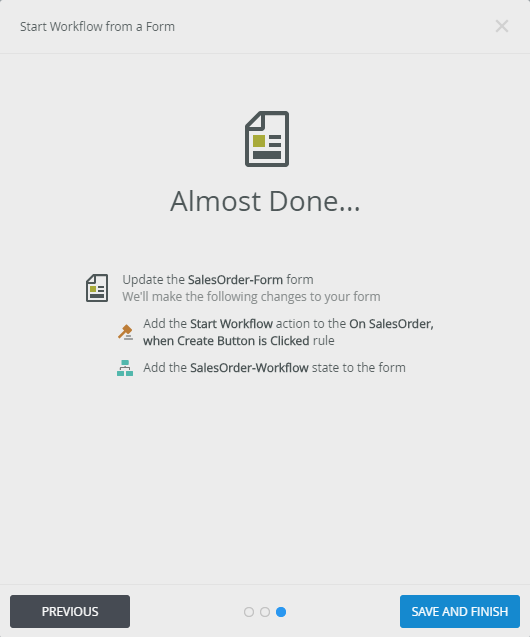
- Click Save and Finish to complete the start event.
- Select Design a new Workflow on the SalesOrder-Form page to create a new workflow.
- Create a SmartObject step that calls the Flow SmartObject.
- Select the SmartObjects step from the left panel.
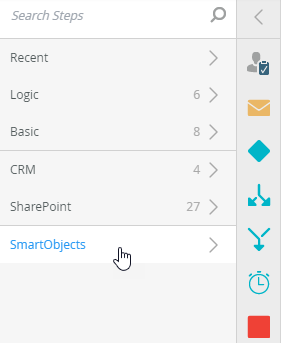
- Navigate to Microsoft Power Automate in the REST category.
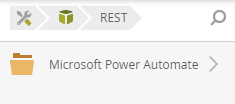
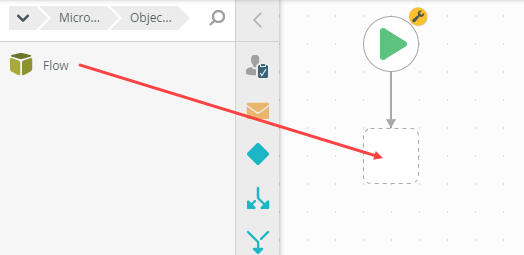
- Navigate to the Object Types folder.

- Drag and drop the Flow SmartObject onto the workflow canvas.
- Select the SmartObjects step from the left panel.
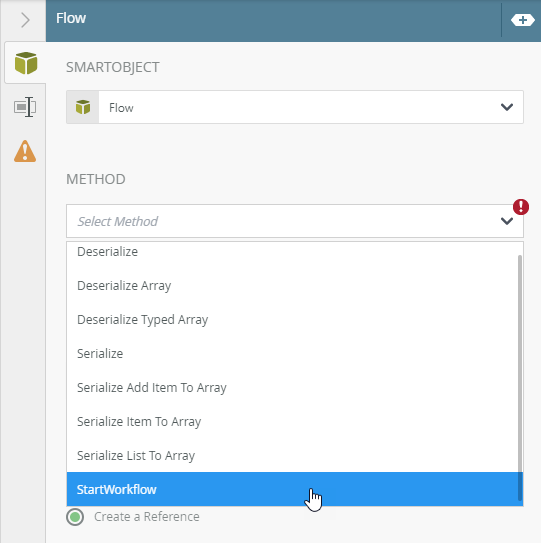
- Configure your SmartObject to use the StartWorkflow method, then configure your body input mapping with the content to send to your Microsoft Power Automate flow.
- Select StartWorkflow from the method drop down.
- In the Body (Flow) field type (or copy and paste) the following text. This is the schema of the information you are sending to your flow.
{ "serialNumber":"", "originatorEmail":"", "channelMessage":"" } - Drag and drop the step Serial Number field from the Workflow Context tab of the Context Browser between the empty quotes after "serialNumber":

- Drag and drop the Originator's Email from the workflow context tab between the empty quotes after "originatorEmail":
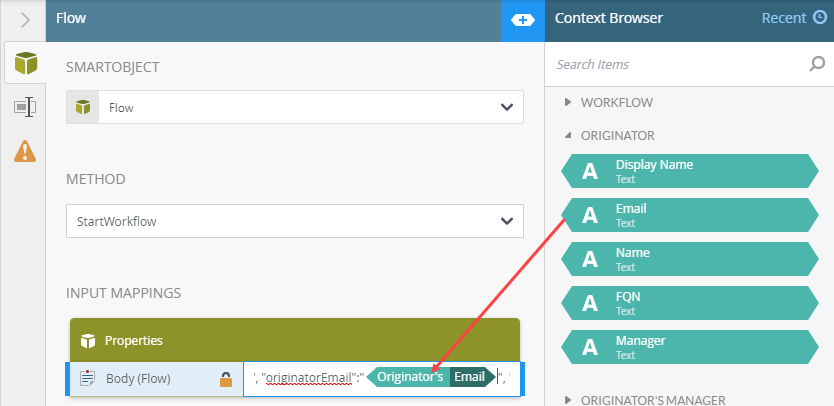
- Between the empty "channelMessage" quotes type "New order from ", then drag and drop the Ordered By field from the Sales-NewOrder SmartObject reference. This completes the message that the system sends to Microsoft Power Automate which then sends to it to your Microsoft Teams channel.

- Select StartWorkflow from the method drop down.
-
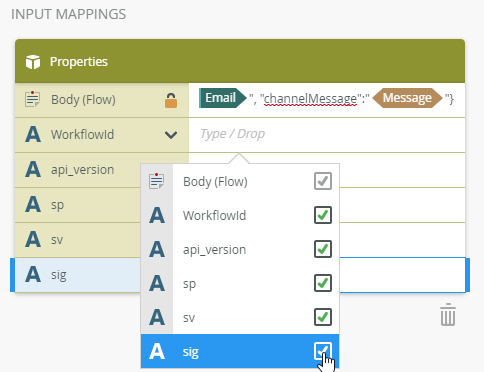
Add the other SmartObject input mappings and configure their values from the HOST POST URL field from step 4
- Click the plus sign below the input mappings to add additional input properties. Select WorkflowId, api_version, sp, sv, and sig.
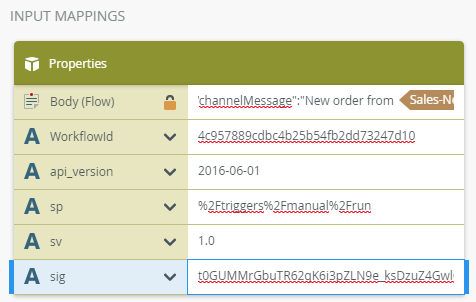
- Copy and paste values into these properties from your HOST POST URL that you took note of in step 5
- Copy and paste the workflow ID from the first section of the URL
- Copy and paste the api-version
- Copy and paste the sp value
- Copy and paste the sv value
- Copy and paste the sig value
- Copy and paste the workflow ID from the first section of the URL
- Your input mapping properties should look like this, but with values that match your environment:
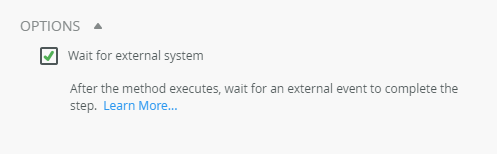
- Scroll lower on the SmartObject configuration, expand the Options, and check the Wait for external system option. This configures the step to wait for the Finish Server Event step called from your flow.
- You can add other steps to your workflow as necessary, such as sending an email after the SmartObject step.
- Deploy your workflow.
- Test your solution by completing a test Sales Order form. Once you submit the form, check that the Teams Sales channel is updated as shown here:

- Click the plus sign below the input mappings to add additional input properties. Select WorkflowId, api_version, sp, sv, and sig.
Review
In this article you create a Microsoft Power Automate flow that integrates with a workflow using a REST-based SmartObject to send information to the flow. Your flow then sends a message from the workflow to your Microsoft Teams Sales channel and returns the serial number to the workflow for it to continue.