K2 Designer for SharePoint - Move Document
The Move Document wizard is used to move a SharePoint document from one SharePoint Library to another.
From K2 4.6.4, configuring this wizard will also include preserving metadata for columns when a document is moved to a different SharePoint Library. The SharePoint items version history will also be included when the document is moved. The version history will only be included if the specified SharePoint Library has versioning enabled.
Metadata that will be preserved will typically be the columns:
- Created By
- Created Date
- Modified By
- Modified Date
Metadata for Custom SharePoint columns will also be preserved if the destination SharePoint Library contains the exact same columns as the Source SharePoint Library.
 |
We recommend that the following updates are installed to make use of this functionality:
When the Move Document Wizard is used to move a document to a library where the same document already exists, the existing document will be overwritten |
Logic Considerations:
It is important to consider the logic of the workflow when using the Move Document wizard. After having a Move Document Wizard step the relevant Document would have been moved and adding a client step after the Move Document step will lead to an error as the document will not exist in the Document Library anymore.
Click and drag this wizard in the designated area on the design canvas to start the wizard.
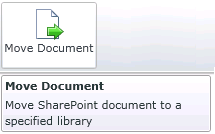
Fig. 1. Move Document
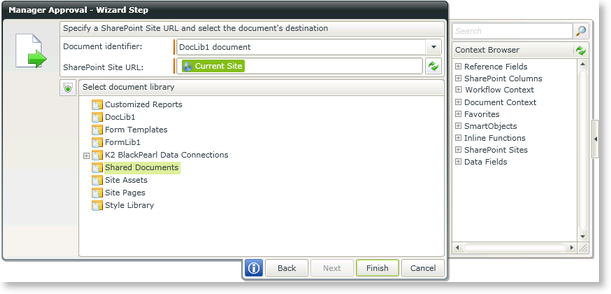
Fig. 2. Move Document - Configure the destination
| Feature | What it is | How to use it |
|---|---|---|
| Source document identifier | The source document to be moved | Select the Source Document from the Drop down list |
| SharePoint Site URL | The SharePoint site where the document should be moved | Defaults to current site. Type another site if required |
| Select document library | The SharePoint Document Library where the document should be moved | Select the document library |
| Destination document identifier | Provide the document with a relevant name that will be used to identify the document at the specified destination | Type a name |
By clicking on the  icon, the user is able to toggle between different input views, see below. Using this method of input, the user can type the Document Library name or use the Context Browser to drag and drop the Document Library name into the text box.
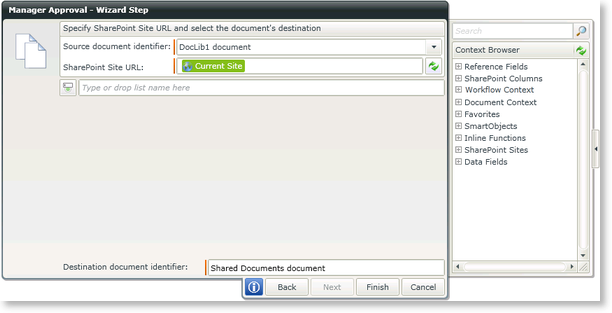
Fig. 3. Move Document - Configure the destination
Editing the Move Document event
To edit the Move Document event, right click the event and select Configure Workflow Step. The Name and Description of the event can be edited and Workflow Step Outcomes can be added or changed.
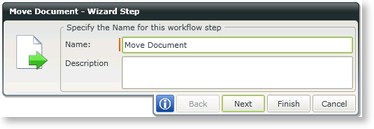
Fig. 4. Move Document - Specify the Name
| Feature | What it is | How to use it |
|---|---|---|
| Name | The name represents a specific step in a Workflow. For example, the Manager Approval Step or Approved | Type text for the Name of the event |
| Description | Describes the functionality and purpose of the step | Type a brief description of the event |
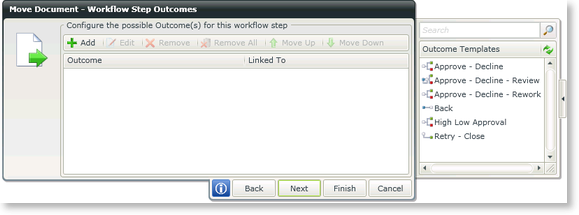
Fig. 5. Move Document - Configure the possible Outcome
| Feature | What it is | How to use it |
|---|---|---|
| Add | Click this button to add an outcome rule, the Edit Outcome Rules screen will open. | Click Add |
| Edit | Opens the Edit Outcome Rules screen enabling the user to add Outcome Rules to the Outcome | Select an Outcome and click Edit |
| Remove | Removes an Outcome | Select an Outcome and click Remove |
| Remove All | Removes all Outcomes | Click Remove All |
| Move Up | Moves an Outcome one position up | Select an Outcome and click Move Up |
| Move Down | Moves an Outcome one position down | Select an Outcome and click Move Down |
