How to: Use the Action Result property
-
This content uses the legacy Nintex K2 for SharePoint app. For more information about using the Nintex K2 Cloud (SPFx) app, see Add the app.
This topic illustrates how to use the Action Result workflow property to update a list item in a SharePoint list after a user task completes. Find the Action Result property in the Task User section on the Workflow tab in the Context Browser. At runtime, the Action Result property contains the action taken by the user to complete their task. The Action Result property is only visible if your workflow contains a Task step
To use properties from the Task User section (such as Action Result property) in other steps of your workflow, the other steps must be part of a multi-step that also includes the Task step.
Keep in mind that at runtime, steps within a multi-step execute sequentially from top to bottom, one after the other. If you have a combination of a user task and server events, such as SmartObject Method or Send Email steps, steps after the user task may execute multiple times depending on the number of task recipients. For more information about how recipients can affect steps that follow a Task step see, Scenario: 2 Recipients, 2 Approvals where Task step is part of a Multi-Step containing 2 server events.
Using an Action Result workflow property to update a SharePoint list item

Scenario
Your company uses a SharePoint list to track progress on insurance claims. Each claim is logged as a new list item and a status field keeps track of where the claim is in the process. You use the Action Result workflow property to update this field after a user has actioned a task.
Steps
In this scenario, you begin by creating a custom SharePoint List. This list captures the claim details. You populate this list by completing the New Claim Details form.
Next you create a workflow that contains a Set Folio step and multi-step with a Task and Update List Item step. You use the Update List Item step to update the SharePoint list to update the status when Codi approves or rejects the task.
The final piece is deploying the workflow and testing the solution.
Setup Steps
The following steps set up the scenario from start to finish. If you want to skip the setup steps and view the topic step, go to Configure the Update List Item step with the Action Result property.
- Create a SharePoint Custom List that contains customer and claim detail properties (such as customer name, email, claim number, type of claim, date and claim status). Also add custom columns (Customer (text), Email (text), Claim No (number), Claim Type (text), Claim Date (date) and Claim Status (text).) to the list.
- Create a new SharePoint Custom List. Name the list
Claim Details.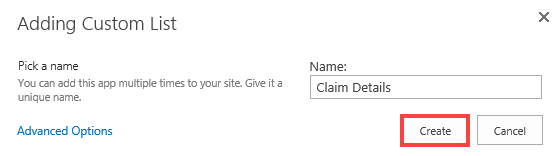
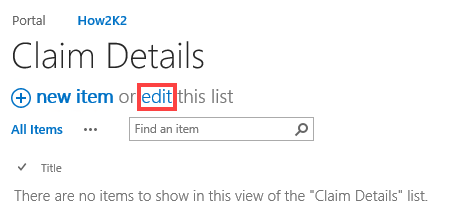
- Select the Claim Details list and click edit.
- Add the following columns: (Customer (text), Email (text), Claim Type (text), Claim No (number), Claim Date (date and time) and Claim Status (text).
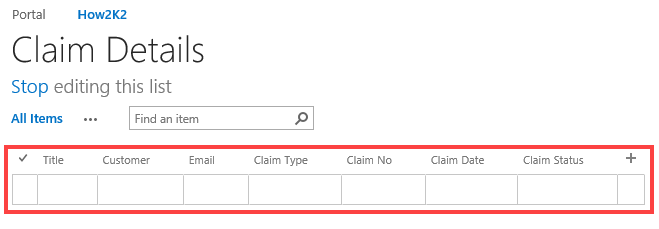
- You have now created the list which you reference in your workflow.
- Create a new SharePoint Custom List. Name the list
- Create a new application for the Claim Details list
- On the Claim Details list select the List tab and click Application.
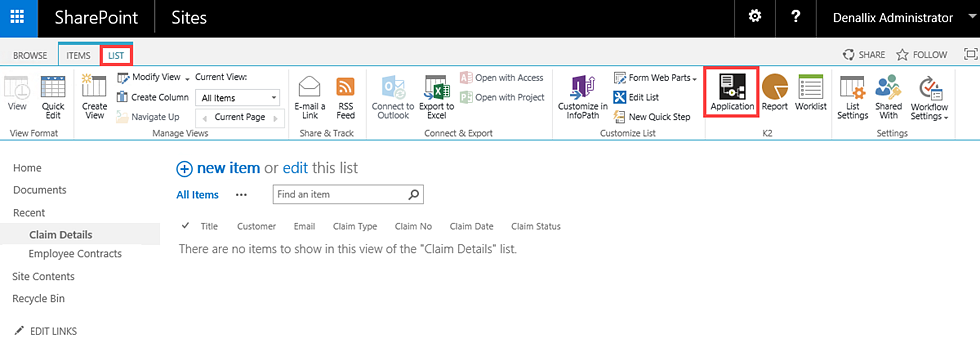
- On the [Site Collection Name] > Claim Details > Create K2 Application page, make sure you select the Data, Forms and Workflow options. In the Workflow section, select When the following events occur and An item was added as the event. Click OK. This creates a SmartObject, workflow, and a form to submit a claim.

- When the application is created the workflow canvas opens.
- On the Claim Details list select the List tab and click Application.
- Configure the workflow by adding the Update List Item and Set Folio steps to the canvas.
- From the Toolbox click the SharePoint category, the List Items category and then drag the Update List Item step onto the canvas. In this scenario, you configure the Update List Item step to update the status column to Pending.
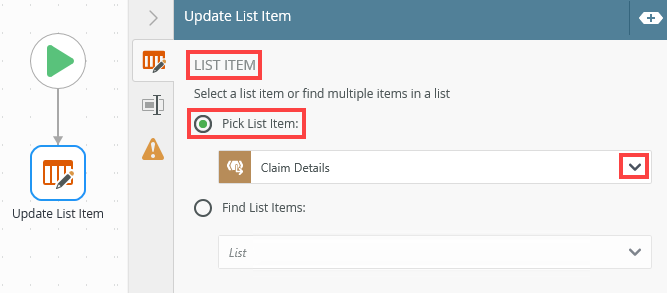
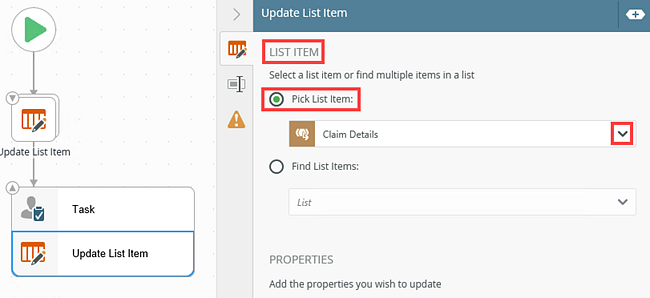
- In the List item section select Pick List Items and select Claim Details from the menu.
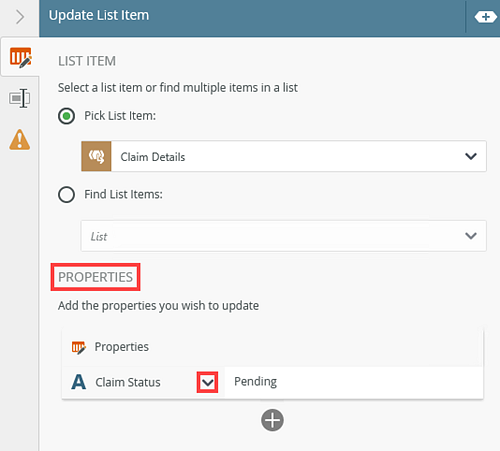
- In the Properties section, click Add. Select Claim Status from the menu and type Pending as the value.
For more information about using this step, see Update List Item Step. - From the Toolbox, click the Basic category and drag the Set Folio step onto the Update List Item step to create a multi-step.
- This is an optional step, but to easily identify claim approvals in the worklist, set the workflow Folio to show the Claim No and Claim Type.
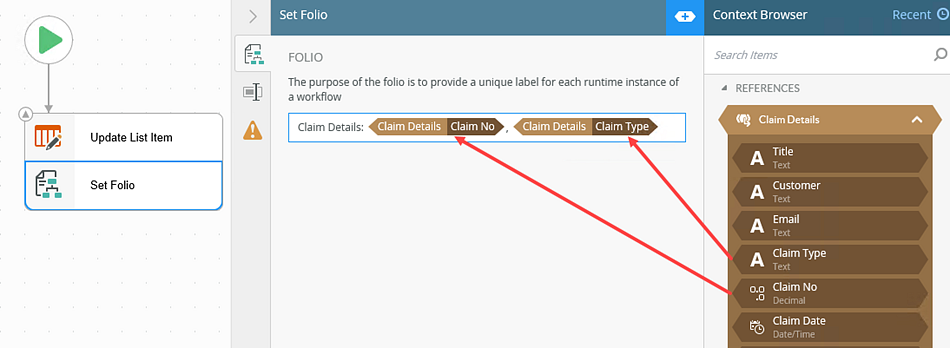
For more information about using this step, see Set Folio Step. - From the Toolbox click the Basic category and drag the Task step onto the canvas. Connect the step to the multi-step. In this scenario the Task step has two actions, Approve and Reject.
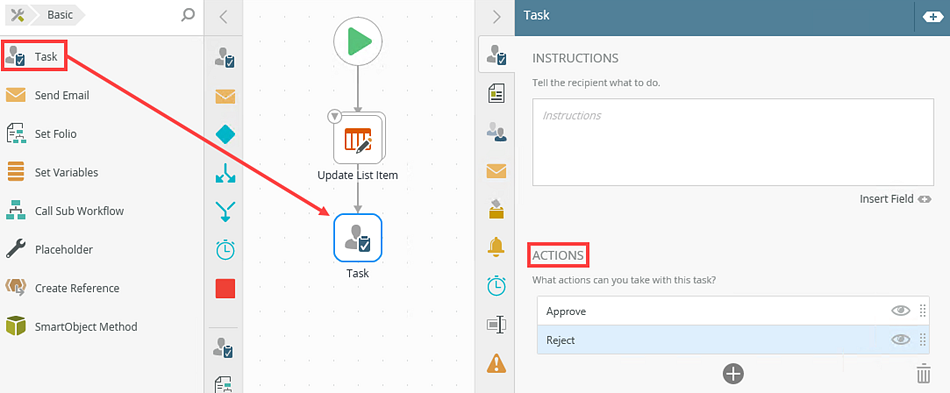
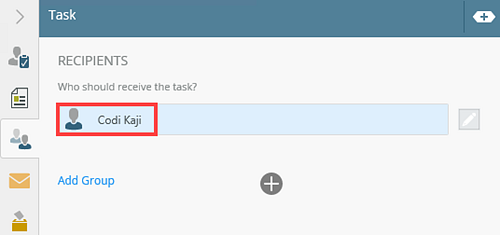
For more information about using this step, see Task Step. - Select the Recipients tab and assign the task to Codi or some other user in your organization if you're not using the K2-provided Denallix VM.
- With the Task step selected, expand the Context Browser and select the Workflow tab. Expand the Task User section which is only visible when you select a Task step. Here you find the Action Result workflow property.
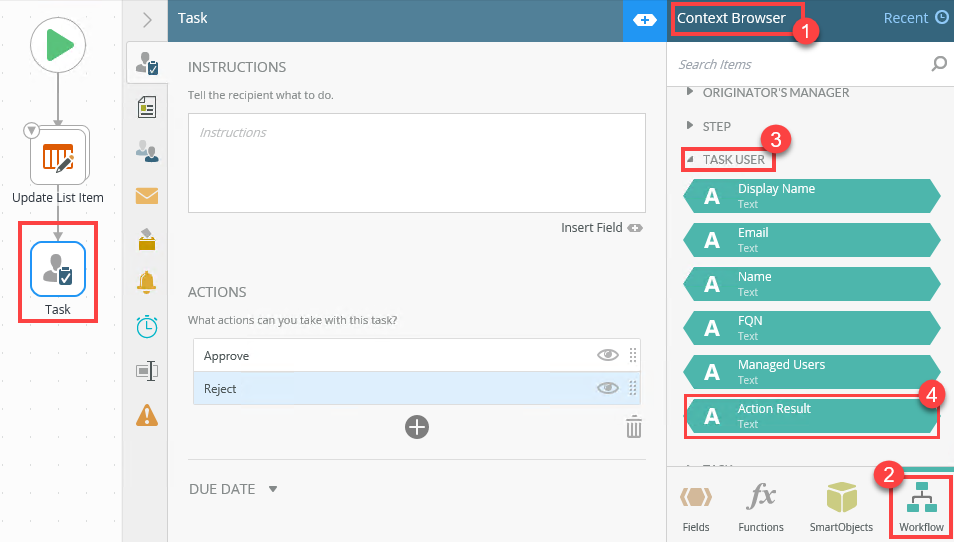
For more about using the Workflow properties in the Context Browser, see Workflow.
- From the Toolbox click the SharePoint category, the List Items category and then drag the Update List Item step onto the canvas. In this scenario, you configure the Update List Item step to update the status column to Pending.
Configure the Update List Item step with the Action Result property
The following step describes how to configure the Update List Item step. You add the Action Result in the step's properties section to update a field on the SharePoint list. In this scenario, you update the Claim Status field on the Claim Details list with the result of the action (Approved or Rejected) taken on the task. If Codi approves the claim, the status updates to Approve. To use properties from the Task User section in other steps of your workflow, you need to use a multi-step and make sure to include the Task step along with the other step where you need to use the Action Result field.
- Configure the Update List Item step with the Action Result property
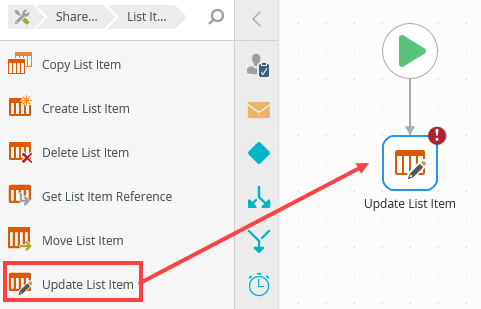
- From the Toolbox click the SharePoint category, the List Items category and then drag the Update List Item step onto the Task step to create a multi-step on the canvas.
- In the List item section select Pick List Items and select Claim Details from the menu.
- In the Properties section, specify the property you want to update its value. To add a property click Add. Select Claim Status from the menu and drag the Action Result workflow property from the Context Browser as the value. In this scenario, the Claim Status field in the SharePoint list is updated to the action taken in the task. When Codi approves the claim, the status updates to Approve. When she rejects the claim, the status updates to Reject.
For more information about using this step, see Update List Item Step.
- From the Toolbox click the SharePoint category, the List Items category and then drag the Update List Item step onto the Task step to create a multi-step on the canvas.
- Configure and complete the rest of the workflow. In this step you also deploy the workflow.
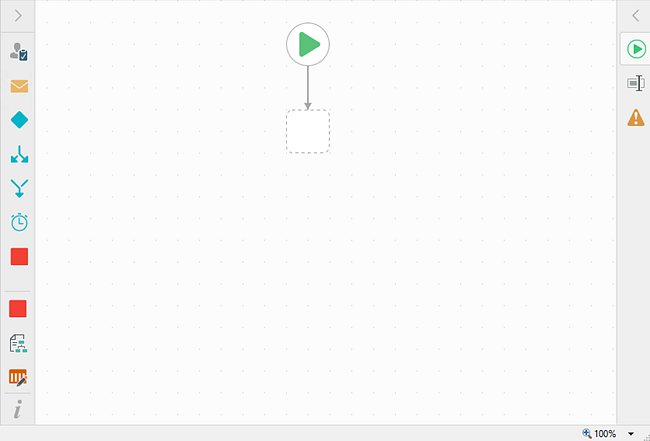
- From the Task step, click and drag a line to create a Placeholder step. Click this placeholder to create the Decision step.
For more information about using this step, see Decision Step. - From the Toolbox, click the Logic category and drag the End step onto the canvas. Connect the step to the Approved action. Do the same for the Rejected action.
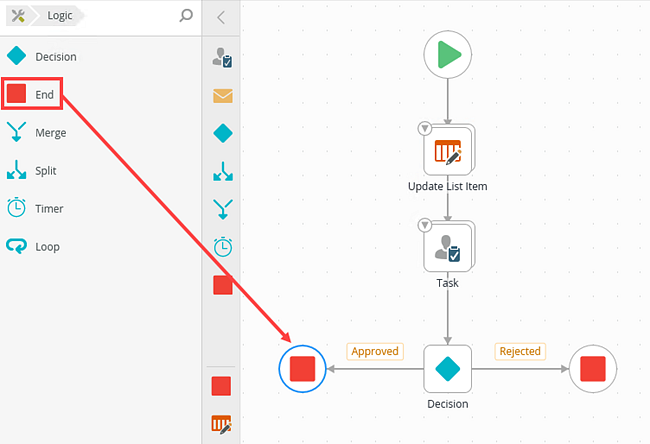
For more information about using this step, see End Step. - The final thing to do is to deploy your workflow. From the File menu select Deploy.
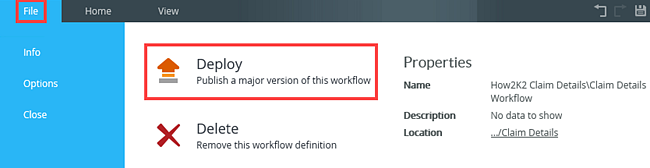
For more information on deploying a workflow, see Deploy a Workflow.
- From the Task step, click and drag a line to create a Placeholder step. Click this placeholder to create the Decision step.
- Test the solution. In this step you complete the New Claim Details form and submit it. This starts the workflow and the Claim Status field on the Claim Details list updates to Pending. Codi receives the task and decides to reject the claim. The status updates to Reject
- Open the Claim Details SharePoint list and select new item.
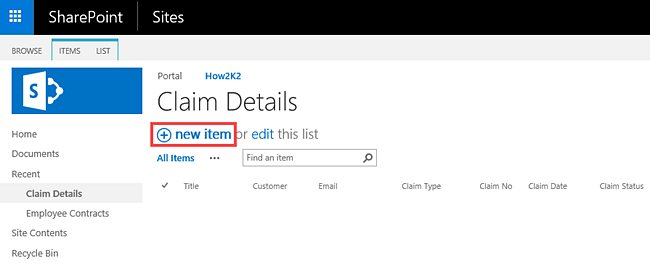
- Complete the New Claim Details form as shown below. Click Save to submit the form.
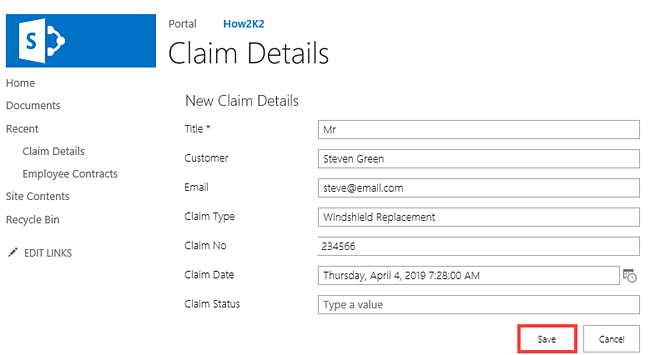
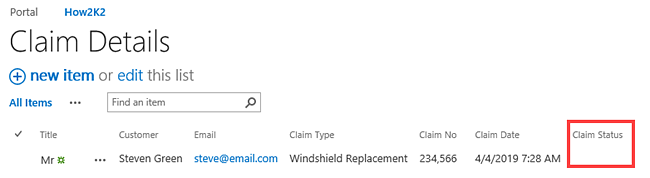
- The item is added to the list. Notice that no status shows in the Claim Status column.
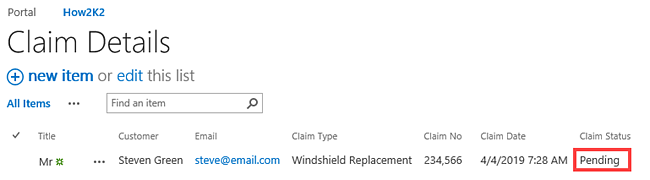
- The workflow starts and updates the Claim Status field to Pending.
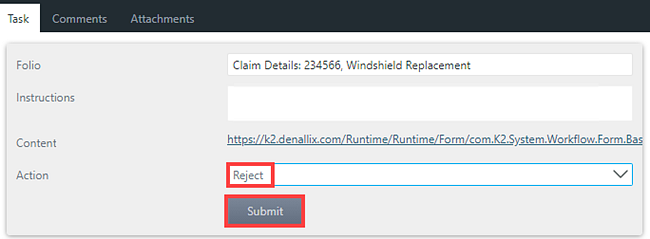
- From Workspace (Desktop), log in as Codi and reject the Claim Details: 234566, Windshield Replacement task. Select Reject from the Action menu and click Submit.
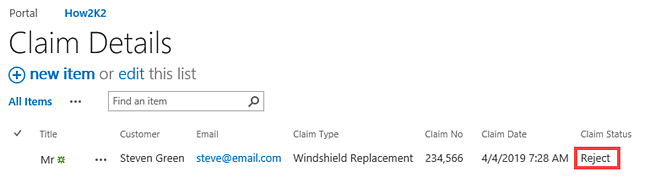
- On the Claim Details SharePoint list, notice that the status is now Reject.
- Open the Claim Details SharePoint list and select new item.
Review
You learned how to use the Action Result workflow property in a simple scenario to update a field in a SharePoint list item with the task action taken.
When you create advance scenarios, such as including multiple task recipients and responses within your task step, and you configure a Send Email step to send an email when an action occurs, multiple emails are sent.
For this scenario to work as expected, you must create a multi-step containing the Task step followed by the Send Email step. Assign it to a group with more than three members and add a custom voting rule to wait for three approval actions. When you add the Action Result property to the Send Email step, every time a member of the group actions the task, the email shows the action taken. This means that the Send Email step, and any other steps that follow the Task step in a multi-step, execute multiple times based on your voting rule.