Conditional Format
You can add conditional formatting on a control or form to apply a format or style when a condition you set is True. Use conditional format on its own or with the Format feature.
If you apply a style profile to your form, and you configure styling using the Format property, your style profile may not behave as expected. See Style Profile for information about using a style profile and Style Profile Considerations and Best Practices for information about the style behavior.
When you click the ellipsis next to the Conditional Format property of a control or form, the Conditional Formatting page opens. Click Add to open the Add Conditional Formatting page. You can drag and drop fields and values from the Context Browser on to the Conditions canvas and select operators to build conditions.
You can build advanced expressions and control how they are evaluated when using multiple conditions. See a preview of the expression in the Preview panel. The same principles apply here as in the Expression Builder. See Configure Advanced Filter Conditions for an example on how to create an expression using multiple conditions.
- Context Browser: Fields available to build a condition in the context of the control or form
- Operator: List of operators available to build your condition logic
You can use the following operators to perform a logical operation on objects and conditions and return a Boolean value.
| Functions | Description | Example |
|---|---|---|
| Equals | Determines if two values or fields are equal | |
| Not Equals | Determines if two values or fields are not equal | |
|
Greater Than |
Determines if the value on the left is greater than the value on the right | |
| Less Than | Determines if the value on the left is less than the value on the right | |
| Greater Than Equals | Determines if the value on the left is greater than or equal to the value on the right | |
| Less Than Equals | Determines if the value on the left is less or equal to the value on the right | |
| Contains | Returns True if a substring is found within another string |
Right value: "12345" Result: True |
| Starts With |
Returns True if a string starts with the specified substring |
Left value: "Ex" |
| Ends with | Returns True if a string ends with the specified substring |
Left value: "ple" Right value: "Example" |
| Is empty | Returns True if a string is empty | |
| Is not empty | Returns True if a string is not empty |
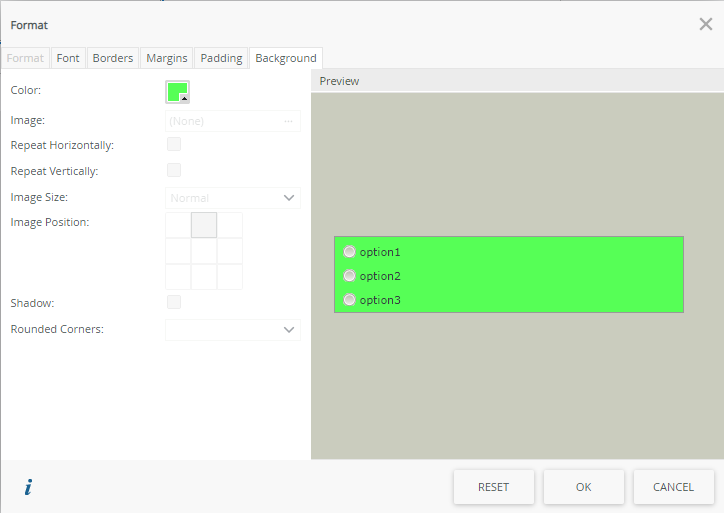
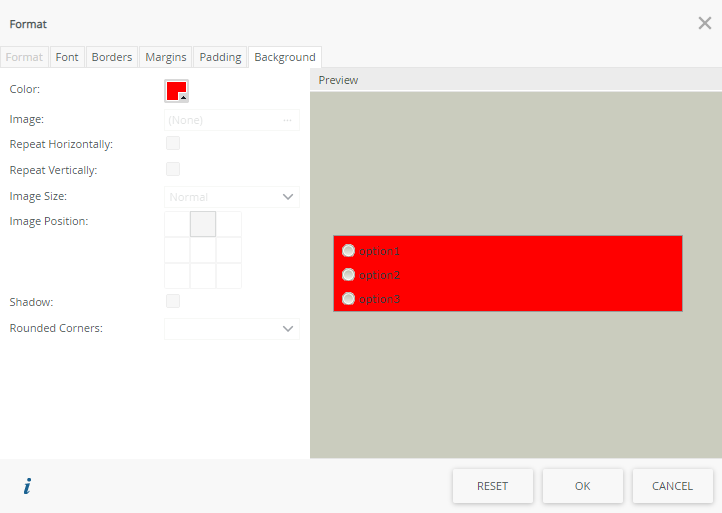
In the example below, a Radio Button List control contains the values Pass and Fail. If you select the Pass option, the background color of the control changes to green. If you select Fail, the background color of the control changes to red. Use the following steps to configure this conditional format:
- Create a view and add a Radio Button List control.
- Configure the control with the values Pass and Fail. To do this, select the control and click the ellipsis next to Type in the Data Source section of the control's Properties as shown below.

- On the Configure Data Source page, select Use a static list of values in the control and click the ellipsis next to List Items as shown below.

- On the Fixed List Configuration page, click Add, type Pass in the Value and Display fields and then select the Default check box. Click Add again and add the Fail values as shown below. Click OK.

- Click OK on the Configure Data Source page.

- Click the ellipsis next to Conditional Format in the General section of the control's Properties.

- On the Conditional Formatting page, click Add to open the Add Conditional Formatting page.

- Specify a name for the condition, click Add under Conditions, and drag the Radio Button List control from the Context Browser into the left condition field and type the word Pass in the right condition field. Note the Preview at the bottom. Click OK. You can add more complex conditions by adding more than one condition and using Expressions to control how they are logically evaluated. Use Preview to verify the statement.

-
Next, the Format page opens. Configure the background color to change to green when you select the Pass option. Click OK.

-
Repeat the steps for the Fail condition.

-
When the Format page opens, configure the background color to change to red when you select the Fail option.
Click OK.

-
The conditions are listed as shown below. Click OK.

- Finish and run the view.
-
The control is green because you selected Pass as the default when you configured the static list of values.

-
When you select Fail, the background color changes to red:

You can use the same method to add a conditional format to a form, such as changing the background color of the form to black when you select the Fail option. To access the Conditional Format feature on a form, click the blank canvas on the form and then click the Conditional Format ellipsis in the Properties tab on the right as shown below. 
- When using Boolean properties in rules on a view or form, true and false values can be represented as:
- True, False
- true, false
- 0, 1 (where 0=False;1=True)
- Yes, No
- When you apply conditional formatting based on a control where you type a value such as a Text Box control, make sure to click outside the control or use tab navigation once you're done typing for the conditional formatting to execute. When you press Enter on your keyboard, the conditional formatting does not execute as it executes Onchange (any time the value of the control is set to a new value).