Send DocGen Package output to recipients for electronic signature with SignNow. You add a SignNow Delivery Option to the DocGen Package, then you create a list of recipients. With the recipients in place, you can tag your templates for signatures. After you create the delivery, add your recipients and update and add a template to Salesforce, you are ready to run the DocGen Package.
Here is a high level breakdown of the process:
-
Add a SignNow Delivery
-
Create one or more recipients
-
Tag template
This feature is supported in the DocGen Lightning Component.
Add a SignNow Delivery
You can add an SignNow Delivery from the DocGen Package Wizard or the Delivery Options related list on a DocGen Package. The wizard offers access to common options for all deliveries, but you must finish configuration from the related list, where you can set up recipients.
To add an SignNow Delivery from the DocGen Package Wizard
Note: You must integrate SignNow with the Nintex Drawloop DocGen® for Salesforce to add a SignNow Delivery. For more information, see SignNow integration.
-
From the Force.com app menu, select Nintex DocGen, and then click DocGen Packages.
Tip: You can also select this from Lightning with the
 App Launcher.
 -
Select New.
-
From Basics, enter required information in these fields:
-
DocGen Package Name
-
Type
-
DocGen Package Starting Object.
For more information, see Create new DocGen Packages with the DocGen Package Wizard.
-
-
From Delivery Options, in Type, select SignNow.
-
In Name, type a name (that the user running the DocGen Package will see) and then configure any remaining fields for standard options.
For more information on the standard options, see Delivery Options.
-
On DocGen Package Templates, select or upload a template and click Save.
To add or edit a SignNow delivery from the Delivery Options related list
Note: You must integrate SignNow with the Nintex Drawloop DocGen® for Salesforce to add an SignNow delivery. For more information, see SignNow integration.
-
From the Force.com app menu, select Nintex DocGen, and then click DocGen Packages.
Tip: You can also select this from Lightning with the
App Launcher. -
Select a DocGen Package you want to add or edit a (Undefined variable: BrandingThirdParty.eSign) Delivery option, and take one of the following actions on the Delivery Option related list.
-
Click New Delivery Option, from Type of new record, select SignNowand then click Continue.
-
From an existing SignNow Delivery, click Edit .
-
-
In Name, type a name (that the user running the DocGen Package will see) and then configure any remaining fields for standard options.
For more information on the standard options, see Delivery Options.
-
(Optional) Select Allow Subject and Email Changes.
Allow Subject and Email Changes - Selecting this checkbox will allow the user who runs the DocGen Package to make changes to the subject and body of the email message at run time.
-
(Optional) In Subject. type text to display in the subject of the email.
Tip: Use Field Tagger to add dynamic content to the subject of your email.
-
(Optional) In Email Text. type text to display in the body of the email.
Tip: Use Field Tagger to add dynamic content to your email body.
-
Click Save.
Note: The Delivery Option Detail page opens where you select recipients. For more information, see Add or edit a recipients to an SignNow Delivery.
Add or edit recipients to an SignNow Delivery
After you add a SignNow Delivery, you must add recipients to sign the output documents. For example, if you needed a client and a representative from your company to sign a contract, then your delivery option would require two recipients.
To add a recipient to a SignNow Delivery
-
From the Force.com app menu, select Nintex DocGen, and then click DocGen Packages.
Tip: You can also select this from Lightning with the
App Launcher. -
From a DocGen Package that has an SignNow Delivery, on the Delivery Options related list, click Name for the delivery option.
-
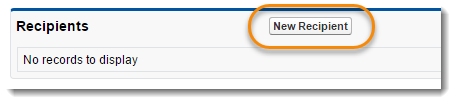
In Recipients, click New Recipient to add a recipient or click Edit to edit an existing recipient.
-
Type - This field determines which type of recipient is being created.
-
In Signing Order, type a number.
Signing Order - The numbers entered here determine the order of your recipients if you have multiple recipients. For example, a value of three means that the recipient will be the third person to receive the document for signing.
-
In Role Name, type a name.
Role Name - Enter the role name for the recipient here. This will be visible to the Salesforce users on the run DocGen Package page
-
Select Required.
Required - Clear this checkbox to make a signature from this recipient optional for the user generating documents. If you select this checkbox, the user generating documents will have to send the documents to this signer for a signature.
-
Clear or select Display Title.
Display Title - Selecting this option will display the recipient's title on the run DocGen Package page.
-
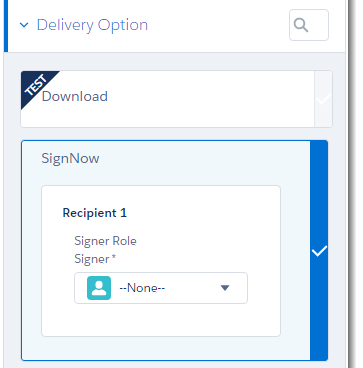
In Specified Signer, select an option to identify this signer.
For more information, see "Common fields for creating recipients" in Signing apps.
-
Click Save.
Send output documents to SignNow for signature
After you add the SignNow delivery and a recipient to your DocGen Package, you can deliver documents to SignNow for signature.
Note: You have to tag your template with the SignNow signing tag before you generate documents. The SignNow tags identify where the signature should appear on the generated document. For more information, see Tag templates for SignNow.
To send output documents to SignNow
-
From the Force.com app menu, select Nintex DocGen, and then click DocGen Packages.
Tip: You can also select this from Lightning with the
App Launcher. -
Select a DocGen Package with an SignNow Delivery with at least one recipient
-
Click Select Record and select a record, a contact, and then the SignNow Delivery. For more information, see DocGen Package object testing.
-
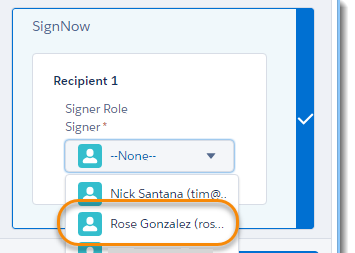
Select a signer (if necessary).
-
Click Run DocGen Package.
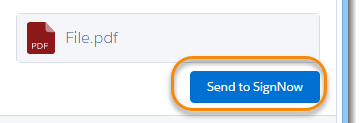
Output files are generated. If you click the document, you can download it.
-
Click Send to SignNow.