Process Discovery GUI Installation
Currently, you can not uninstall the Process Discovery Server through the System Manager's GUI installer. However, uninstallation can be completed using the Silent Installation (CLI).
Nintex System Manager provides a comprehensive solution for the installation of Process Discovery.
Jump to:
Prerequisites
To install Process Discovery with the System Manager, you must have the following prerequisites in place:
- The application server where the installation will take place, configured with the prerequisites for Nintex Process Discovery.
- The Seq server.
- MariaDB and MongoDB installed.
-
Ensure that you have access to the server hosting MariaDB and MongoDB databases and that you have full credentials, including usernames and passwords, for these databases.
To ensure proper functionality, you must establish an open connection between all of the servers. - A prepared authentication database for Keycloak.
- The Nintex System Manager executable file:
NintexSystemManagerSetup.exe. - The zip file of the product you want to install, upgrade, or patch (for example,
nintex-pd-23.8.0-full). - (Optional) You can use SSL/TLS for secure connections, and we support different certificate file options: PFX (PKCS#12), CERT, KEY, and PEM files. Make sure to have the necessary files for your chosen option, and ensure that each server in a multi-server installation has a certificate installed.
Types of installation
Use the Nintex System Manager command-line interface (CLI) to generate configuration and secrets files, encrypt/decrypt secrets files, and to install or uninstall components. Each command outputs basic information in PowerShell when it is run, and full logging is available in Seq. If errors occur, see the log in Seq to troubleshoot.
To customize and configure Process Discovery, you can use either the regular silent installation or the TLS silent installation, which includes extra settings for security.
The Graphical User Interface guides you through the installation process. Typically, the System Manager GUI guides you through the following:
| Page | Description |
|---|---|
| Welcome | Page to select the ZIP file that you want to install. |
| Setup | Page used to enter server details and specify the desired destination folder. |
| System check | Verifies that your system meets the necessary requirements for installing the software. |
| Configurations | Page to configure the preferred connection option and specify the desired port. |
| Optional features | Page to enable or disable key features. |
| Third parties | Page to configure settings for various external components used in the system. |
| Install | Page that shows the progress of the installation process. |
| Completion | Indicates the successful completion of the installation process. Choose to launch the System Manager immediately or exit the installer. |
Installation flow
Below are the recommended steps to follow for installing Process Discovery:
The primary means of installing RPA is through the use of the System Manager, which provides a user-friendly graphical interface. This is the recommended method for most users. Alternatively, you can also opt for the Silent installation (CLI) method if you prefer.
To install the System Manager, follow these steps:
-
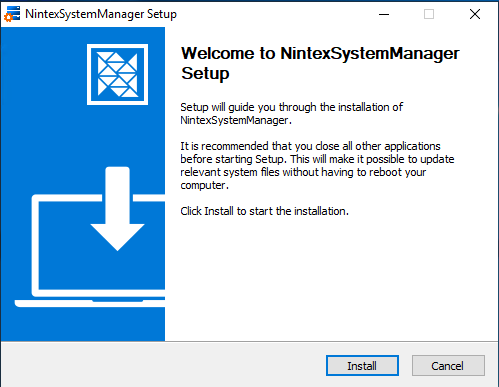
Run the System Manager executable file,
NintexSystemManagerSetup.exe. -
Click Install.
-
(Optional) Select the Run NintexSystemManager checkbox to launch the application immediately after installation.
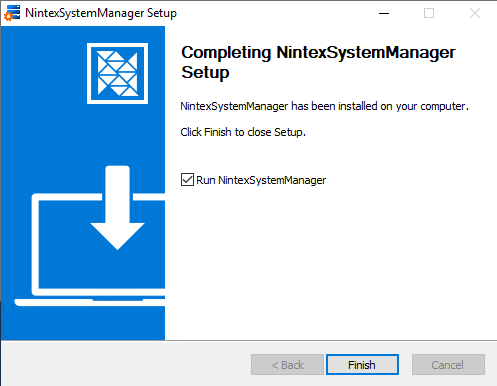
-
Click Finish.
Once you have successfully downloaded the System Manager installer, follow these steps to install the Process Discovery server:
-
Locate the downloaded System Manager installer file and double-click on the icon to launch the installation wizard. Or, right-click on the Nintex System Manager icon and choose Run as administrator.
-
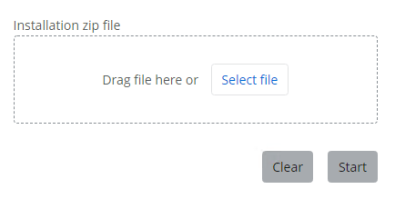
Drag a ZIP (.zip) file into the designated box or select the ZIP file by clicking Select file. Note that only the selection of ZIP (.zip) files is allowed.
-
Click Start to begin the installation process.
If you need to start over or change the selected file, click Clear to remove the current selection and start again.
- Configure the necessary fields on the Setup page.
-
Ensure that your system meets the minimum requirements on the System check page.
-
Configure the necessary fields on the Configurations page.
-
Enable or disable feature toggles on the Optional features page.
-
Customize settings for external components on the Third parties page.
-
Click Install >.
Post-installation steps
-
Proceed with the installation of the Discovery Robots.
-
Log in to Console Plus to discover and manage processes.
-
(Optional) Change configuration parameters: If you need to make changes like enabling TLS or configuring masking, you can do it by using the Silent installation instructions (CLI). There is no need to uninstall the previous version. Simply rerun the System Manager installation and adjust the
config.jsonandsecrets.zipfiles as required.