Upgrading from PD v. 21.6 to v. 22.3
About
The procedure described below aims to provide you with all the needed steps to perform an upgrade without losing the recorded sessions of the users.
Contact IT support for any difficulties with the upgrade.
Steps Overview
Step 1: Back up the previous version
Step 2: Stop Nintex running services
Step 3: Uninstall the existing Nintex Process Discovery
Step 4: Validate that all Nintex services got deleted
Step 5: Third-party applications
Step 6: Install PD Server version 22.3
Step 7: Post-installation configuration
Step 8: Connect the Process Discovery Robot to the server
Steps
Step 1: Back up the previous version
Back up the licenses, configuration, and application definitions:
-
Copy-paste the license file directly to the Backup folder.
-
Copy-paste the PDDR keys directly to the Backup folder.
-
Make sure that you have all the credentials needed for MariaDB and MongoDB (server name, usernames, and passwords). If not, you can find them under
C:\Kryon\config\prod\general-
mongodb-connector-kryon-db.json
-
mongodb-connector-kryon-db-admin.json
-
mysql-connector-kryon-admin.json
-
mysql-connector-kryon.json
-
Nintex License file (.llk)(C:\Kryon\PDServer):
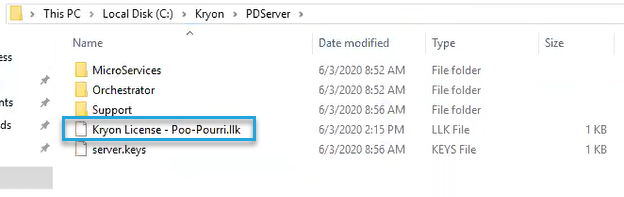
Nintex pddr.keys file (D:\Kryon\PDServer\Support):
Step 2: Stop Nintex running services
-
Open the Services desktop application.
-
Search for all three of the Nintex services and stop them.
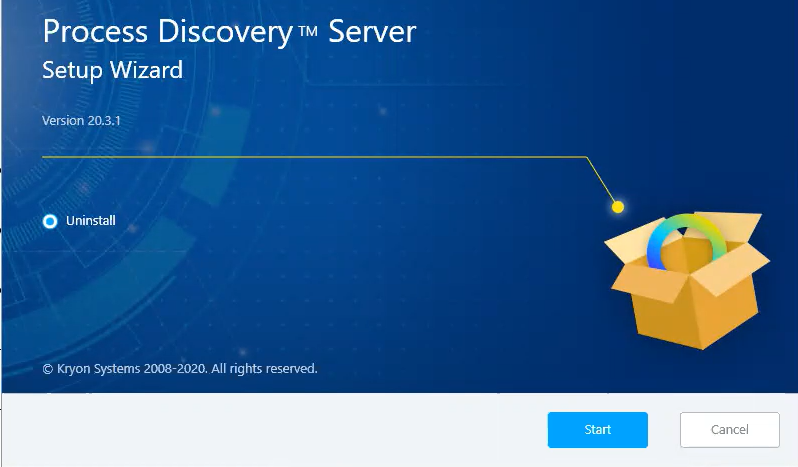
Step 3: Uninstall the existing Nintex Process Discovery
Uninstall the currently installed Nintex Process Discovery version with the uninstall wizard.
-
Navigate to Add or remove programs > select Nintex Process Discovery Server > click Uninstall.
-
Click Start to uninstall. Let the wizard run until completion.
Step 4: Validate that all Nintex services got deleted
If there is any parts of the services are still present, open CMD and run:
sc delete <service name>
Step 5: Third-party applications
To align the new PD version with the supported third-party applications:
-
Uninstall NodeJS.
-
Uninstall RabbitMQ.
-
Uninstall Erlang.
-
Restart the machine.
-
Delete the Erlang folder from the
D:\Kryon\Erlang and NodeJS folder. -
Upgrade MariaDB.
See details here: Upgrading MariaDB v10.4 to v10.67
Step 6: Install PD Server version 22.3
All clients must be upgraded to the latest version as well (22.3)
Install Nintex Process Discovery 22.3 from PD Download.
When prompted, make sure to select your existing and backed-up license file.
See: Step 7: Installation Package Contents
Follow the instructions and make sure to use the customize page to:
-
Connect MariaDB & MongoDB to the existing database.
-
Update the host, users, password, and test connection.
-
Use NGINX port 80.
If TLS configuration is needed, apply it in this step.
Step 7: Post-installation configuration
-
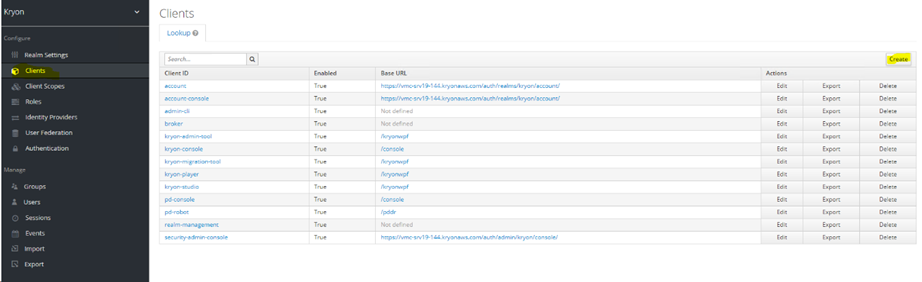
Log in to the Aerobase console.
-
Go to Clients (under Configure on the left pane).
-
Click the Create button on the far right of the screen.
-
Download and save this JSON file to your computer: kryon-server.json
-
Go to Credentials and copy the Secret string.
-
Open
C:\Kryon\config\prod\general\keycloak-token-client.json. -
Update "keycloakClientSecret" with the secret key that you copied.
-
-
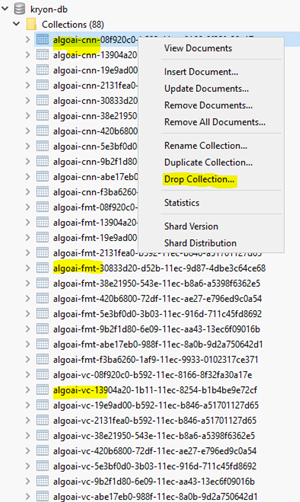
Open Robo3T (MongoDB).
-
For each team: Right-click and Drop Collection for each of the collections with strings that begin with:
-
algoai-cnn
-
algoai-fmt
-
algoai-vc
-
-
-
Open CMD and for each team run the
fixCache command:cd C:\Kryon\PDServer\Support\kryon-admin-cli
set CONFIG_DIR=C:\Kryon\config
set NODE_ENV=prod
set KRYON_ENC_CFG=C:\Kryon\config\prod\general\kryon-decrypt.json
set NODE_PATH=C:\Kryon\PDServer\MicroServices\node_modules
set NODE_TLS_REJECT_UNAUTHORIZED=0
node bin/cli --tenant={tenantId} --provider=rawData --command=fixCache
All recordings will now be available in the Console.
-
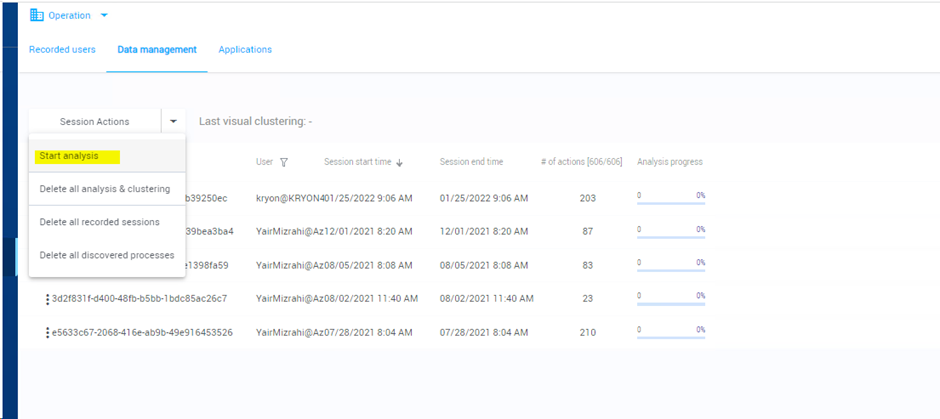
For each team, a new analysis needs to be performed.
Console > Setting > Data management > Session Action > Start analysis
Step 8: Connect the Process Discovery Robot to the server
-
Open the backed-up pddr.keys file and copy the last row:
Kryon_PD_Web_Client/pddr = <phrase>If you are using the same pddr.keys with no change, please contact support.
-
Update the pddr.keys file in the server under:
D:\Kryon\PDServer\Support -
Download
Kryon_DiscoveryRobotSetup.exe from: PDDR -
Run installation of the PDDR.
-
Use the updated pddr.keys file when prompted in the installation.
-
In All recorded users in the Console, select the robot.
Console > Settings > Cog Icon > All recorded users