Send an email reminder
Use this option to send a reminder email to someone on, before, or after a specific period of time or on a specific date. You can create multiple email reminders on the same step.
- With the Task step selected, click the Reminders tab.
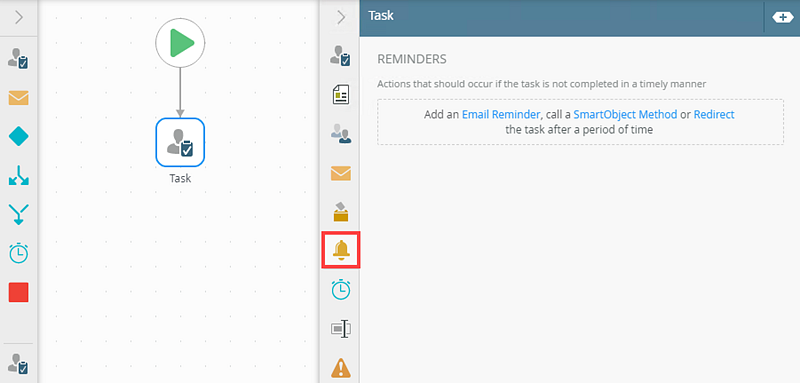
- Click the Email Reminder link.
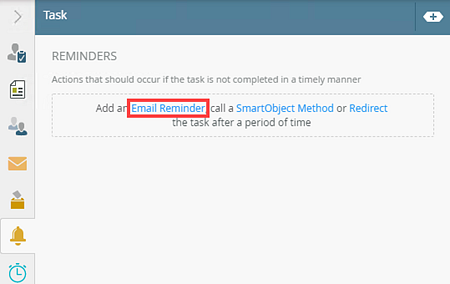
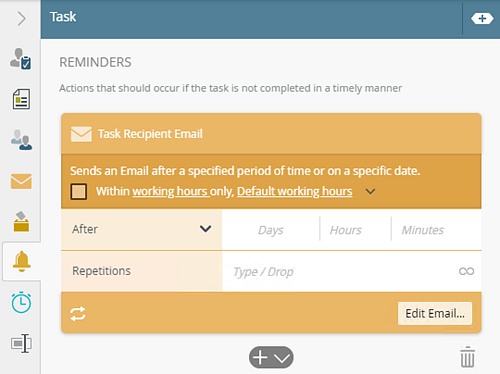
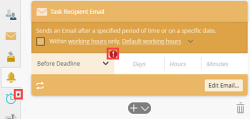
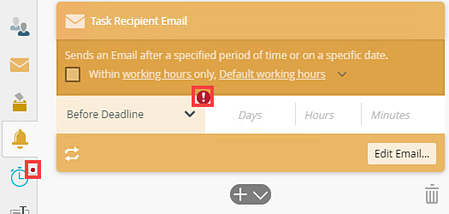
- The Task Recipient Email reminder shows.
The following table explains the reminder options available:
Option Explanation How to Use Task Recipient Email Title Use this to edit the title of the reminder. 
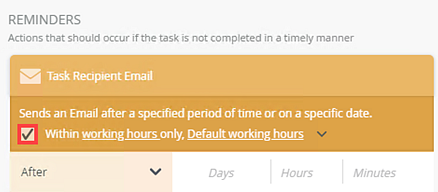
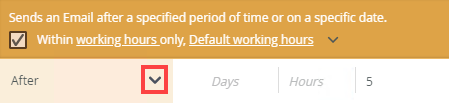
Click the Task Recipient Email title to edit it. Within Working Hours Only Within working hours only allows you to set the reminder to take the specified working hours into account when calculating when the reminder should occur. This function applies when either the On Date or After option is selected. If you select one of these options, the reminder will execute on a specific date or after the set time, but take working hours into consideration. If you don't select the Within Working Hours only option, the reminder does not take working hours into consideration (so in some cases, the reminder actions could occur sooner, which may not be when people are in the office).
For example: suppose that you want to send an email reminder, and you configured the reminder to run 30 minutes After. You also configure this reminder to happen within working hours, and you selected the Sales team working hours zone, which is set up as Monday through Friday, 8 am - 5 pm.
- Suppose the task starts at 2PM on a Friday. Since this is still within working hours for the Sales team, the system will send the reminder email at 2:30PM, because 30 minutes of working time have elapsed.
- Now suppose that the task starts at 10AM on a Saturday. Since this time falls outside of working hours for the sales team, the system waits until working hours start at 8AM on Monday, and then starts counting down. This means that the system sends the reminder email at 8:30AM on Monday, once 30 minutes of working time have passed.
To define the working hours for your organization, click the working hours link. You must have access to, and admin permissions in, Management to set the working hours. For more information on how to set your working hours see Work Hours. Keep in mind that working hours are based on static time zones because you select a specific time zone when defining the working hours. If you want the time zone to be dynamic and change depending on some condition (such as a user's geographical location), select the Type/Construct my own option to add logic that determines which working hours configuration to use when calculating the time limit.
Select the Type/Construct my own option to configure which working hours should apply to your reminder. You can use this approach to specify a dynamic value for the working hours, based on some logic. This option is useful when you have global users across multiple time zones. You can, for example, use the result of a SmartObject method and/or functions to determine where a specific user is based, return the name of that working hours zone, and then use the returned working hours zone value in the Within working hours only option to match their location.
Type values or create dynamic values by dragging Functions, Fields, SmartObjects and Workflow-related items from the Context Browser into the fields.
The Default working hours menu has a list of working hours defined by your administrator. If you have not defined any working hours, the Default working hours option is selected.
By default, the Within Working Hours Only option is not checked.
Check the Within Working Hours Only box.
Click the working hours link to edit or add the working hours parameters.
Click the Default working hours menu to select a preconfigured set of work hours or select Type/Construct my own to configure a dynamic time zone.
After Use this to configure a deadline after a task is assigned such as 7 days. After is the default option and allows you to set days, hours, minutes, and seconds. You can use a single field or multiple fields, such as two days or one hour and 30 minutes. You cannot use decimal values such as 9.5 hours. Instead use 9 hours and 30 minutes.

You can use the left and right arrows to see more, or use the expand button to expand the content as shown in the example below.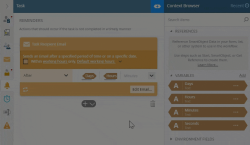
Click the After option. Enter values in days, hours, minutes, and seconds.
Type values or create dynamic values by dragging Functions, Fields, SmartObjects and Workflow-related items from the Context Browser into the fields.
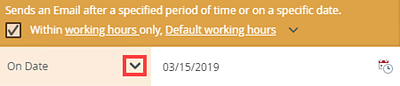
On Date Use this to add a deadline on a specific or calculated date. Use the calendar picker to set a date or use a function such as Tomorrow.
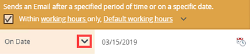
Select the On Date option. Click the calendar picker to show the date picker then select a date using the calendar control.
Type values or create dynamic values by dragging Functions, Fields, SmartObjects and Workflow-related items from the Context Browser into the fields.
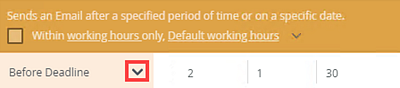
Before Deadline Use this to set the reminder some time before the task is due.
Set days, hours, minutes, and seconds. You can use a single field of multiple fields, such as two days or one hour and 30 minutes. You cannot use decimal values such as 9.5 hours. Instead use 9 hours and 30 minutes.
You can use the left and right arrows to see more, or use the expand button to expand the content as shown in the example below.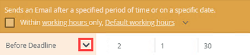
If you have not defined a deadline, validation indicators show on both the reminder and the Deadline tab of the step. For more information see Error Console and Indicators.
The Within working hours option does not apply when you select the Before Deadline option. When you configure the task reminder to send an email to someone else before the deadline, Work Hours are not taken into consideration. If your company's working hours are, for example, Monday through Friday, 8 am - 5 pm, and the task reminder is due outside of those hours, the reminder is sent at that time and does not wait until the next working hour.
Select the Before Deadline option.
Type values or create dynamic values by dragging Functions, Fields, SmartObjects and Workflow-related items from the Context Browser into the fields.
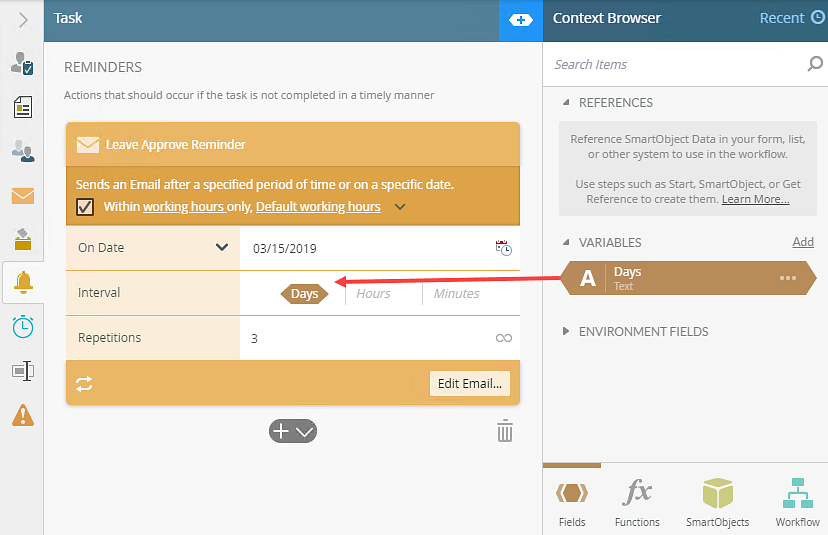
Repetitions / Intervals Use this to specify reminder intervals and repetitions, select the repeat icon to show:
Interval - Enter values in the Days, Hours, Minutes or Seconds fields. Enter values individually or in combination. You can use the left and right arrows to see more, or use the expand button to expand the content as shown in the example below.
Repetitions - Type values (numbers only) or create dynamic values by dragging Functions, Fields, SmartObjects and Workflow-related items from the into the fields. Select the infinity icon to set infinite repetitions.
- When you configure On Date or Before Deadline, make sure to specify both an interval and a repetition value.
- When you use the Infinite setting in the Repetitions field and the interval resolves to zero (0), the reminder will not behave as expected at runtime. Ensure you manually configure an interval greater than zero (0), or if using dynamic values, ensure the value does not resolve to zero (0) or and empty value.
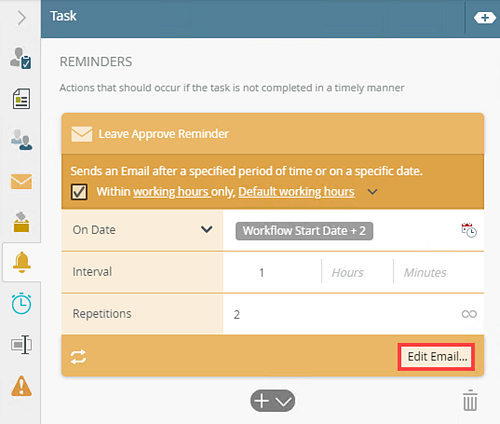
Click the repeat icon to set reminder intervals and repetitions. Edit Email... Use this to send the reminder email to the task recipients. The reminder email is sent to all recipients configured on the Recipients tab. Use the Subject, Body, and Attachment fields to customize the email message. For more information see the Task Recipient Email panel section in this topic.
You can copy content from an external source such as a web page or a Microsoft Office document (Word or Outlook) and paste it into the Body field. When you paste the content, it is sanitized and stripped from any malicious or unsupported content. This improves performance and the security and integrity of the configuration.
Click the Edit Email... button to customize the email reminder. Add / Toggle / Trash bin buttons Use the Add (+) button to add more reminders.
Use the Toggle button to open the menu and add a different reminder type.
Use the Trash bin button to delete added reminders.
Click the Add button to add more reminders.
Click the toggle button to toggle between the different reminders. Click the Trash bin to delete reminders.
- Check the Within working hours check box to enable this feature. This allows you to set the reminder to occur within specified working hours. If you select one of these options (On Date or After), the task expires on a specific date or after the set time within the specified working hours. If you don't select this option, the deadline does not take these hours into consideration (and in most cases the deadline or reminder occurs sooner).
- You can define working hours on your environment to store the working hours for your organization, or to create different zones for different departments and offices in the organization. To configure them, click the working hours link. You must have access and admin permissions in Management to set the working hours. For more information on how to set your working hours see Work Hours. In this example, five different working hours are available in your organization.
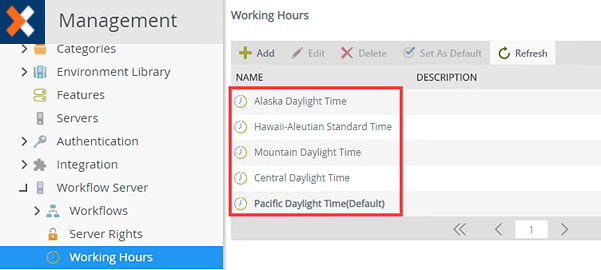
- To view and set the predefined working hours in the reminder, click the Default working hours link menu. By default, the Default working hours option is selected. In this example, select Central Daylight Time from the menu.
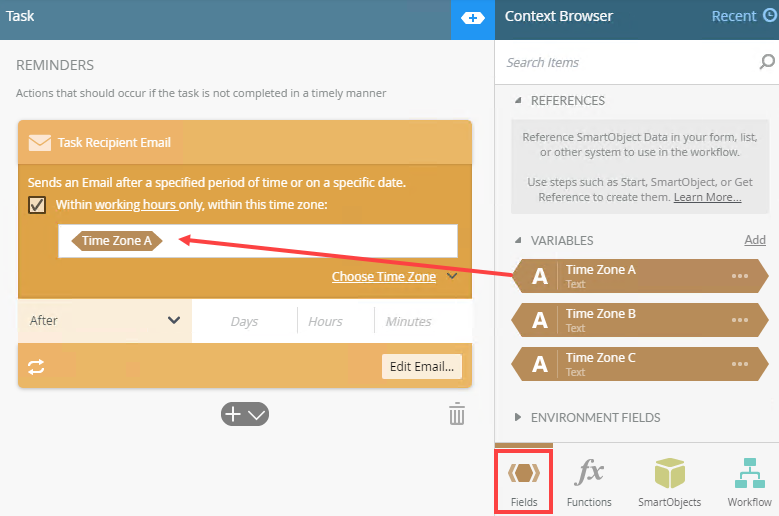
- To create a dynamic time zone, select the Type/Construct my own option.
Here you can specify a dynamic value for the working hours. This option is useful when you have global users across multiple time zones.
- You can use a combination of SmartObject calls and functions to determine where a specific user is based, and then use a variable in the Within working hours only option that matches their location.
Type values or create dynamic values by dragging Functions, Fields, SmartObjects and Workflow-related items from the Context Browser into the fields.
- To revert to static working hours, select one from the Choose Time Zone link menu.
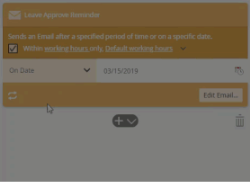
- From the menu, select one of the following options; On Date, After, or Before Deadline. In this example the On Date option is selected. Use the calendar picker to select a date or drag a dynamic SmartField into the field. When you select the After or Before Deadline option, you can enter values into the field. Enter values in days, hours, minutes, and seconds. You can use a single field or multiple fields, such as two days, or one hour and 30 minutes.
- Click the repeat icon to configure the repetitions or intervals. Click the infinity icon to set an infinite repetition.
- Use the infinity icon to toggle between edit and infinite mode.
- Type values or create dynamic values by dragging Functions,
Fields,
SmartObjects and
Workflow-related items from the Context Browser into the fields.
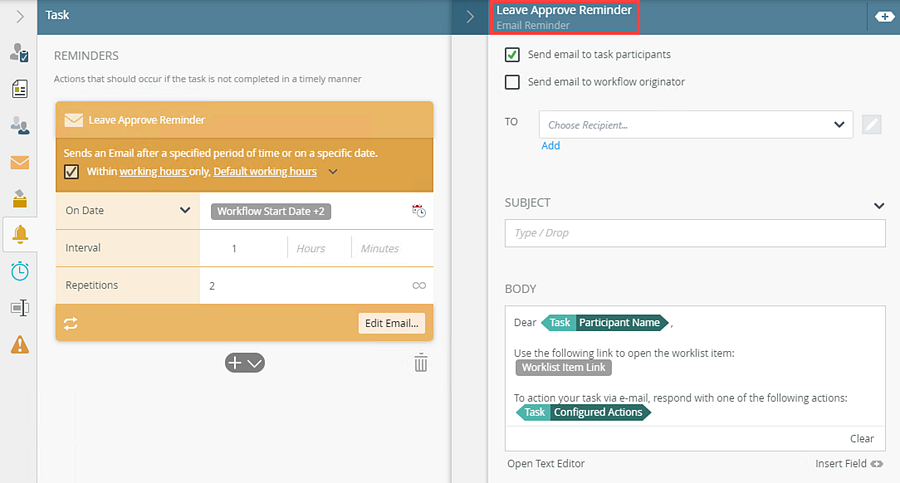
- Click Edit Email... to expand the email panel.
-
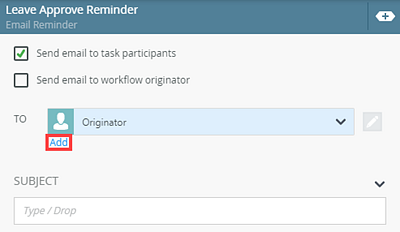
The Leave Approve Reminder panel displays.
- Safe Tags (elements): a, abbr, acronym, address, area, article, audio, aside, b, bdi, bdo, big, blockquote, br, caption, center, cite, code, col, colgroup, dd, del, details, dfn, div, dl, dt, em, font, footer, h1, h2, h3, h4, h5, h6, header, hr, i, img, ins, kbd, li, mark, nav, ol, p, pre, s, samp, section, small, span, sub, sup, strong, table, tbody, td, tfoot, th, thead, tr, tt, u, ul, var, video, wbr
- Safe Attributes: align, alt, autoplay, border, cite, color, colspan, controls, coords, datetime, dir, face, height, href, loop, open, preload, rowspan, shape, size, span, src, style, target, title, valign, width
- Safe Styling properties (applied inline): background, background-attachment, background-clip, background-color, background-image, background-origin, background-position, background-repeat, background-size, border, border-bottom, border-bottom-color, border-bottom-left-radius, border-bottom-right-radius, border-bottom-style, border-bottom-width, border-collapse, border-color, border-image, border-image-outset, border-image-repeat, border-image-slice, border-image-source, border-image-width, border-left, border-left-color, border-left-style, border-left-width, border-radius, border-right, border-right-color, border-right-style, border-right-width, border-spacing, border-style, border-top, border-top-color, border-top-left-radius, border-top-right-radius, border-top-style, border-top-width, border-width, box-decoration-break, box-shadow, box-sizing, box-snap, box-suppress, break-after, break-before, break-inside, clear, color, color-interpolation-filters, display, display-inside, display-list, display-outside, font, font-family, font-feature-settings, font-kerning, font-language-override, font-size, font-size-adjust, font-stretch, font-style, font-synthesis, font-variant, font-variant-alternates, font-variant-caps, font-variant-east-asian, font-variant-ligatures, font-variant-numeric, font-variant-position, font-weight, height, letter-spacing, lighting-color, list-style, list-style-image, list-style-position, list-style-type, margin, margin-bottom, margin-left, margin-right, margin-top, max-height, max-width, min-height, min-width, padding, padding-bottom, padding-left, padding-right, padding-top, text-align, text-align-last, text-combine-upright, text-decoration, text-decoration-color, text-decoration-line, text-decoration-skip, text-decoration-style, text-emphasis, text-emphasis-color, text-emphasis-position, text-emphasis-style, text-height, text-indent, text-justify, text-orientation, text-overflow, text-shadow, text-space-collapse, text-transform, text-underline-position, text-wrap, width, word-break, word-spacing, word-wrap
-
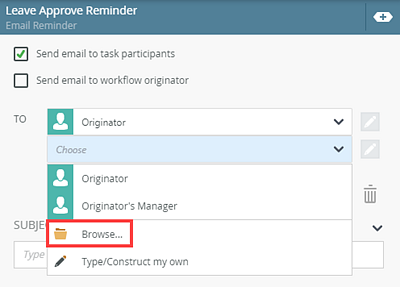
To select a recipient click the To menu. By default, the workflow originator is selected. Other options in this menu include Originator's Manager, Browse, and Type/Construct my own.
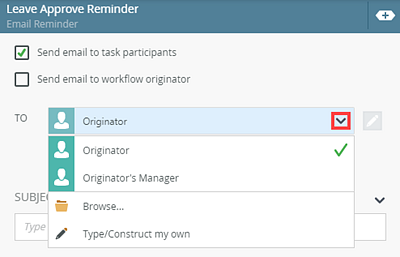
For more information on dynamic recipients, see the Create a Dynamic Recipient topic. - To add another recipient, click the Add link.
- From the menu, select the Browse option.
For more information about the different browse states and errors, see the Browse States topic.
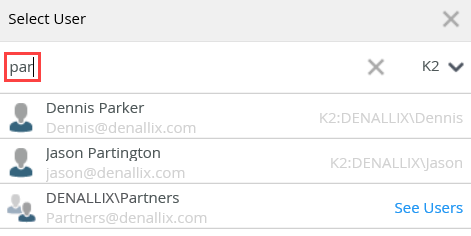
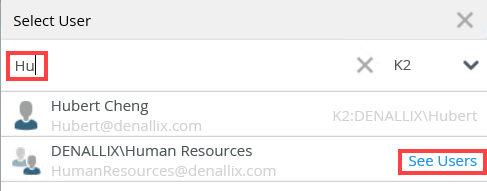
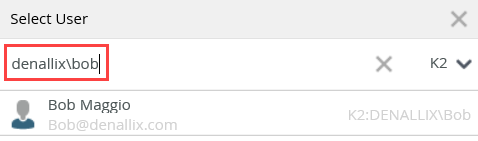
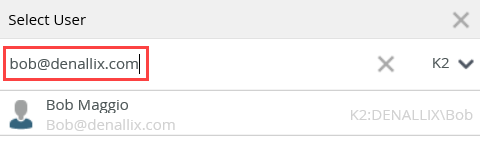
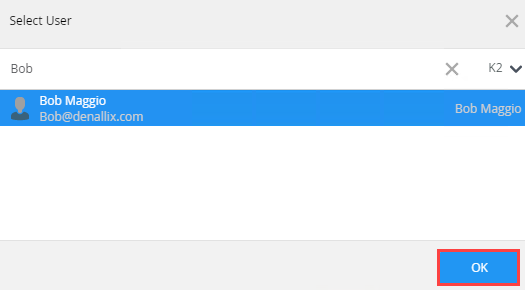
- The Select User page displays. In the Search Items field, type the name of the user. Use the menu to choose which label to search.
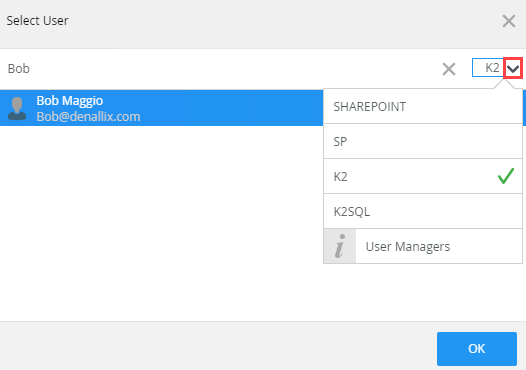
Use any of these methods to search for a user or group:
You can drag a SmartObject or variable from the Context Browser into the To, CC and BCC fields to add a user or group.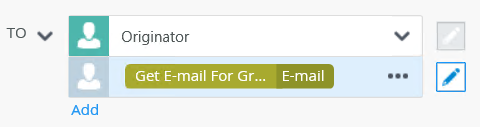
For more information about sending an email to users based on a Get List SmartObject, see the How to: Use the All items as a collection topic.
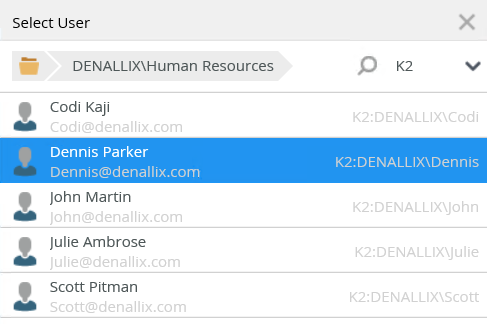
- Select the user and click OK.
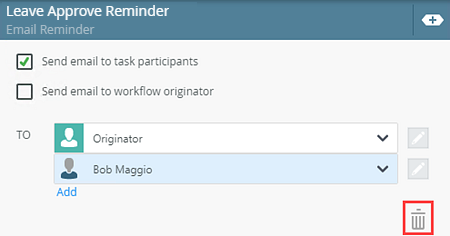
- To remove a recipient, select one and click the Trash bin icon.
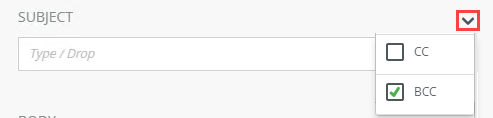
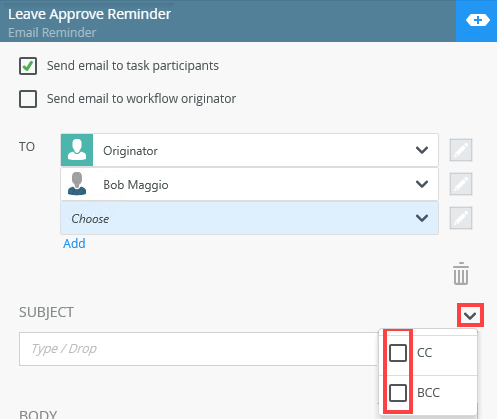
- Click the send email type menu icon to select and add Cc or Bcc recipients to the email.
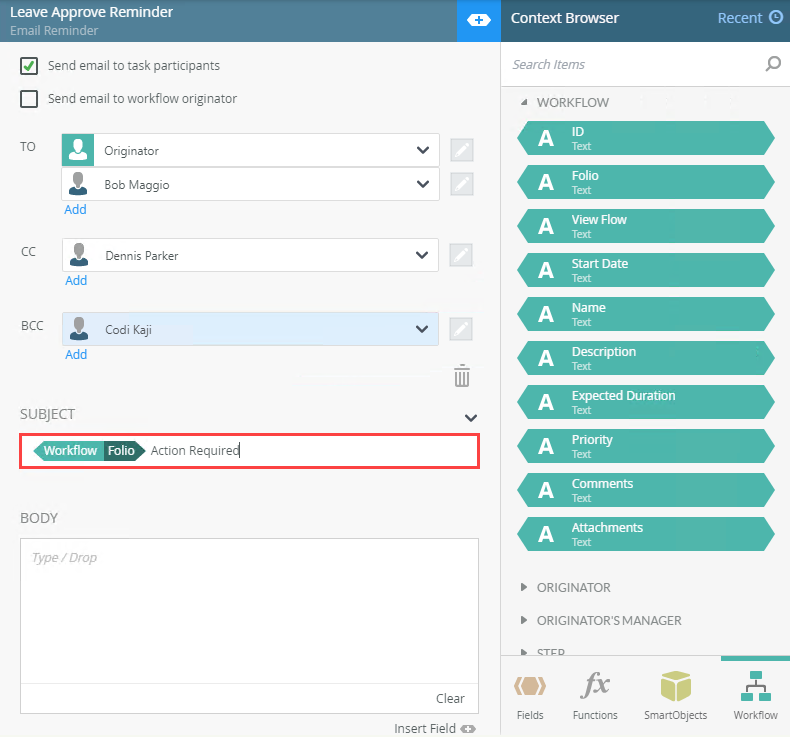
- Click the Subject field and type a value, use inline functions, or use dynamic fields by clicking the expand or collapse toggle to expand the Context Browser. Within the Context Browser, select inline functions from the Functions, Fields, SmartObjects or the Workflow categories to define your function. Click and drag the function on to the field.
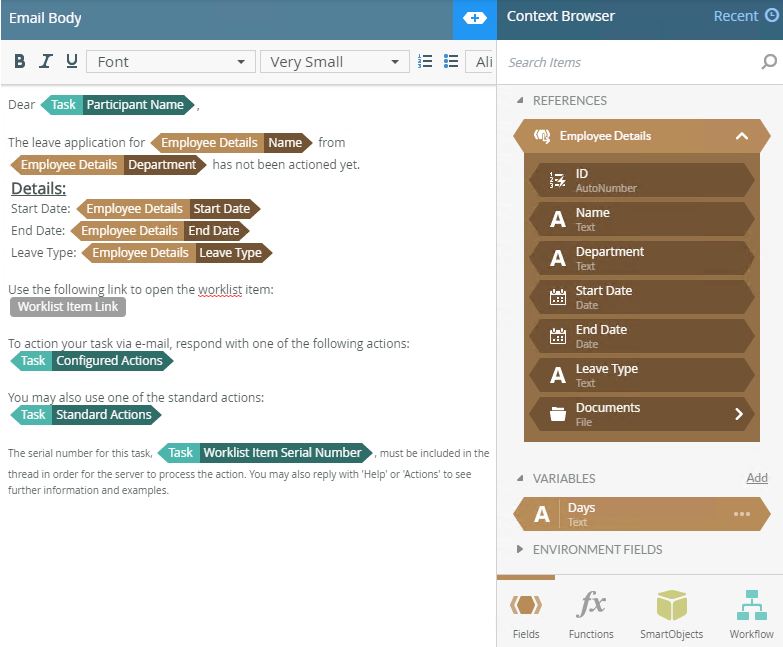
- Use the standard email notification template or type content into the Body field to customize the body of the email. Type values or create dynamic values by dragging Functions,
Fields,
SmartObjects and
Workflow-related items from the Context Browser into the fields.
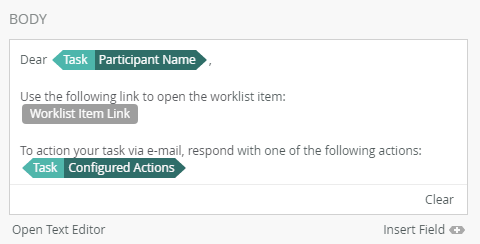
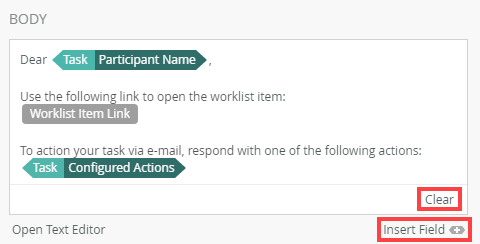
- To clear the default template format from the body, click the Clear link. Click the Insert Field link to expand the Context Browser.
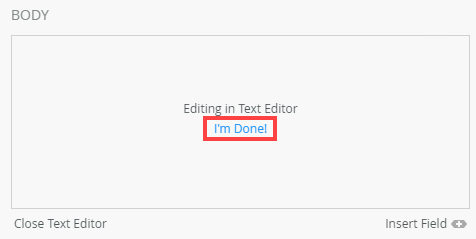
- To make further customizations of the body you can use the expanded text editor panel by clicking Open Text Editor
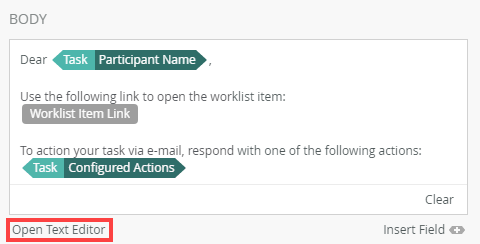
- The panel displays on the right with a toolbar where you can set font properties for the notification body.
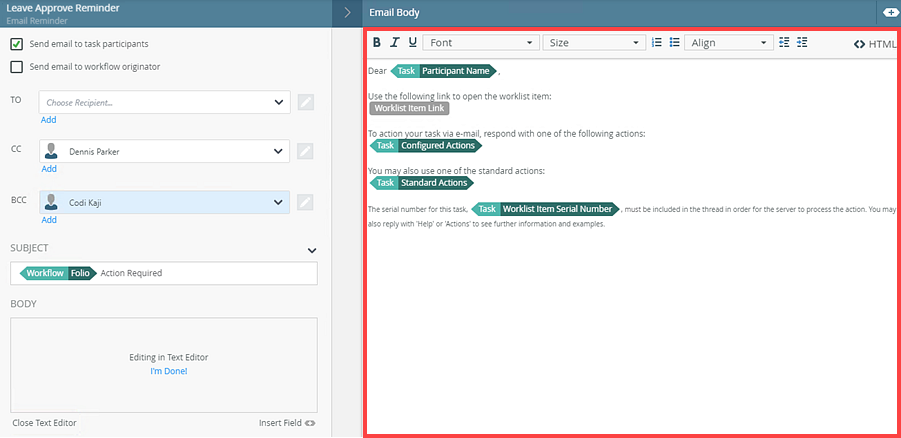
- Edit the body as necessary for the customized notification. You can use the text formatting tools such as Font, Font size, Bold, Italic, Underline and Align. You can use the Context Browser to drag fields and functions to define the email body.
Add fields by clicking Insert Field to expand the context browser.
- Use the HTML button to toggle rich text and HTML modes. In rich text mode, you create or edit rich text content, such as for email and notifications that are lengthy and require custom formatting and more dynamic content.
The We can't render this HTML in Rich text view message shows when you use an unsafe tag or attribute in your HTML text configuration. - Click the I'm Done link to collapse the panel when you're finished editing the body.
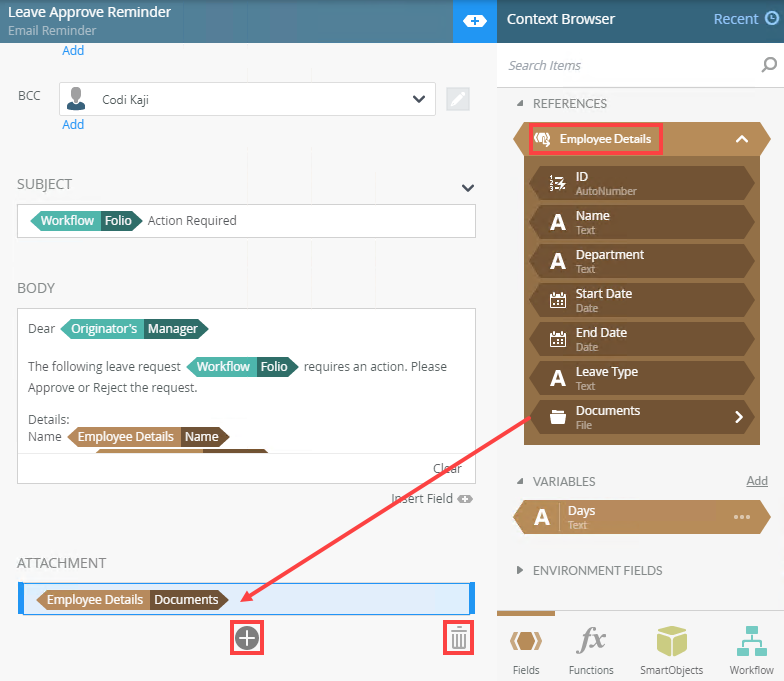
- To link attachments to the email notification, click Add Attachment.

- You can use a reference, a function, or a SmartObject method that returns a file in the Attachment field. Click Add to add more attachments. To remove an attachment, select it and click the Trash bin. In this example a document, such as a sick note, is attached to the email notification using an Employee Details reference.
For more information on how to use SmartFields, see the Smartfield Composer topic.
- Click Add to add additional reminders. Click the Trash bin to delete reminders.
- Click the toggle button to add a different reminder.
-
Your changes are automatically saved.


For more information on how to use SmartFields, see the Smartfield Composer topic.
The following table explains the available options:
| Option | Explanation | How to Use |
|---|---|---|
| Send email to task participants | Use this to send the reminder email to the task recipients. The reminder email is sent to all recipients configured on the Recipients tab. To send the reminder email to different recipients, uncheck the check box and add alternative recipients. By default, this option is selected. |
Check the check box to enable this option. |
| Send email to workflow originator | Use this to send the reminder email to the workflow originator. |
Check the check box to enable this option. |
| To | Allows you to specify additional users or groups to receive the reminder email. |
Select a user or group from the menu. Click the Edit button to type / construct your own user. Click the Add link to add additional recipients. If you want to specify multiple email addresses in the same line, use a semicolon as the separator, for example: codi@denallix.com;bob@denallix.com |
| Subject |
Specify a subject for the email. You can type text and drag and drop values from the Context Browser to create a unique subject line. |
Type a descriptive subject line for the email, and/or drag and drop inline functions and field properties from the Context Browser into the field to create dynamic content. |
| Email Send Types menu
(Cc and/or Bcc) |
Click the menu icon next to the Subject label to include Cc and/or Bcc recipients for the task reminder email. |
Select a user or group from the menu. Click Edit to type, construct or drag and drop an email address, username or group from the Context Browser into the field. Click the Add link to add additional recipients. If you want to specify multiple email addresses in the same line, use a semicolon as the separator, for example: codi@denallix.com;bob@denallix.com To add , Cc or Bcc properties, click the drop icon next to the label, and check the relevant check boxes for the email properties that you want to add. To remove a property from the email, uncheck the check box. |
| Body |
Customize the body of the notification. A standard email notification template is added by default, but you can create a custom message. As with the subject, you can create dynamic content using items from the Context Browser. You can click and drag items or click the Insert Field link.You can directly type a message into the body, or alternatively use the Text Editor to create formatted content. Using the Text Editor gives you access to formatting to specify things like font, font size, bold, italic and underline formatting, and text alignment. In the Text Editor, you can toggle between the rich-text editing mode and HTML editing mode by clicking the HTML button. You can copy content from a web page or Microsoft Office application and paste it into the Text Editor of the Body field. When you paste the content, it is stripped of all malicious or unsupported content which improves performance and the integrity of the platform. Using HTML mode
When editing the HTML for an email, pay attention to the safe HTML tags, attributes, and styling properties, and do not use items that are not listed here:
If you use an unsafe item you see the error message We can't render this HTML in Rich text view.
These tags (elements), attributes, and styling properties are used to validate the content you add in HTML editing mode, which is done before you toggle to rich-text editing mode.
You may see the We can't render this HTML in Rich text view message in cases where your HTML is malformed or when you use SmartFields within a tag’s declaration or an attribute. For example, if you put a Smart Field in a reference tag such as (<a href=”[SomeSmartField]”>Click Here</a>), you see the message and rich text rendering is blocked to keep the SmartField visible. |
Manually type the email message, and/or drag and drop values from the Context Browser into the body to create dynamic content. Click the Insert Field link to expand the Context Browser. Click the Open Text Editor link to open the rich text panel to edit font type, size and alignment. Use the HTML button to toggle between rich text and HTML modes. Click the Clear link to clear all text, inline functions, and field properties from the body. To close the panel, click the I'm Done! link. |
| Attachment |
Add attachments to the email. You can use a reference, a function, or a SmartObject that returns a file in the Attachment field. |
Click the Add button to add attachments fields. Drag and drop a document reference, function that returns a file, or a SmartObject property that returns a file to add the attachment to the email. |
| Priority |
Use this to select the priority level for the email. You can select between Low, Medium, or High priority. By default, the priority is set to Medium. |
Select the value from the Priority menu. |