How To: Create a SmartObject to connect to a SQL Database
You can use an advanced SmartObject to access data from a SQL Server database. For example, you can create a SmartObject of a table in a SQL database, and then create a SmartForm view to read and edit the data stored in that database.
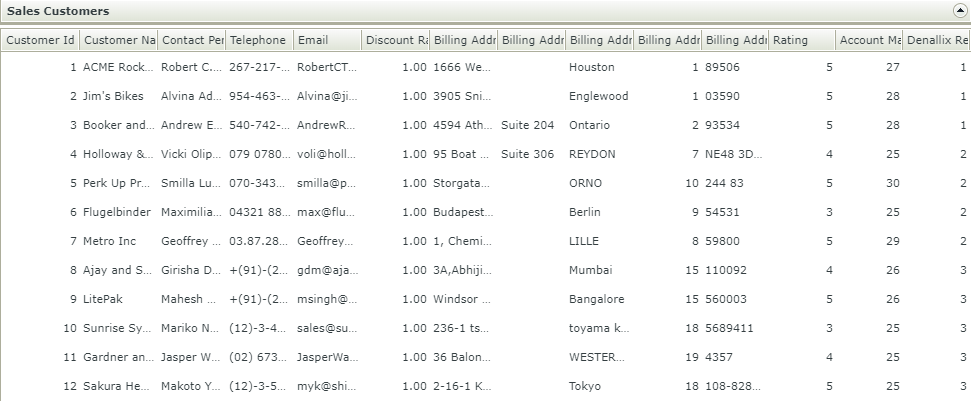
SmartForm view of the Sales - Customer data from a SQL database table
Scenario
Your company has a SQL database used by your Sales organization to store customer content. You need to create a list view of customers from the customer database table.
Steps
First, create a SQL database and then create a new SQL Server Service Instance to connect to the SQL database. Next, you create an advanced SmartObject for the tables/views/stored procedures in the database that you want to interact with. There are two ways you can create the advanced SmartObject:
- Create an Advanced SmartObject in Designer
- Use the Generate SmartObjects option in Management > Integrations > Service Instances
Once the SmartObject is created, you create a SmartForm to display the data.
Setup Steps
The following steps set up the scenario from start to finish. If you want to skip the setup steps and view the topic step, go to Create an advanced SmartObject to access the SQL data.
- Create a database to connect to. This database must be on the same server where your database is hosted. This is to avoid setting additional security and permissions.
- For this example, you must create a SQL database called Learning. Alternatively, you can use the following SQL script to create the database. Ensure the Service Account has db owner rights to the database.
- The database requires the following:
Table Name Table Customer Column Name Data Type Column Setting Columns CustomerId int (Autonumber) Primary key CustomerName nvarchar(50) ContactPerson nvarchar(50) Telephone nvarchar(50) Email nvarchar(50) DiscountRate decimal(4, 2) BillingAddressLine1 nvarchar(50) BillingAddressLine2 nvarchar(50) BillingAddressCity nvarchar(50) BillingAddressCountry int BillingAddressPostalCode nchar(10) Rating int AccountManager int DenallixRegion int - Create entries in the database. If you used the SQL script, entries already exist. Ensure you assign rights to your Service Account.

- Use the table settings below to configure a new service instance of the SQL Server Service service type in Management. This data source provides look-up values for the sales categories.
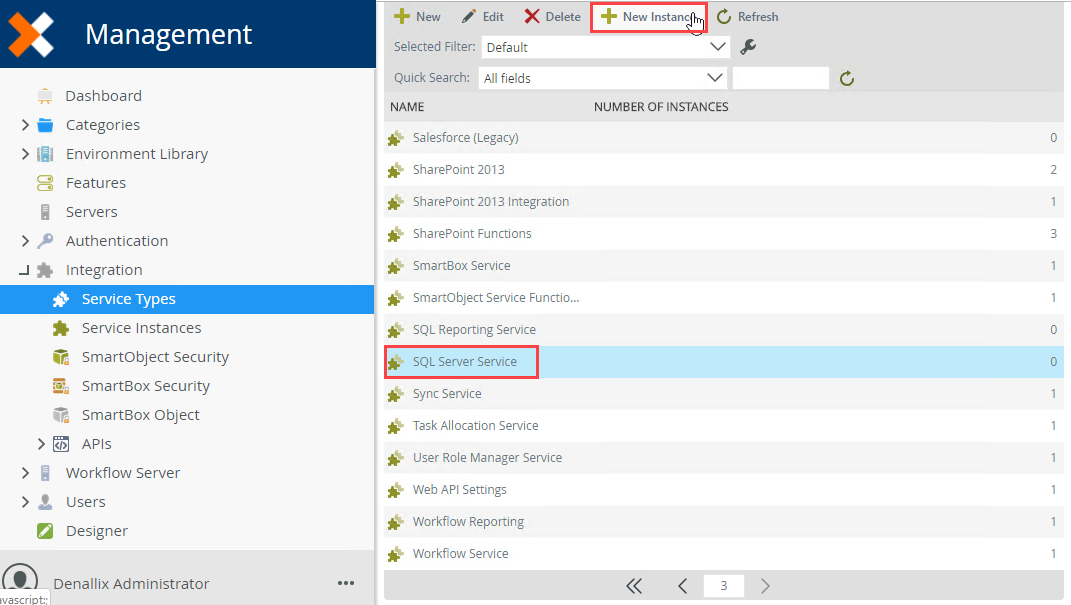
Field Name Setting A Display Name Tutorial Sample SQL Database B Description This is the service instance of the sample database used in the Learning tutorial. Service Type SQL Server Service (default) C Authentication Mode Impersonate (Ensure Impersonate is selected) D On Different SQL Server false E Command Timeout 90 F Database Learning G Server LOCALHOST (Alternatively your SQL server name) H Generate SmartObjects for this Service Instance UNCHECKED - In the Management menu, expand the Integration node, then click Service Types. You will see current service types displayed in the central pane. Scroll through the service types until you locate SQL Server Service. You can also use the search option instead of scrolling through the pages. (You may see more than one result returned.)
- Select SQL Server Service, then click the New Instance button in the toolbar.
- Use the table below to configure the service instance. There is an image below the table for reference as well. If a setting is not indicated in the table, assume the default value. Click OK when you have entered the configuration settings, and then click OK for the confirmation dialog. (It may take a few seconds for the confirmation dialog box to appear).
Field Name Setting A Display Name Tutorial Sample SQL Database B Description This is the service instance of the sample database used in the Learning tutorial. Service Type SQL Server Service (default) C Authentication Mode Impersonate (Ensure Impersonate is selected) D On Different SQL Server false E Command Timeout 90 F Database Learning G Server LOCALHOST (Alternatively your SQL server name) H Generate SmartObjects for this Service Instance UNCHECKED 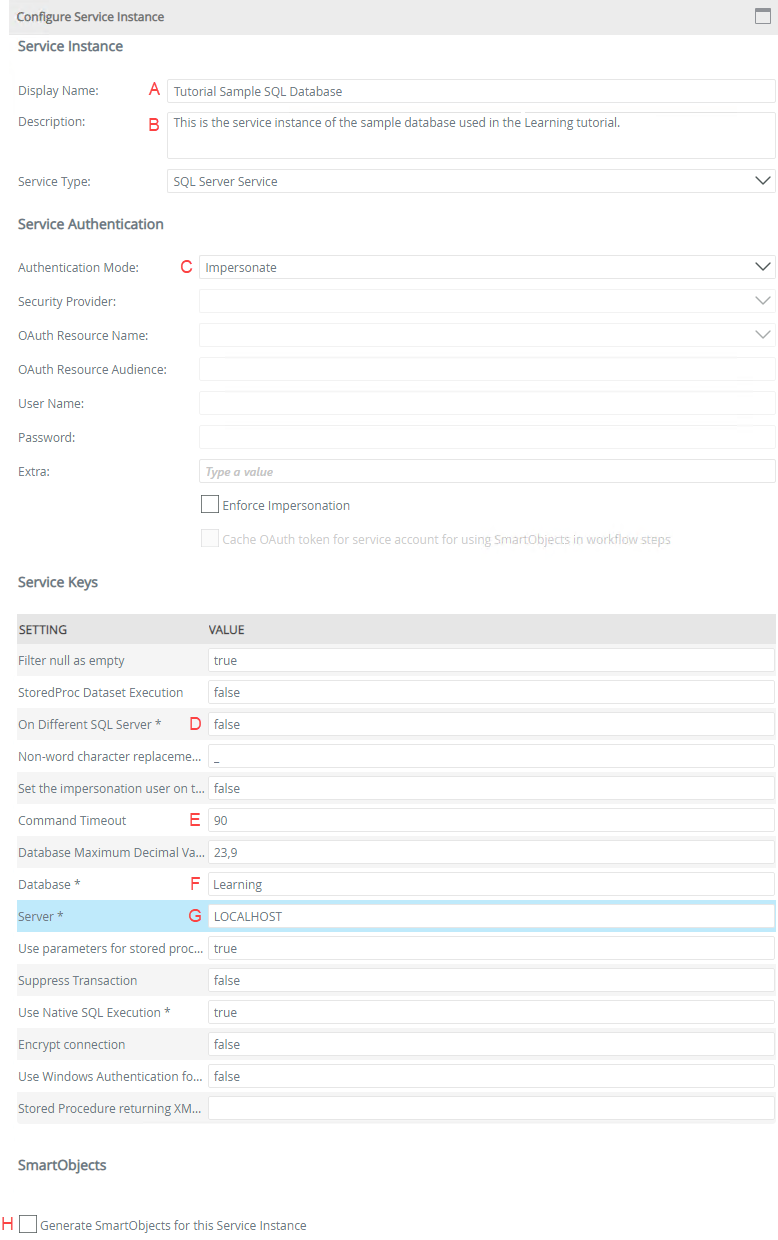
- Click OK.
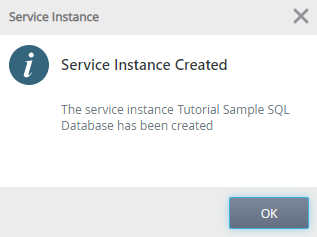
- Click OK to close the service instance pop up.
Create an advanced SmartObject to access the SQL data.
The steps below explain how to create an advanced SmartObject in Designer, mapping through your new SQL Server Service instance to the SQL Sales - Customer data table.
- In Designer, create an advanced SmartObject named Sales-Customers and map it to the Tutorial Sample Database SQL Server Service to the List method of the [Sales].[Customer] table.
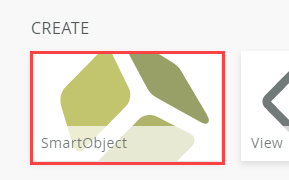
- In Designer click the create SmartObject option.
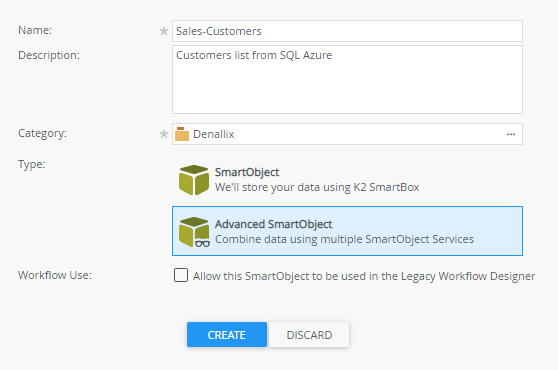
- Specify Sales-Customers as the SmartObject name.
- Specify a Description and select a Category. In this scenario the category is Denallix.
- Select Advanced SmartObject as the type. Click Create.
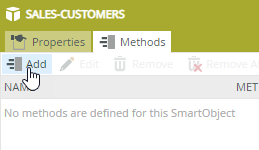
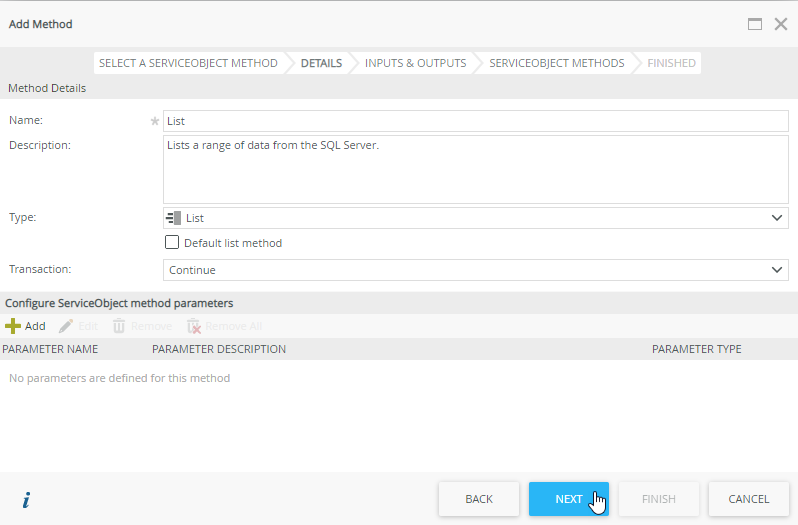
- Select the Methods tab.
- Click Add.
- Select the List method of the Tutorials Sample SQL Database > Tables > [Sales].[Customer] table.
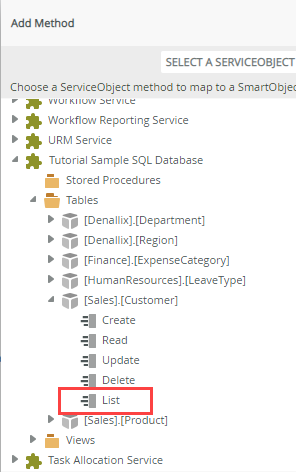
- Click Next.
- On the Inputs and Outputs screen click Create All. This creates the SmartObject properties and maps them to the properties of the SQL table.
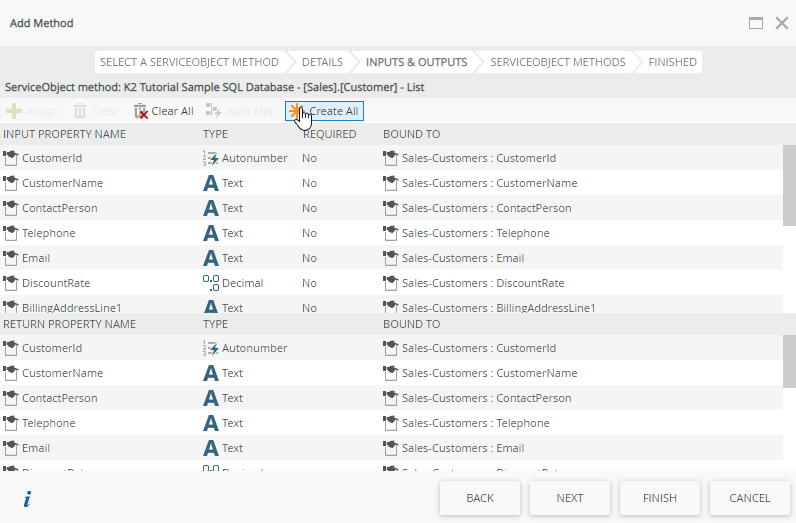
- Click Next.
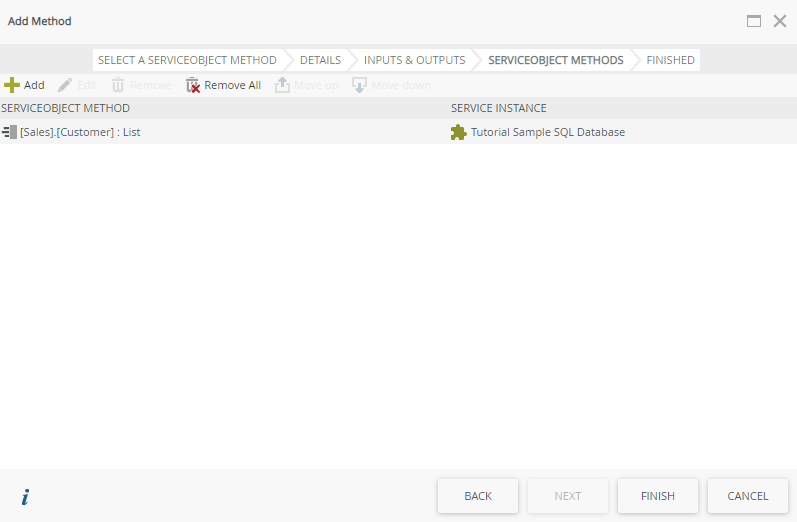
- Click Finish.
- Select the Properties tab. Your SmartObject properties should look similar to the following image:

- Click Finish.
- In Designer click the create SmartObject option.
-
Create a List View of your Sales-Customers SmartObject.
If you are not familiar with creating views, see How To: Create an Item View and a List View.
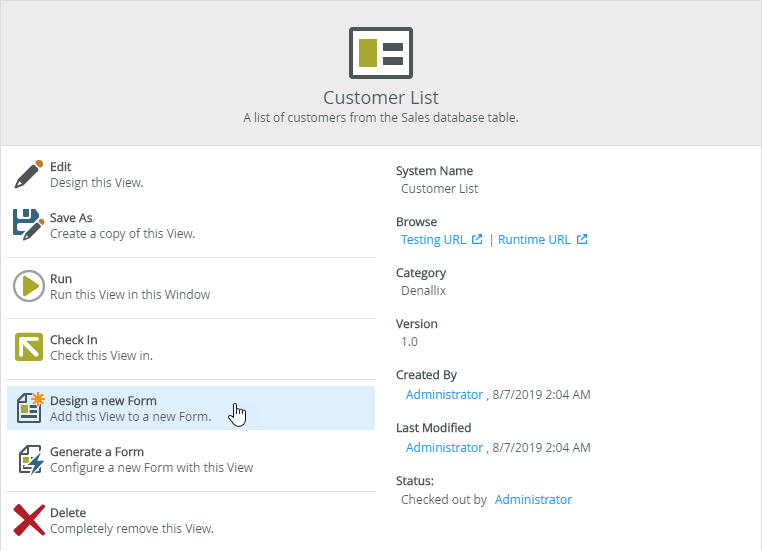
- On the Sales Customers SmartObject page click Design a new View.
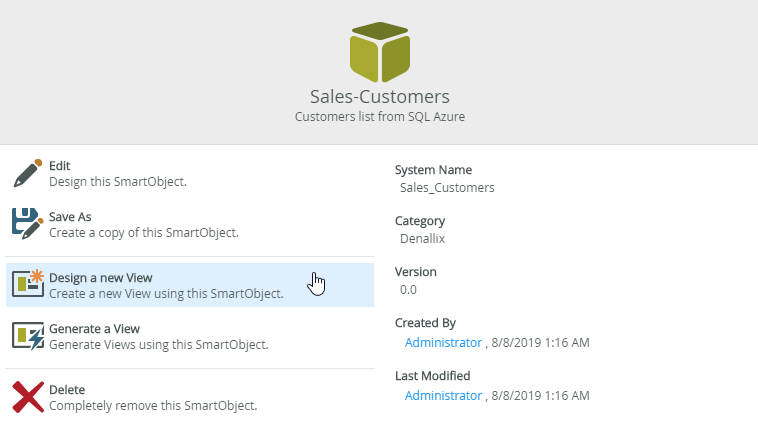
- Specify Customer List as the name.
- Specify a Description and select a Category.
- Select List View as the View Type.
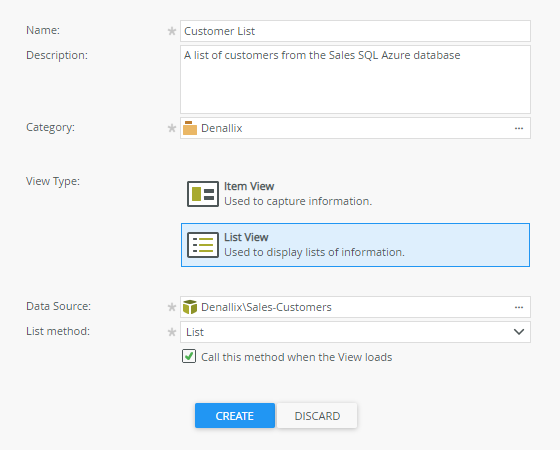
- Click Create.
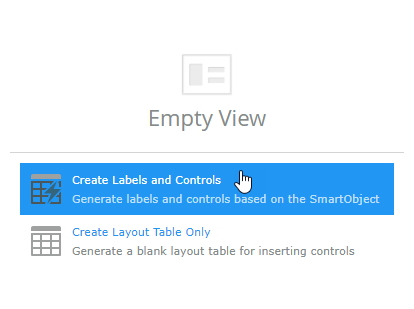
- Click Create Labels and Controls.
- Check the All Fields check box to select all the SmartObject fields.
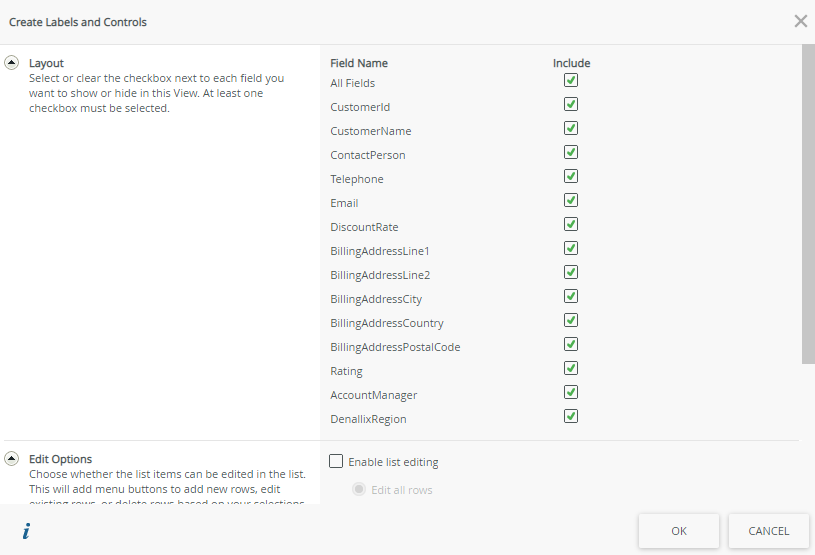
- Click OK.
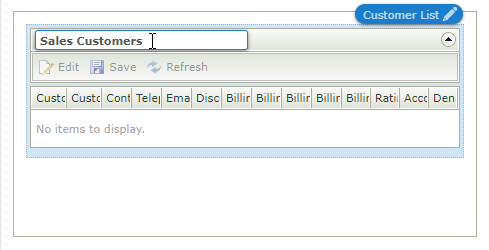
- Your view should look similar to the image below:
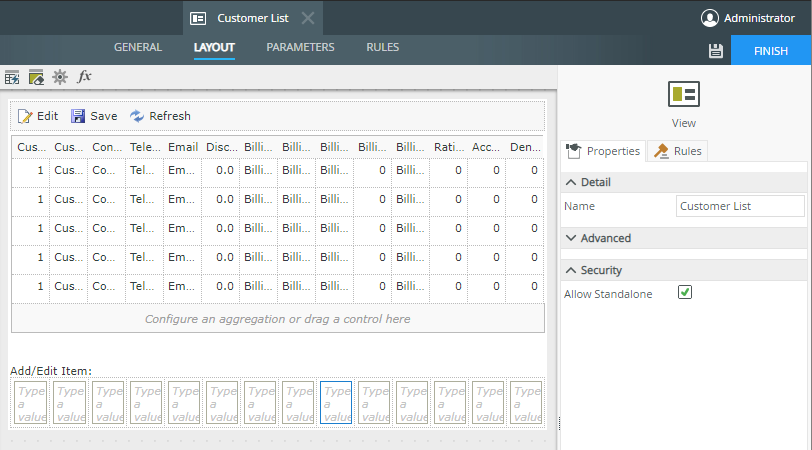
- Click Finish.
- On the Sales Customers SmartObject page click Design a new View.
- Create a form to host the Customer List view.
If you are not familiar with creating forms, see How To: Create a Form.
- On your Custom List view page click Design a new Form.
- Specify Custom List Form as the name.
- Specify a Description and select a Category.

- In the form title, specify Sales Customers.
- Click Finish.
- On your Custom List view page click Design a new Form.
-
Test your SmartForm and view the list of customers from SQL.
- On your Customer List Form page click Run.
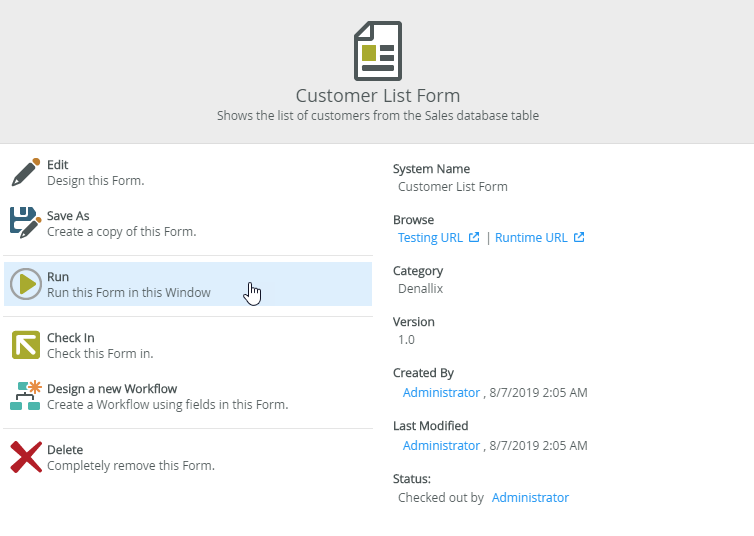
- Your SmartForm should load and show the list of customers, as shown in the following image:
- On your Customer List Form page click Run.
Create an advanced SmartObject using the Generate SmartObjects option from the service instance
You can create the Sales - Customers SmartObject in Management using the Generate SmartObjects option on the service instance page.
-
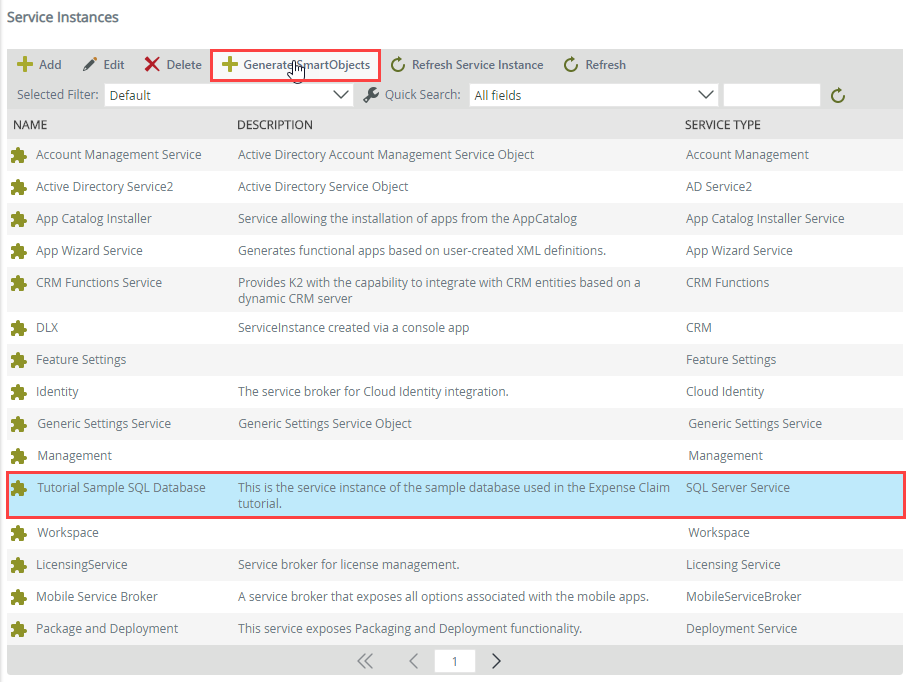
In Management navigate to Integration > Service Instances > Tutorial Sample SQL Database and use the Generate SmartObjectsoption to create a SmartObject of the [Sales].[Customer] table.
- In Management navigate to Integration > Service Instances.
- Select the Tutorial Sample SQL Database SQL Server Service instance.
- Click Generate SmartObjects.
- Expand the Tables node and enable the [Sales].[Customer] table check box.

- Click OK.
- Rename the generated SmartObject to Sales-Customer and move the SmartObject to the Denallix category.
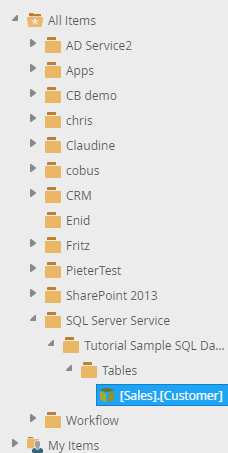
- In Designer, browse your system and navigate to All Items > SQL Server Service > Tutorial Sample SQL Database > Tables and select the [Sales].[Customer] SmartObject.
- Right click the SmartObject and click Rename.
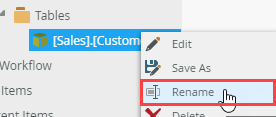
- Specify Sales-Customer as the SmartObject name.
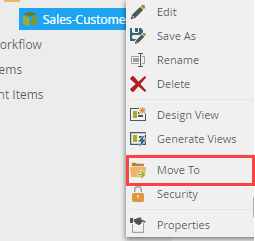
- Right click the SmartObject and click Move To.
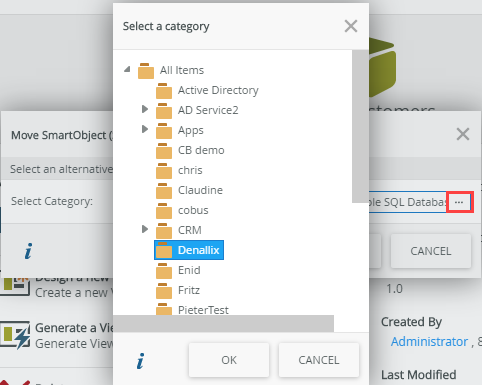
- Click the ... ellipses button and select Denallix from the category folders.
- In Designer, browse your system and navigate to All Items > SQL Server Service > Tutorial Sample SQL Database > Tables and select the [Sales].[Customer] SmartObject.
- You can now follow the same steps from Step 3 above to create a similar view and form to show the contents of the SQL table.
Review
You created a new SQL Server Service instance to connect to a SQL database. Then you created an advanced SmartObject in Designer for the Sales - Customers table and displayed the data from that SmartObject in a SmartForm. Finally you created a similar SmartObject using the Generate SmartObject option in Management and renamed and moved it to the same location as the one created in Designer.