Destination Rule Wizard - Adding a Destination Set Rule
 |
Contextualized Assistance: Destination Rule Planning Scenarios |
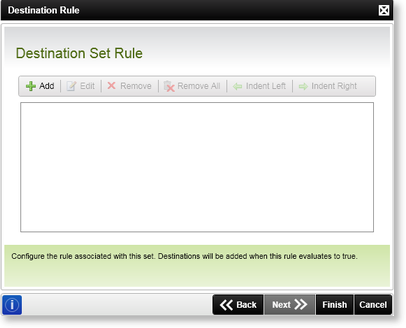
The Destination Set Rule wizard screen is used to configure the Destination Set Rule that should be used with the workflow. Destinations will be added when this rule evaluates to True. Destination Rules are created per Destination Set. If more than one Destination Set is used, Destination Set Rules will be created on each Destination Set. If Expense Claims should be directed to different departments according to the amount of the claim, different Destination Sets will be created representing the different departments and Destination Set Rules will be added per department. The rules would typically be set up as follows:
Financial Administration: If ExpenseClaimAmount < $3000
Financial Management: If ExpenseClaimAmount > $3000

Fig.1 Default Activity Wizard - Destination Set Rule wizard screen
 |
The Destination Set Rule is not a required feature. If no Destination Set Rule is configured, no validation will be performed and destinations will be added. |
| Feature | Description | How to use it |
|---|---|---|
| Add | Creates a new Destination Set Rule for the current activity. | Click the Add button to add a new Destination Set Rule to the activity |
| Edit | Allows the user to edit a current Destination Set Rule for the current activity. | Click the Edit button to edit an existing rule of the activity |
| Remove | Removes the selected rule from the list | Select the relevant destination set and click Remove to remove the selected Destination Set Rule from the activity |
| Remove All | Removes all the configured rules from the list | Click Remove All to remove all the rules from the activity |
| Indent Left | Changes the mathematical execution of the rules | Select the relevant rule and click Indent Left |
| Indent Right | Changes the mathematical execution of the rules | Select the relevant rule and click Indent Right |
Indent
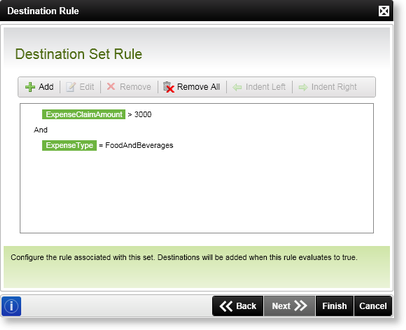
To provide more clarity on the Indent feature, the following Expressions have been configured. In this instance, both expressions will evaluate separately and from top to bottom.

Fig. 2. Destination Set Rule - No indent
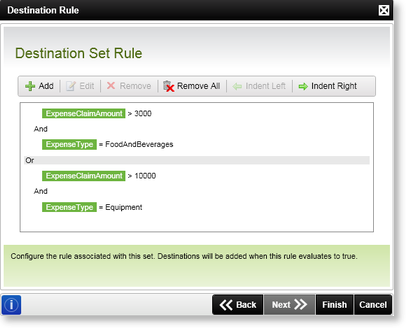
In the following instance, the user wants expressions 1 and 2 to be evaluated together and expressions 3 and 4 to be evaluated together. Select the Or operator on the Destination Set Rule screen and click Indent Right. This will ensure that the 3rd and 4th expressions are evaluated separately from the first two expressions. In mathematical terms this would relate to the following:
(ExpenseClaimAmount > 3000 AND ExpenseType = FoodAndBeverages) OR (ExpenseClaimAmount > 10000 AND ExpenseType = Equipment)

Fig. 3. Destination Set Rule - Right indent
