This topic covers the signing process after your user sends an output document for an Adobe Sign signature.
After you have added an Adobe Sign Delivery Option to your DocGen Package and tagged your templates with Adobe Sign Agreement and form fields, you are prepared to send an Agreement out for signature. You may also want to consider adding an Adobe Sign data mapping to your DocGen Package, but it is not required.
How recipients use an Adobe Sign agreement
Once you are ready to begin sending Adobe Sign Agreements, navigate to a record on your DocGen Package Object and select Generate Documents to initiate the generate document page.
Satisfy all the steps to generate the document. The Contact you select in step 1 should auto-fill one of your recipients in step 4. Ensure all other recipients in the Adobe Sign Recipients section are correct before selecting the Run button.
Selecting Run will begin the merge process. After the output is complete, you will be directed to the Adobe Sign Agreement Page. Most of the information should be added from the Adobe Sign Delivery Option values and Recipient values. Ensure the information is correct before you Send for Signature.

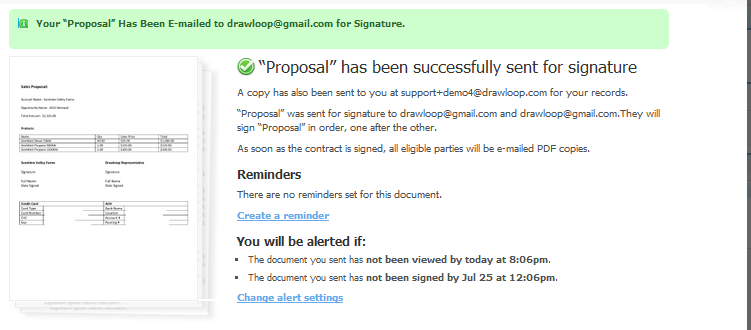
You should receive a Confirmation (pictured above) that your proposal has sent after you send the agreement for signature. Once you receive this confirmation, the first recipient will have already received the Agreement in their inbox.

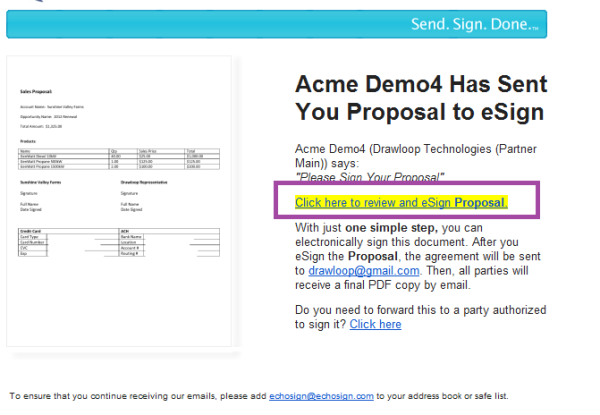
The first recipient must click the link that reads, Click here to review and eSign the Proposal.

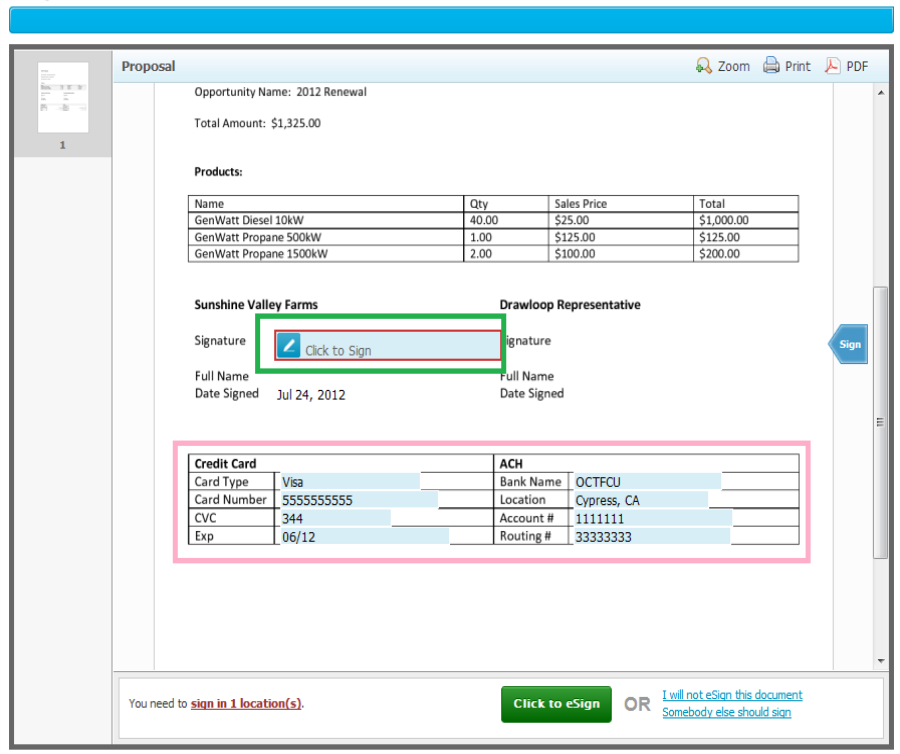
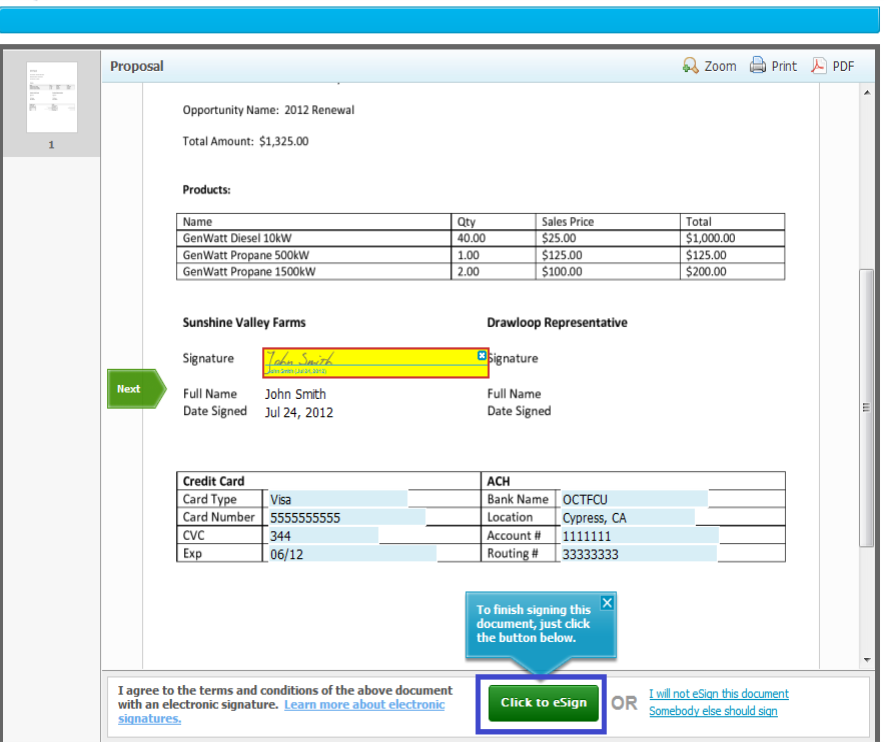
e-Signing an Adobe Sign Agreement involves filling out any required Adobe Sign Form Fields and Agreement Fields. When they attempt to sign a proposal, they will be asked to type their name and apply their signature.

Once their signature is applied, they can Click to eSign the Agreement.

The recipient will receive confirmation that they are done signing. All other required recipients must complete the same process until the Adobe Sign Agreement is completed.
