Part 2: Forms
Part 2 of this tutorial expands on the Forms component created in the Basic Leave Request application.
In this part, you will learn:
- How to add a SmartObject as a control's data source (in this sample, using a SmartObject to populate a drop-down list control)
- How to add a new control to a view and make the control read-only
If you have not completed Part 1 of this tutorial yet, please do so now since we will be using the updated SmartObjects from Part 1.
Step 4 Tasks
- Edit the Leave Request Item View and change the data source for the Leave Type drop-down list from static to using the Leave Types SmartObject. Make the LeaveTypeDescription property the control's Display and Value.
- Add a new row to the view layout just above the Create button row. Add the Approver Comments field to the new row, moving the label to the first cell and the field to the second cell. Make the field Read-Only by default.
- Right-click and check out the Leave Request Item View, then select Edit from the Properties pane. (You may have to select the title again to see the Edit link.) The View should open in Edit mode and jump to the Layout screen.
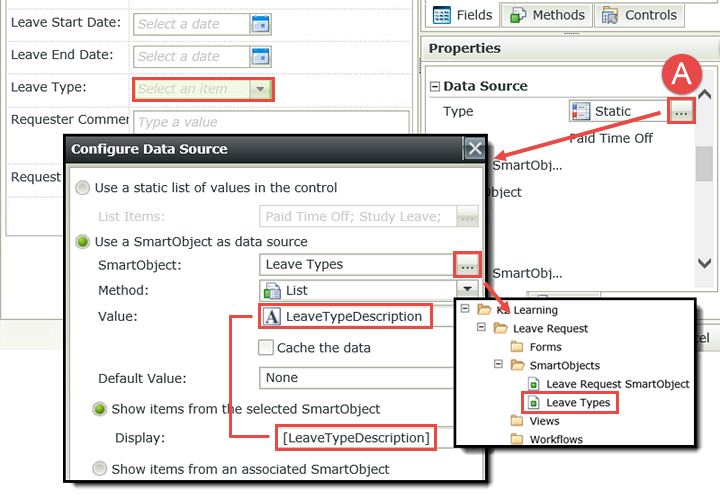
- Click the Leave Type drop-down list to highlight it. In the Properties pane, open the Data Source editor. (A below)
- Select the Use a SmartObject as data source option, then click the SmartObject browse button
- Navigate to and then select the Leave Types SmartObject that we created in Part 1 .
- Change the Value to LeaveTypeDescription so that it matches the Display
- Click OK as needed to return to the View Designer canvas
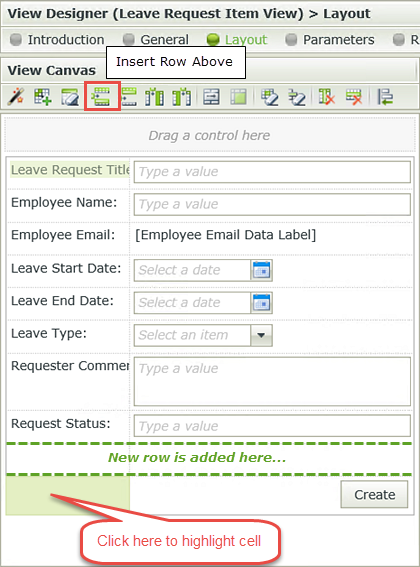
- Click once in the bottom row, first cell, to highlight the cell. Click the Insert Row Above icon found in the View Menu to add a new row.
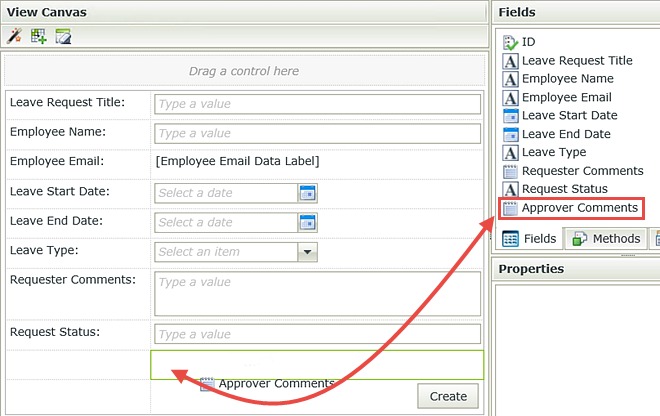
- In the Fields pane, scroll through the Fields until you find the new Approver Comments field. Drag the field into the second cell of the new row we just created in the layout table.
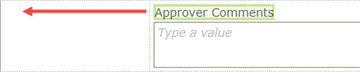
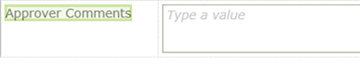
- Notice that K2 has placed the Approver Comments label to just above the field. Click and drag the label into the empty cell to the left.
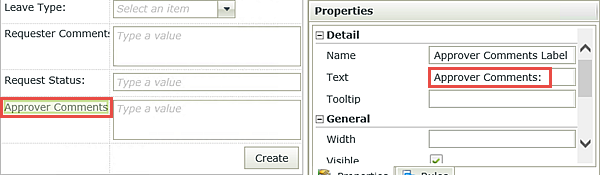
- We have two minor adjustments to make to the new label and field. First, highlight the label, then locate the Text value in the Properties pane. Add a colon (:) to the end of the Text value so that it matches the other labels in the view.
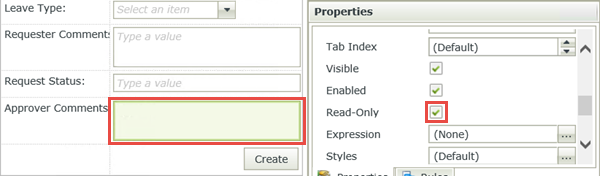
- Now highlight the field itself and locate and CHECK the Read-Only option so that the field cannot be edited by the request originator. (Later on, we will use a Rule to enable the field for the manager so they can add comments)
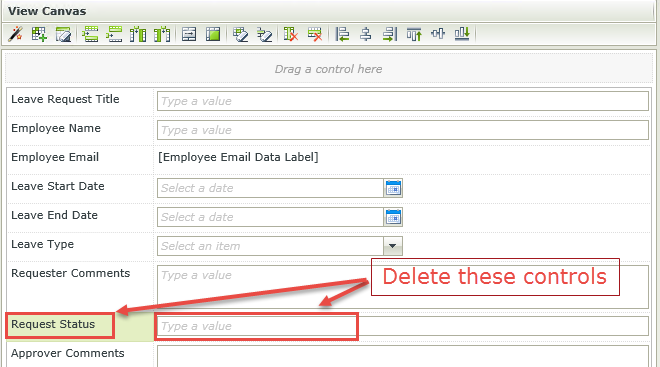
- Select the Request Status Text Box and the Request Status Label and delete them from the View. We don't need to show these fields since the workflow changes these values, not the user.
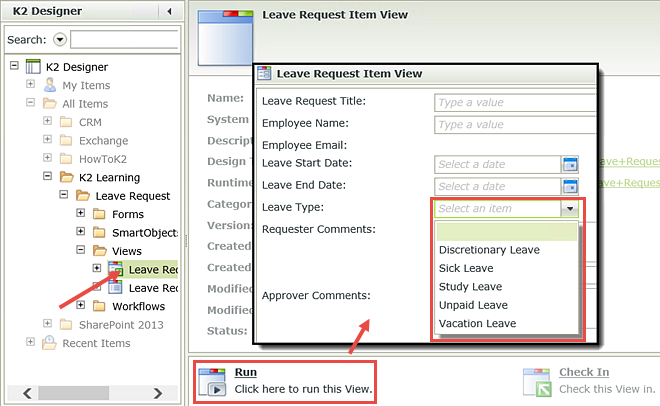
- Click Finish to save and exit the view. Highlight the view title in the Category Browser (if it is not already) then click the Run link found in the Properties pane. Confirm that the Leave Type drop-down now contains the values from the Leave Types SmartObject, as shown below.
- Click once again on the Leave Request Item View title to close the Run screen.
In the next step, we will edit the view layout and add the new Approver Comments field.
(The Name value in the Properties pane is the control's identity that K2 uses to reference a specific control. The Text value is what is shown to the user who is accessing the form.)
STEP 4 REVIEW
In this exercise, we edited the Leave Request Item View by changing the data source for the Leave Type drop-down from a static value to a dynamic value that is retrieved from an external SQL database. Then we added the Approver Comments field to the view and made it read-only by default. We will enable the control in a later step so that the manager can add comments.
This concludes the initial View changes we will make for this tutorial. In Part 3, we will edit the workflow to add more steps, and then come back and edit for Forms for the additional workflow tweaks.