Quick Start Scenario - Creating the SmartObject
Follow the steps below to set up the Student SmartObject which will be used in further steps to create Views and a Form.
- Open the K2 Designer in your browser. The URL will be similar to http://k2.denallix.com/designer.
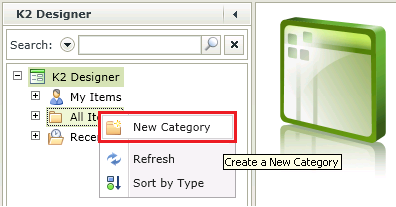
- Right- click on the All Items node in the tree and select New Category.
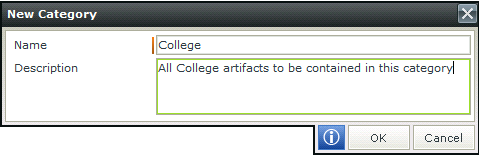
- Type College in the Name field. Click OK.
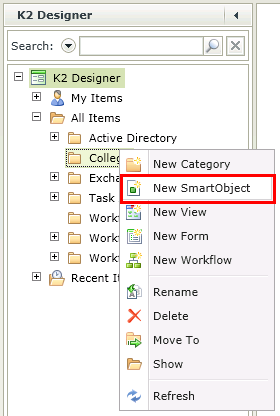
- Find the College folder in the category tree, right-click and select New SmartObject.
- Click Next on the Introduction screen.
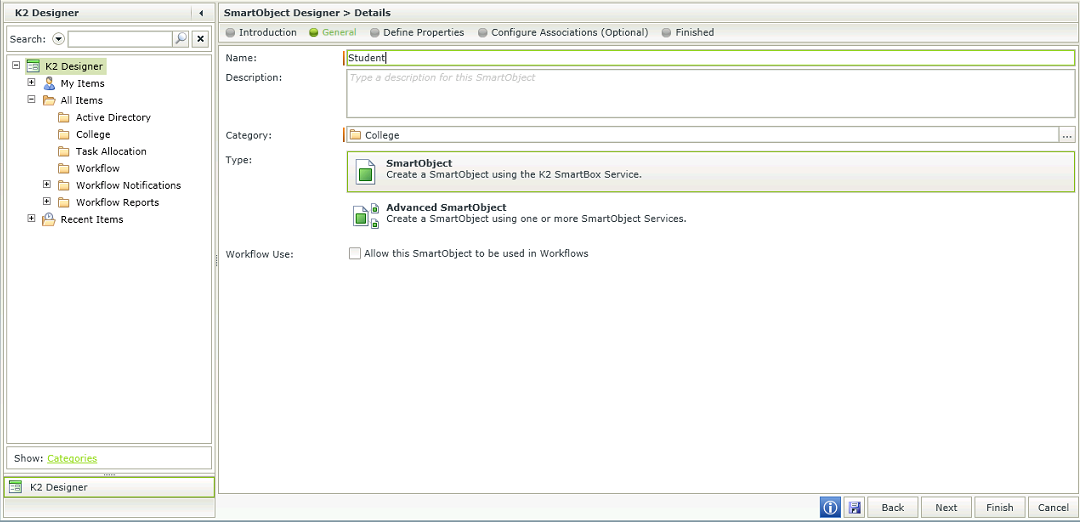
- Type Student in the Name Field as the name of the SmartObject.
- Note that the College Category is pre-populated for you, or you can click the ellipsis button to change the category.
- We will be creating a SmartBox SmartObject therefore the Type of SmartObject will be the first option called SmartObject. Ensure that the Type: has a green border around it to show that it has been selected.
- Click Next.
- On the SmartObject Properties screen click on the ID property and select the Edit button.
- Change the name from ID to Student Number. Click OK.
- Click on the Add button. Add the following properties by clicking on <Add property>.
Property Name Type Required Last Name Text Yes First Name Text Yes Gender Text Yes Street Address Text No City Text No State Text No Postal Code Text No Phone Number Text Yes E-mail Address Text Yes Birth Date Date/Time Yes First Language Text No 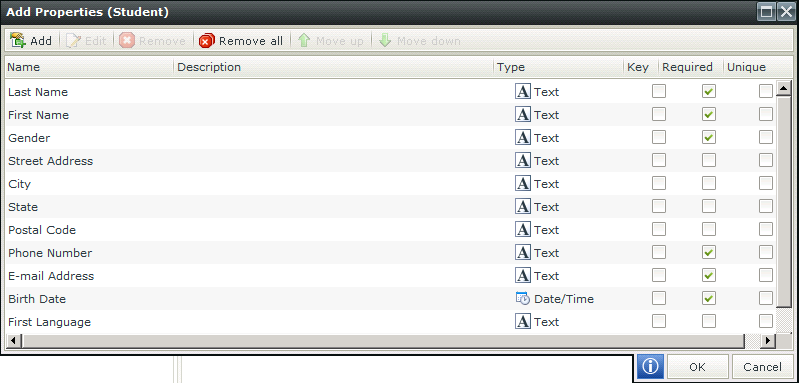
- Click OK.
- Click Next.
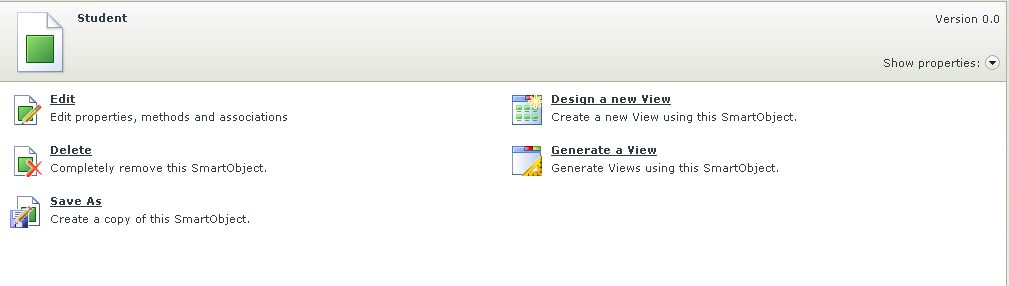
- Click Finish. The Student SmartObject will be created. When it completes, you will see the details Form.

|

|
|---|