Install Nintex RPA LE
Complete these sections to install Nintex RPA Central with Nintex RPA.
Important: Ensure you have reviewed, understand, and completed all sections of Review pre-installation checklist.
Install Nintex RPA Central and Nintex RPA LE
Tip: If the installation is for someone other than yourself (such as an IT department installation), ensure you add the intended person to Nintex RPA Central, as a documented in Create new user, so that they have initial access.
To install Nintex RPA Central and Nintex RPA:
- Log in to the computer with a Windows account that has local administrator rights.
- Download and launch the Nintex RPA LE Setup from the Product Releases page.
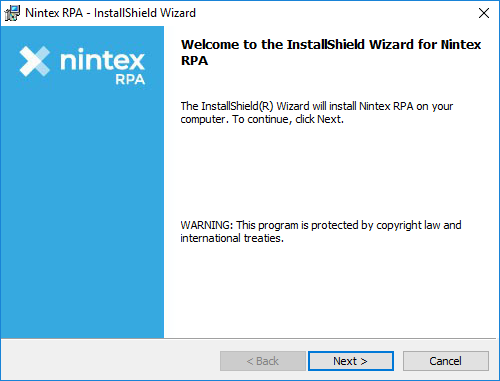
- Click Next in the Welcome screen. The License Agreement screen displays.
- Select I accept the terms in the license agreement and click Next to continue. The Setup Type screen displays.
- Select one of the following options:
- Complete to install both Nintex RPA and Nintex RPA Central. Click Next to continue. The Destination Folder screen displays.
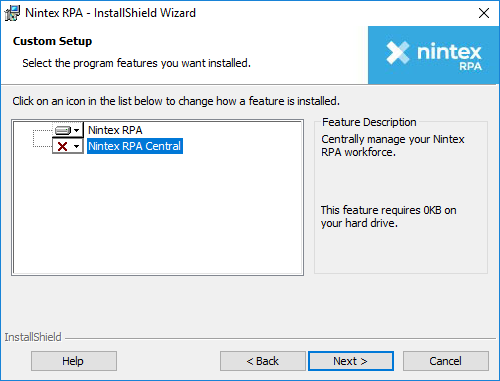
- Custom to install only one of these applications. The Custom Setup screen displays. Select This feature will not be available for the application you don't want to install. Click Next to continue. The Destination Folder screen displays.
- Click Next to accept the recommended default installation directory or click Change to change the installation directory. Click Next to continue. The Ready to Install the Program screen displays.
- Click Install. The Installing Nintex RPA screen displays. Wait for the Nintex RPA installation to complete.
- Click Next when the Welcome to the Nintex RPA Central Setup Wizard displays. The Nintex Master Subscription Agreement screen displays.
- Select I accept the terms in the license agreement and click Next to continue. The Destination Folder screen displays.
- Click Next to accept the recommended default installation directory or click Change to change the installation directory. Click Next to continue.
- Click Install when the Ready to install Nintex RPA Central screen displays. The Installing Nintex RPA Central screen displays. Wait for the Nintex RPA Central installation to complete.
- Wait for the Nintex Services to start. The Starting Nintex Services screen displays.
- Select Launch RPA Central after install and click Finish in the Completed the Nintex RPA Central Setup Wizard screen. Wait for the Nintex RPA installation to complete.
- Click Finish to close the installer when the installation completes. Nintex RPA Central displays.
Note: If Microsoft .NET Core Runtime is not installed on the machine, install it when prompted. The Nintex RPA Welcome screen displays.
Note: The Welcome to the Installation Wizard for SQL Server 2017 LocalDB screen displays if Microsoft SQL Server 2017 Express is not installed and Nintex RPA Central is selected for installation. Click Next to continue to the License Agreement screen, select I accept the terms in the license agreement, click Next to continue, and click Install to continue with the installation. Click Finish to return to the Nintex RPA Central installation.
Note: Nintex Services may take several minutes to start and the Starting Nintex services screen no longer displays when the services successfully start.
Activate your Nintex RPA Central and Nintex RPA license
To complete the installation, have your license key ready. Your license key will be emailed to you upon purchase of your licenses. The license key will be the following format: XXXXX- XXXXX- XXXXX- XXXXX- XXXXX
To activate your Nintex RPA and Nintex RPA Central license:
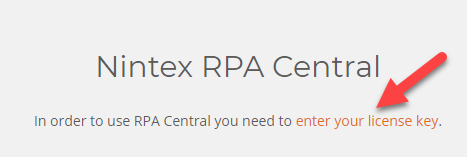
- Click enter your license key in the Nintex RPA Central screen.
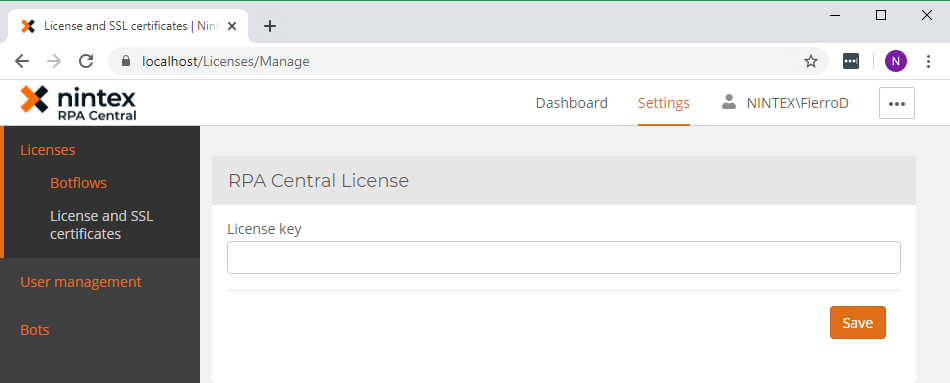
- Enter the Nintex RPA license you received in your welcome email and click Save.
- The Nintex RPA Central services restart which may take several minutes.
- The Nintex RPA Central Restart Required screen displays.
- Click Restart RPA Central.
If Nintex RPA Central did not display after the initial installation you can launch it manually from the Nintex RPA Central shortcut on your desktop or from Nintex in the Windows Start menu.
The RPA Central License screen displays.
Caution: Do not close or refresh the page.
The Nintex RPA Central Dashboard displays.
Note: Ensure that the user activating the license key is the same Admin user that installed Nintex RPA Central. If it is not the same user it would result in a 403 error.
Configure Nintex RPA Central to work with Nintex RPA
You must complete this one time configuration procedure to ensure that your Nintex RPA Central is connected to your Nintex RPA.
To configure Nintex RPA to work with Nintex RPA Central:
- Launch Nintex RPA from Nintex in the Windows Start menu.
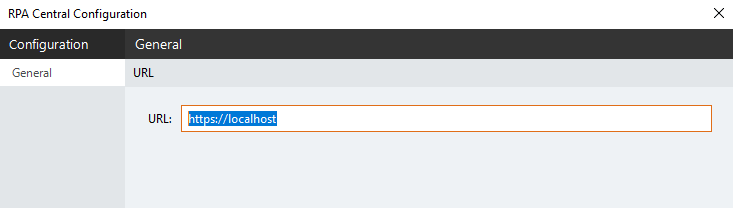
- Click OK if the Warning screen displays. The Configuration screen displays.
- Enter the Nintex RPA Central URL from the Nintex RPA Central License information screen and click OK to continue. Example: https://localhost/.
- Enter your Windows credentials at the Sign In screen.
- Select your comfort level in the Choose your comfort level screen.
- Click New Botflow on the Let's Begin screen. Nintex RPA displays.
Note: To return to the Configuration screen at any time, click the gear icon at the bottom right corner of the Nintex RPA Home screen.
To find the Nintex RPA Central License information screen, click Settings and then click License and SSL certificates.
Adjust Windows 10 firewall settings
Ensure your Windows 10 firewall settings are adjusted to allow connectivity between Nintex RPA Central and your Nintex Bot.
To adjust Windows 10 firewall settings:
- Open the Control Panel. Right-click the Windows start menu, select Run, and type Control Panel to open.
- Navigate to System and Security -> Windows Defender Firewall and click Advanced settings.
- On the left pane, click Inbound Rules or Outbound Rules.
- On the right pane, click New Rule.
- Click Port and Next.
- Select TCP and based on the format of your Nintex RPA Central URL, enter the following in the Specific local ports field.
- Nintex RPA Central URL ends in a number, such as 8080, enter that number.
- Nintex RPA Central URL does not end in a number, enter 443.
- Click Next.
- Select Allow the connection and click Next.
- Select Domain.
- Ensure Private and Public are not selected.
- Click Next.
- Enter a rule Name, and optionally enter a rule description. Click Finish.
Complete the step 3 through step 12, first for Inbound Rules and then for Outbound Rules.
Note: The port number can be different depending on your machine and network environment. Consult with your Network Administrator.
Note: Be sure to complete step 3 through step 12 for both Inbound Rules and Outbound Rules.
Next: