VB.NET
This article provides information on the following topics:
Note: The Actions Quick Reference provides a complete list of actions that you can print for easy reference.
What is the VB.NET Action?
The VB.NET Action executes VB.NET code authored by the user.
Creating a VB.NET Action
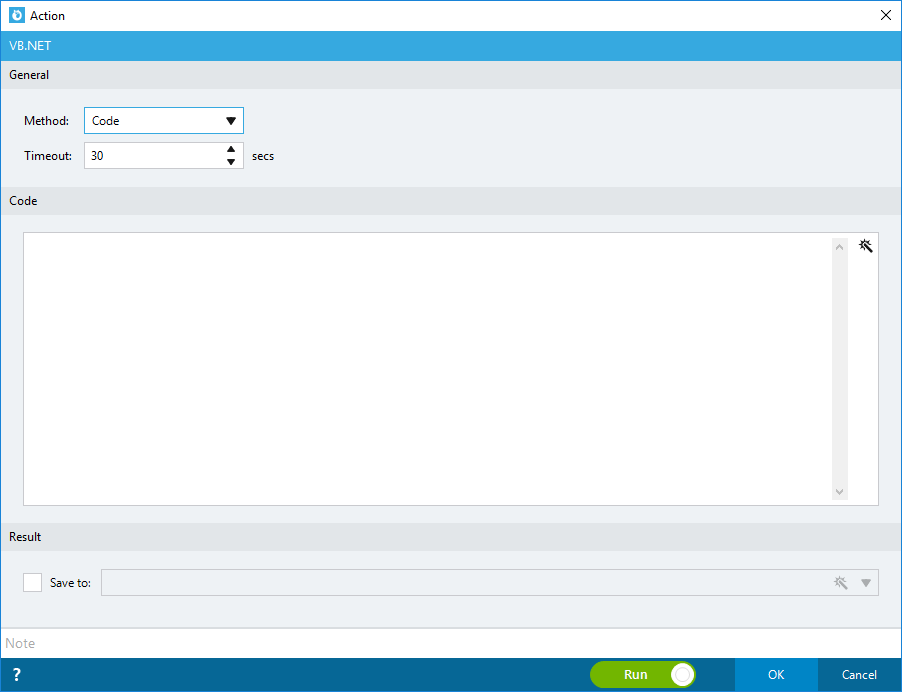
To create a new VB.NET action, go to the Advanced section in the Action List and select the action called "VB.NET". This is how it looks by default.
The method
You can choose whether you would like to run "Code" or a "File":
- Code = Will compile the content of the action and run it.
- File = Will read and compile the content of the specified file and run it.
There are pros and cons to both approaches. With the "Code" approach, you can make use of Nintex Bot variables, tokens, list lookups, etc., which is not possible with the "File". On the other hand, working with a big chunk of code in the Nintex Bot window is not that easy, so for bigger pieces of code, it might be easier to have in separate files. We will go through both of the methods but mainly focus on the "Code" method.
Timeout
Nintex Bot will at any time wait for the code to complete before proceeding with the Nintex Bot project. This is very handy as the execution of the code might vary. But, what if your code will never end due a mistake in the code causing, for example, an infinite loop? The timeout is a feature added to make sure you do not risk running some infinite code that never ends. You can set the timeout to anything you would like, the default value is 30 seconds. Keep in mind that your code will be stopped by force if the timeout is reached.
Code
If you select the "Code" method, here is where you will write your VB.NET code to execute. With the "Code", Nintex Bot will basically take the code you write and compile it in a temporary .exe file, execute the program, and delete it again. The great thing about this approach is that it supports using Nintex Bot variables, tokens, list lookups, etc.
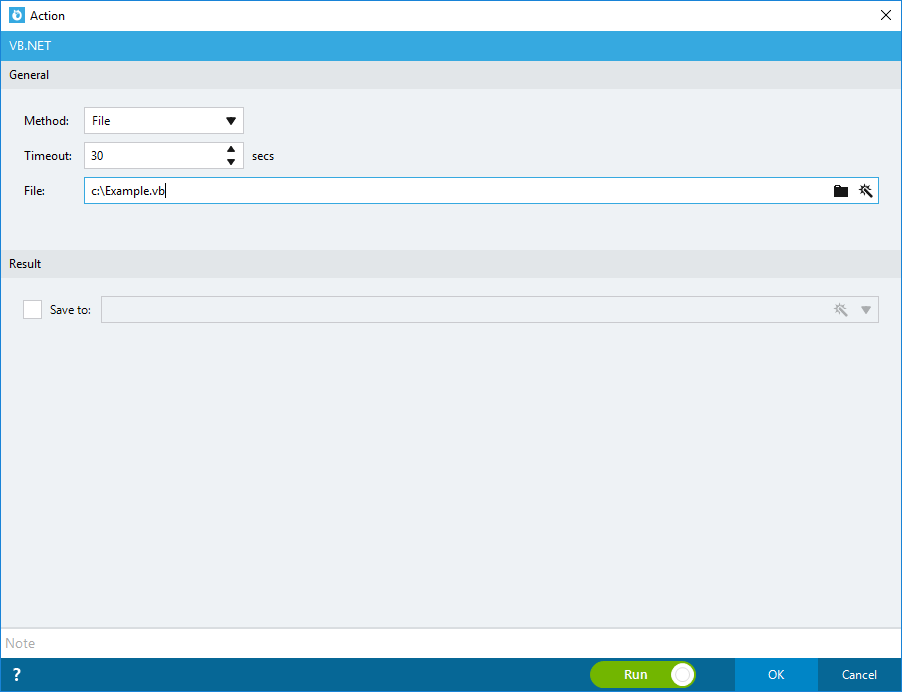
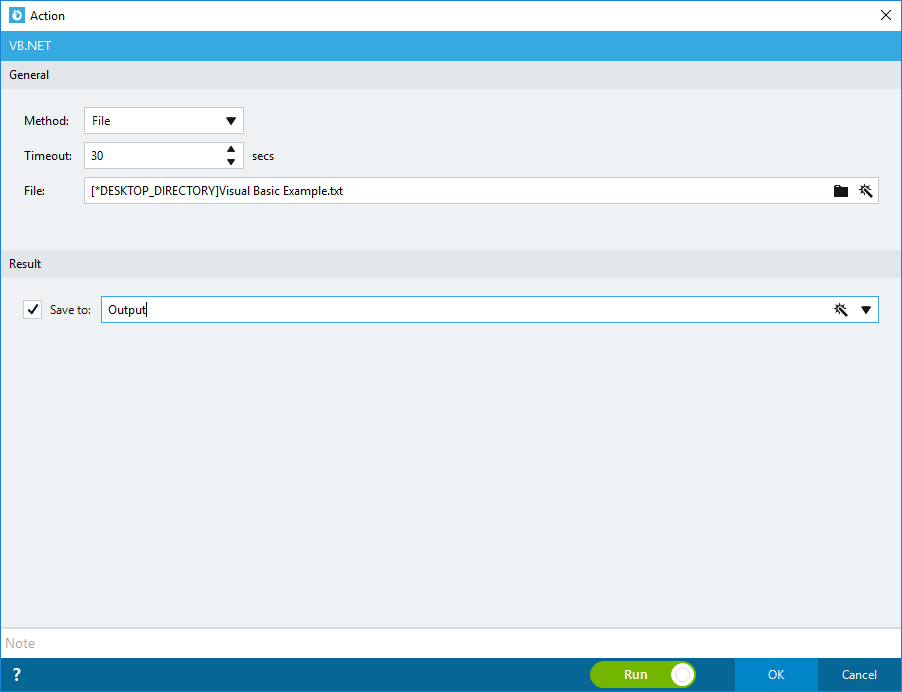
File
If you select the "File" method instead, you will have to simply specify the path to the file you wish to execute. Nintex Bot will execute the file "as-is", therefore, this approach will NOT support the use of any Nintex Bot variables, tokens, list lookups, etc., in the code itself.
Save to
Lastly, you can decide whether you wish to save the result (output) of the code to a Nintex Bot variable. We definitely recommend that you always do this, however, it is not mandatory. The output will be:
- The output of any "Console.WriteLine" statements (also "Console.Write")
Code Method
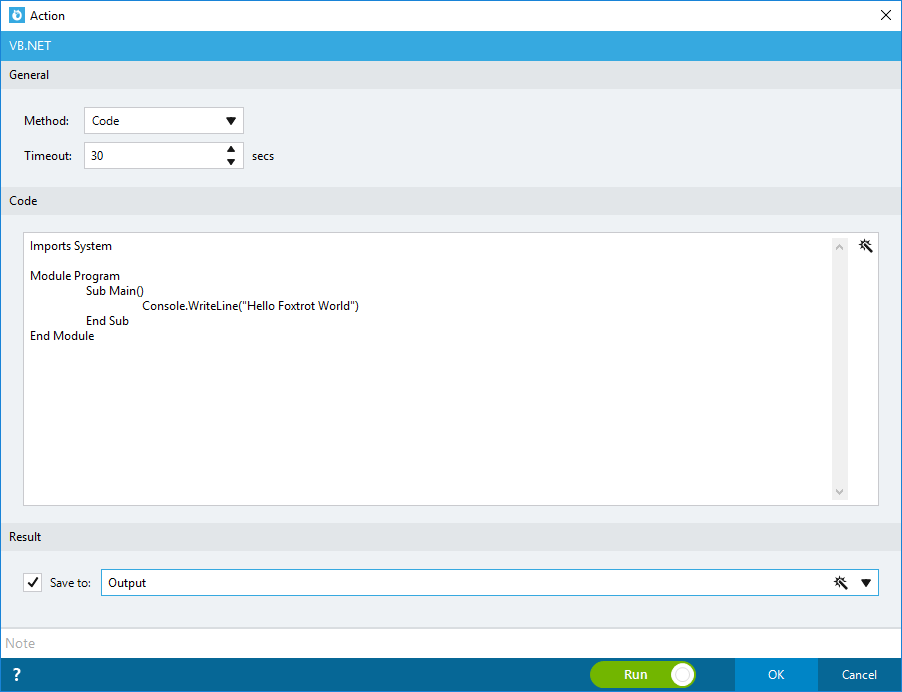
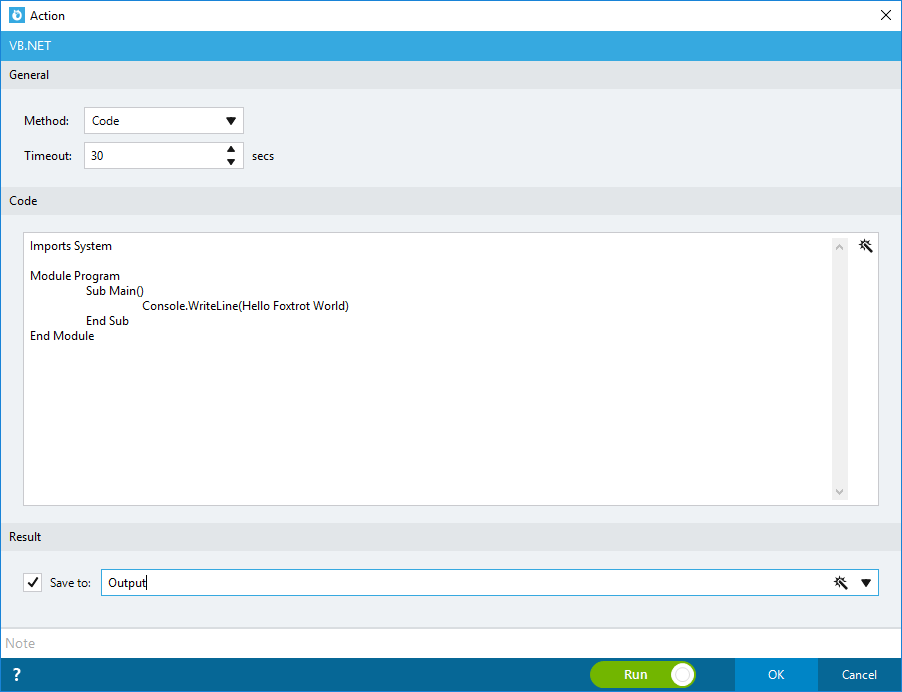
Here is an example of a simple VB.NET program that prints a message. In this example we will save this output into a variable. If you do not have any "Console.WriteLine" statements in your code and there are no errors, the output will be empty.
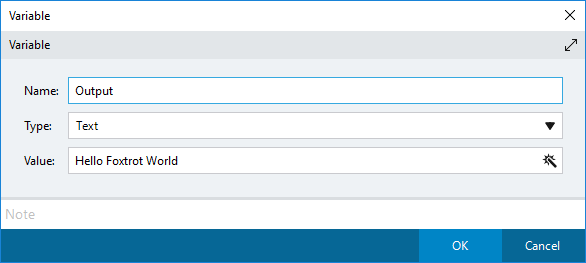
First, make sure to create a Nintex Bot variable called "Output" and write one line of code like this:
|
Imports System
Module Program Sub Main() Console.WriteLine("Hello Nintex Bot World") End Sub End Module |
Now, let us try to force an error! Simply "forget" to surround the value of the Console.WriteLine statement with '' like this:
|
Imports System
Module Program Sub Main() Console.WriteLine(Hello Nintex Bot World) End Sub End Module |
This code is not correct, so we should not expect it to work. Now, as opposed to how the Python action in Nintex Bot works, you will actually get the error message like a traditional error in Nintex Bot if the code can not be compiled successfully. In this case, you should receive the following error message:
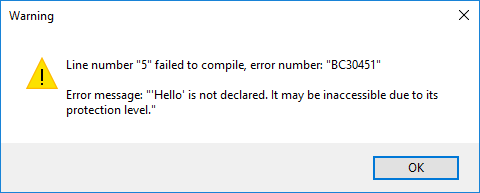
The error message specifically explains where it failed to compile, in this case at line number 5, and it mentions the error number, in this case "BC30451". Now, the error number might not mean much to you, but it is included on purpose as it is sometimes easy to find the answer to the problem using the error number to research for a solution. For example, if you look up the error number on Microsoft's website, this is what you get, which is quite nice in terms of quickly finding the answer.
File Method
Using a file works exactly the same if using the "Code" method. For example, let us open Notepad and create a new file containing the same line of code. Normally, you would use Visual Studio or a similar application, but we use Notepad here just for the sake of simplicity
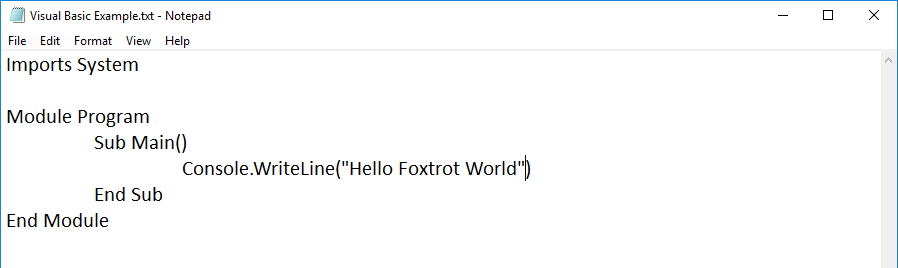
You can save the file as a ".vb" or ".txt" file. Now, close the Notepad application and let us try to run this file from Nintex Bot:
You should get exactly the same result as before in your "Output" variable:
Setting Nintex Bot variables from VB.NET
The VB.NET action comes with a very nice feature if you need to set multiple variables in Nintex Bot with one VB.NET action. As we have explored so far, the information saved to the output variable is all the "print" statements or an error message. But, in many cases you actually need to set multiple different Nintex Bot variables from one VB.NET action. You can do this using the special Nintex Bot function called "RPAEngine.SetVar". The syntax is:
|
RPAEngine.SetVar("Nintex Bot_Variable_Name", VB_Value) |
Here is an example of how this works:
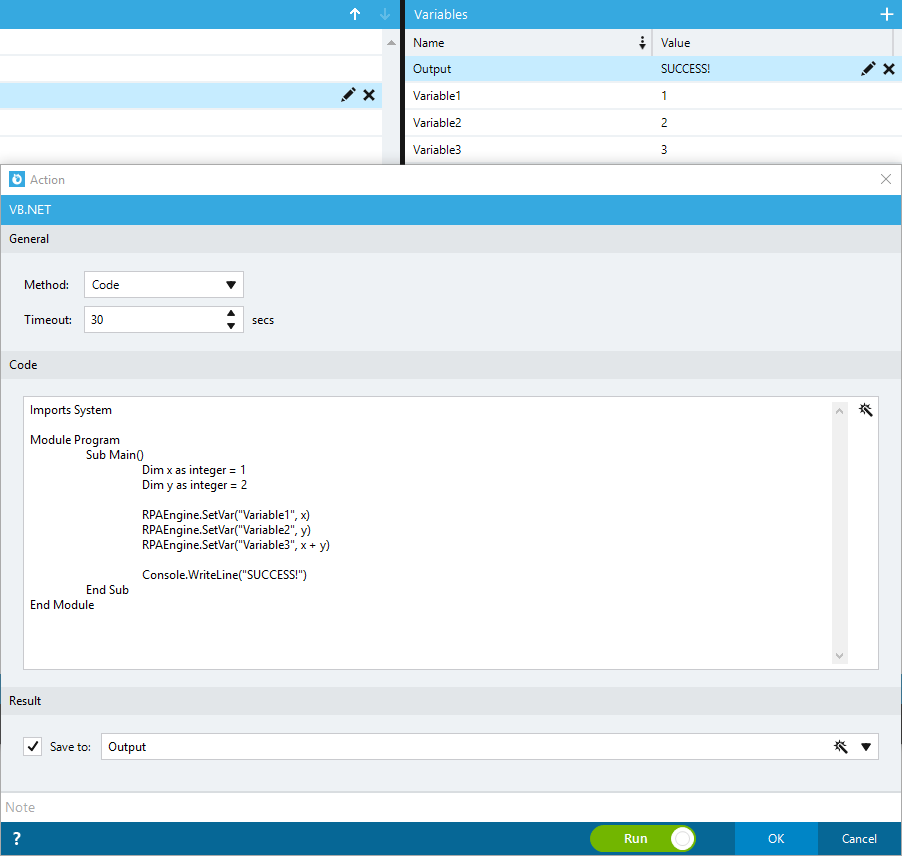
So, as you can see, we can set multiple set the value of multiple variables in Nintex Bot using one VB.NET action, which is very useful in many cases. Typically, you will use the "Console.WriteLine" statements to log certain events throughout your code so that you can evaluate whether your code was successful after execution, while you use the "RPAEngine.SetVar" feature to set the value of specific variables.
Loading DLLs
Consider the code below:
|
Imports System.Windows.Forms
Module Program Sub Main() MessageBox.Show("Hello Nintex Bot World") End Sub End Module |
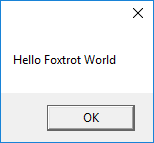
The purpose of the code is to display a standard windows message box with the text "Hello Nintex Bot World". You would probably expect this code to work, however, it won't work out of the box. Running a VB.NET action with this code will result in the following error:
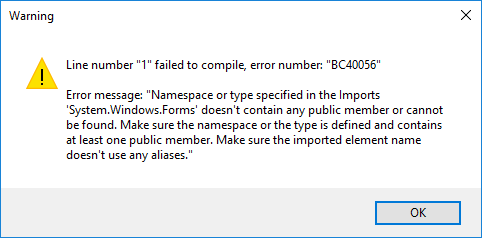
The cause of this problem is the lack of access or awareness of the necessary dll by Nintex Bot. Since Nintex Bot is simply compiling the code at runtime without knowledge of any (if any) existing setup as opposed to, for example, a Visual Studio setup. So, in this case, you need to first load the required dll in order to be able to import the "System.Windows.Forms". For this purpose, a special Nintex Bot command was developed similarly to the "RPAEngine.SetVar" function. The special Nintex Bot function is called "RPAEngine.LoadDLL". The syntax is:
|
RPAEngine.LoadDLL("Path") |
Now, you do not necessarily need to specify the full path if the dll is in the standard Windows path, but it is possible to include the full path to the desired dll file. To solve this specific problem, we need to load the “System.Windows.Forms.dll”. So, if we add this line to the code:
|
RPAEngine.LoadDLL("System.Window.Forms.dll") |
The full code should be:
|
RPAEngine.LoadDLL("System.Window.Forms.dll")
Imports System.Windows.Forms
Module Program Sub Main() MessageBox.Show("Hello Nintex Bot World") End Sub End Module |
And instead of giving an error message, you should now see a very simple message box with the specified text: