Resize Window
This article provides information on the following topics:
Note: The Actions Quick Reference provides a complete list of actions that you can print for easy reference.
What is the Resize Window Action?
The Resize Window Action changes the size of the target window to the specified dimensions.
Creating a Resize Window Action
Drag and drop the Target Selector![]() onto the titlebar
of the target application display the Target Preview
onto the titlebar
of the target application display the Target Preview ![]() . Choose the Move Window
. Choose the Move Window ![]() Action to display the
Action Builder.
Action to display the
Action Builder.
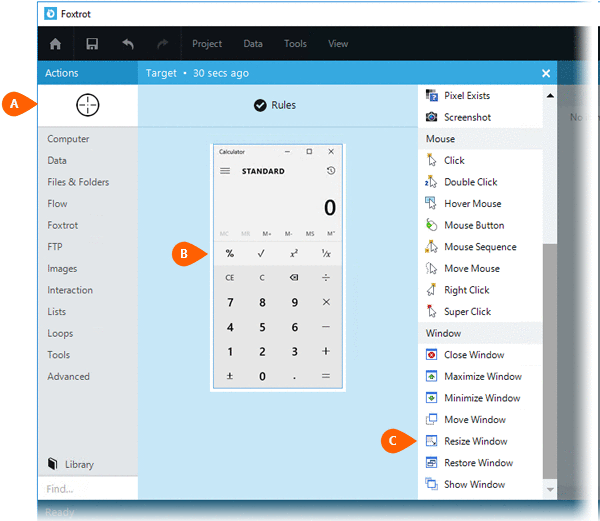
Select the Rules
 to modify how Nintex Bot will find the target.
Both the Timing
to modify how Nintex Bot will find the target.
Both the Timing  and
Error
and
Error  settings
for this action may be configured to fine tune the how the Action will
run.
settings
for this action may be configured to fine tune the how the Action will
run.
Note: For more information about the timing and error settings, go to Action Builder.
When creating a Resize
Window Action, you will be required to select the desired Size  . The
following options are available:
. The
following options are available:
|
Top left quarter of the screen |
Left 60% of the screen |
Left 50% of the screen |
|
Top right quarter of the screen |
Top left quarter of the screen |
Left 60% of the screen |
|
Bottom left quarter of the screen |
Top right quarter of the screen |
80% of the screen size |
|
Bottom right quarter of the screen |
Bottom left quarter of the screen |
100% of the screen size |
|
Left 40% of the screen |
Bottom right quarter of the screen |
Specific size |
|
Left 50% of the screen |
Left 40% of the screen |
If the Specific
size option is selected, you will be required to enter a specific
height and width  . A Use Current Size button
  is available and can be
clicked to record the target window's current size. Simply resize
the target window to the desired location manually, then click the Use Current Size button to record
the exact location.
is available and can be
clicked to record the target window's current size. Simply resize
the target window to the desired location manually, then click the Use Current Size button to record
the exact location.
When using the Specific
location option, Nintex RPA LE
attempts to keep the target window within the viewable area of the screen
using Auto-Correction technology.
Your custom coordinates may fall outside of the viewable are for
certain monitor resolutions. All coordinates are automatically corrected
when the Action is executed to ensure the window remains in view. If
you wish to move the window out of view or onto a second monitor, you
must check the Disable auto-correction
option  .
.
Note: Nintex RPA LE may not be able to interact with windows that have been moved outside of the viewable area.
Press and hold
the Preview button  to test the chosen window location. When
the button is released, the window will return to it's original position.
to test the chosen window location. When
the button is released, the window will return to it's original position.
Optionally add Notes
 to the Action to document any special instructions
or functionality. When the Run Switch
to the Action to document any special instructions
or functionality. When the Run Switch is set to Run, the action
will be executed after clicking OK.
is set to Run, the action
will be executed after clicking OK.
Note: The run switch is set to Run by default. To create or modify this action without executing it, click the slider to change the option to Don't Run. For more information, go to Action Builder.
Click the OK
button  to
save the Action.
to
save the Action.