Border Image
This article provides information on the following topics:
Note: The Actions Quick Reference provides a complete list of actions that you can print for easy reference.
What is the Border Image Action?
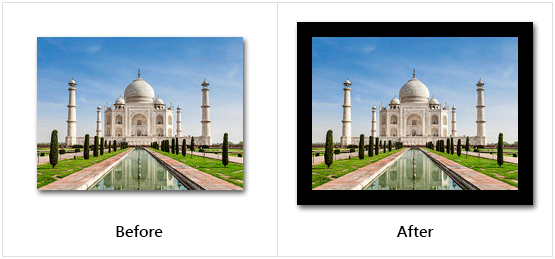
The Border Image Action adds a black border around an image. The border is placed around the image (not on top of the image) as to not lose any part of the original image. This causes the size of the image to increase by the width of the border added.
Creating a Border Image Action
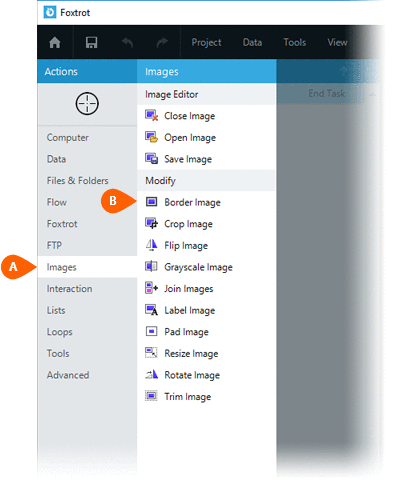
Select Images Actions
 to expand the Action list. Select theBorder Image
 Action from the Actions list to display the Action Builder.
Select the Rules
 to specify how the Image should be previewed
once executed. The Error
to specify how the Image should be previewed
once executed. The Error  settings for this action may be configured to fine
tune the how the Action will run.
settings for this action may be configured to fine
tune the how the Action will run.
Note: For more information about the timing and error settings, go to Action Builder.
Choose to either work with the Open
Image or an Image File .
.
Note: Read the Image Editor article to learn more about working with images, including image types and their Rules..
Select the desired border
thickness in pixels  .
.
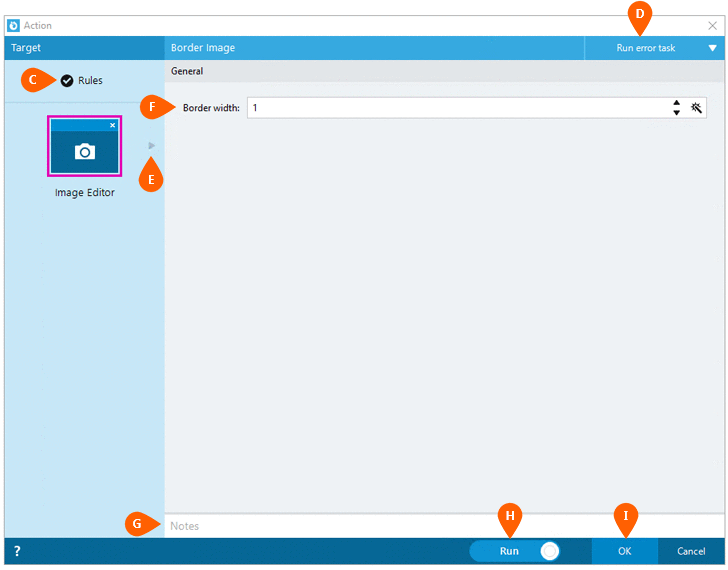
Optionally add Notes
 to the Action to document any special instructions
or functionality. When the Run Switch
to the Action to document any special instructions
or functionality. When the Run Switch is set to Run, the action
will be executed after clicking OK.
is set to Run, the action
will be executed after clicking OK.
Note: The run switch is set to Run by default. To create or modify this action without executing it, click the slider to change the option to Don't Run. For more information, go to Action Builder.
Click the OK
button  to
save the Action.
to
save the Action.
Border Image Action Examples
Example 1: The Border Image Action applying a 3 pixelborder around the image.
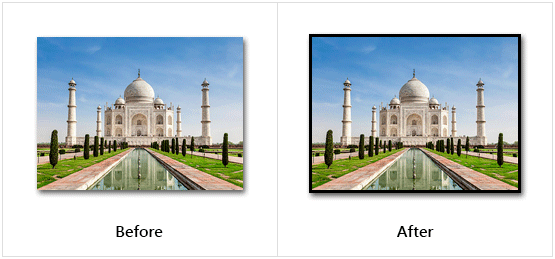
Example 2: The Border Image Action applying a 15 pixel border around the image.