12. Test the Contact Management Application
The Contact Management application is complete and ready for testing! You will add new contacts, edit a contact, then delete a contact.
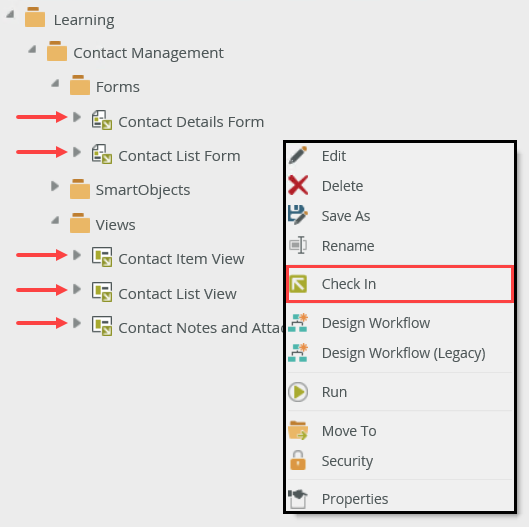
- First, you must publish all your views and forms to the server. Check in all forms and views.
- Before you can test your application, you need to publish the latest versions of your views and forms to the server. You do this by checking them in. Right-click and check-in all views and forms. If you check in the forms first, you will see a warning asking if you want to check in associated views. CHECK the box next to the associated views, then click OK. This saves a step.
- Before you can test your application, you need to publish the latest versions of your views and forms to the server. You do this by checking them in. Right-click and check-in all views and forms. If you check in the forms first, you will see a warning asking if you want to check in associated views. CHECK the box next to the associated views, then click OK. This saves a step.
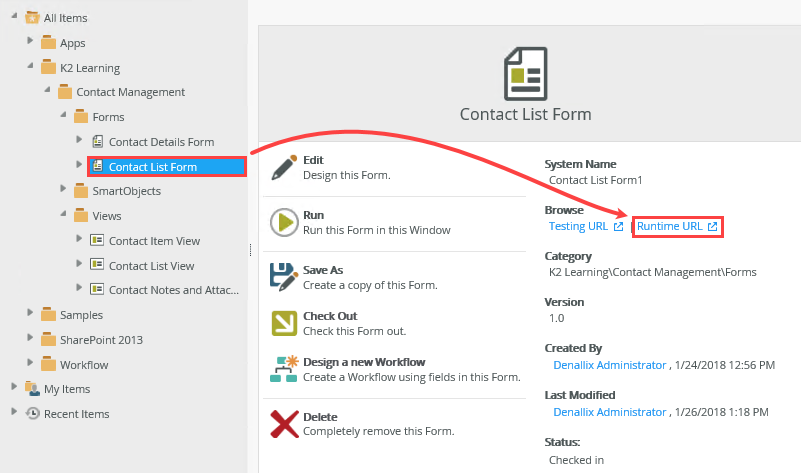
- Launch the Contact List Form from the Runtime URL.
- Click to highlight the Contact List Form, then click the Runtime URL found in the properties pane. The Runtime URL is the web address of the form that users will need to access the Contact Management form. You can copy and paste this URL anywhere you need to provide Contact Management access.
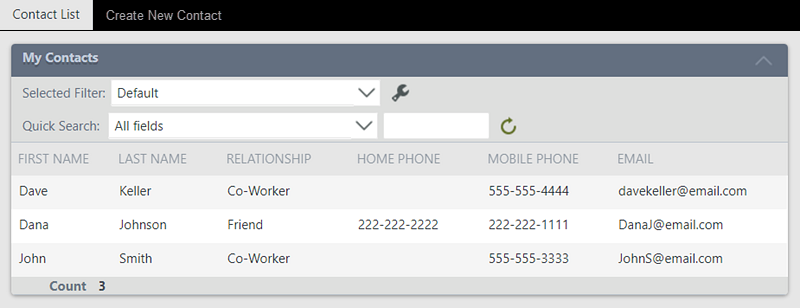
The form opens with the Contact List tab active. At this point, you don't have any contacts to work with, so you'll begin testing by adding several new contacts.
- Click to highlight the Contact List Form, then click the Runtime URL found in the properties pane. The Runtime URL is the web address of the form that users will need to access the Contact Management form. You can copy and paste this URL anywhere you need to provide Contact Management access.
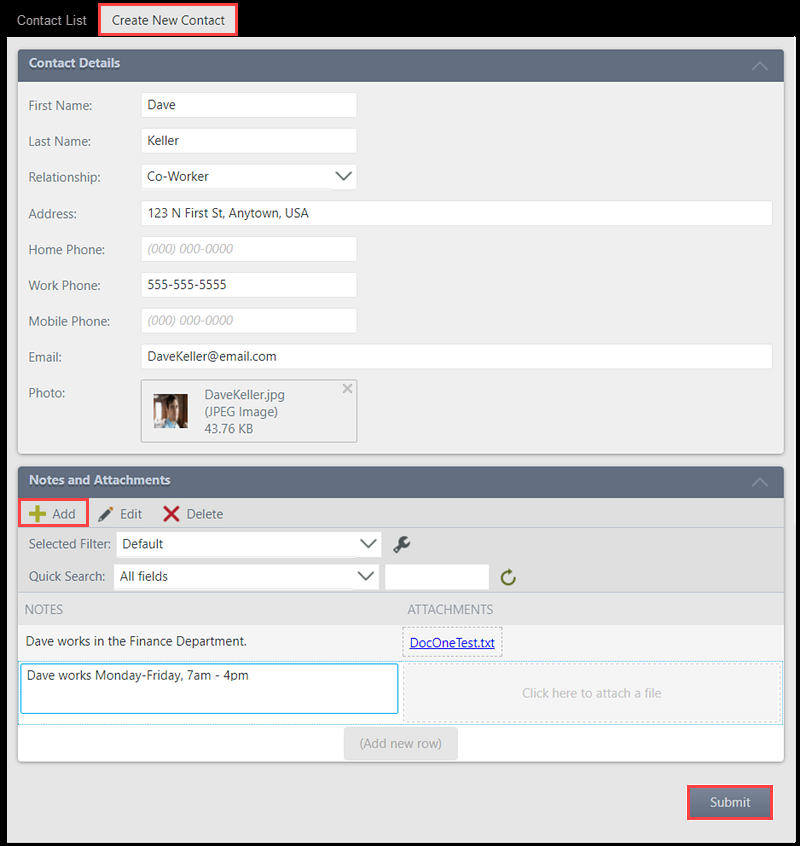
- Add two to three contacts. Add a photo if you like, then add notes and file attachments.
- Click the Create New Contact tab. Enter the contact details. To enter notes and attachments, click the Add button or the (Add new row) link. Click Submit to save the contact record.
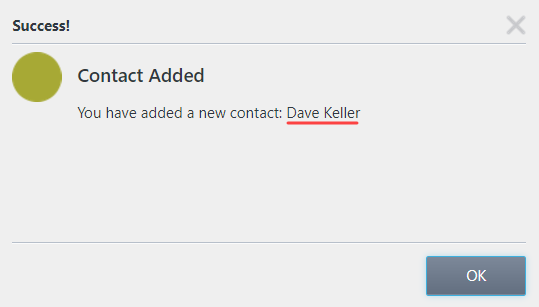
- Click OK to close the confirmation message. Add two to three more contacts. As you add contacts, the Contact List Form displays the new records.
After you click submit, you should see the confirmation message that contains the contact's first and last name.
- Click the Create New Contact tab. Enter the contact details. To enter notes and attachments, click the Add button or the (Add new row) link. Click Submit to save the contact record.
- Edit a contact. Click a contact row to launch the Contact Details Form. Edit the record, then Save the changes.
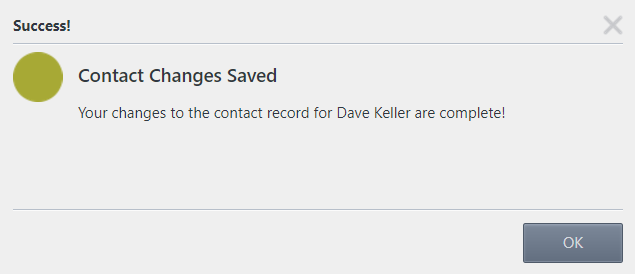
- Click once on a contact row. The Contact Details Form launches. (It may take a few seconds for the form to launch.) Edit the header content, then edit the notes and attachments content. Click Save. You should see the confirmation message. Click OK to return to the Contact List Form.
(Optional) Edit the contact you just edited and confirm the changes. Click Cancel to return to the Contact List Form.
- Click once on a contact row. The Contact Details Form launches. (It may take a few seconds for the form to launch.) Edit the header content, then edit the notes and attachments content. Click Save. You should see the confirmation message. Click OK to return to the Contact List Form.
- In your final test, you will delete a contact. Delete a contact.
- Click a contact row to launch the Contact Details Form. Click the Delete button. Click OK when you see the confirmation message. When you return to the Contact List Form, confirm the contact is no longer displayed.
Next, you will edit a contact, then save the changed records (header and details).
Review
In this step, you tested your new contact management application by adding new contacts, editing contacts, and deleting contacts. In the next optional step, you learn how to clean your environment by deleting artifacts no longer needed.