13. (Optional) Clean up your environment by deleting the application artifacts
This optional step describes how you can clean your environment by deleting the artifacts that you created in this tutorial. For example, if you are working in a shared environment, you may want to delete your tutorial applications to keep your environment clean and tidy.
Use K2 Designer to delete application elements
In this step, you remove the application elements using K2 Designer. These include removing the views, forms, SmartObjects, and finally, the categories.
- Delete the Contact Details Form, then delete the Contact List Form. (You must delete forms first, followed by the views used on those forms.)
Location: All Items > Learning > Contact Management > Forms.- Expand the Learning > Contact Management > Forms categories.
- Right-click Contact Details Form and select Delete. Click Yes for the confirmation.
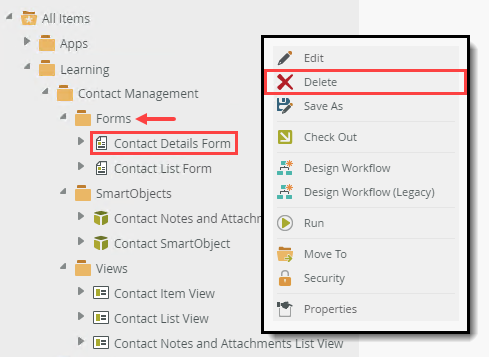
- Right-click Contact List Form and select Delete. Click OK for the confirmation.
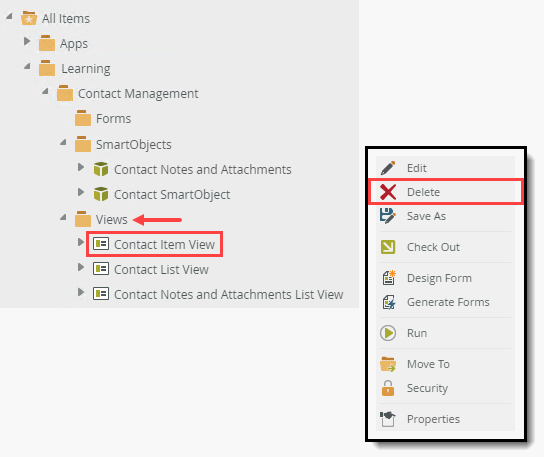
- Delete each view. (There is no specific order for deleting views).
Location: All Items > Learning > Contact Management > Views.- Expand the Views category. Right-click each view and select Delete. There is no specific order you must follow for deleting views. Click Yes for each confirmation.
- Expand the Views category. Right-click each view and select Delete. There is no specific order you must follow for deleting views. Click Yes for each confirmation.
- Delete the SmartObjects in the following order:
Contact Notes and Attachments
Contact SmartObject
Location: All Items > Learning > Contact Management > SmartObjects.- Expand the SmartObjects category. Right-click the Contact Notes and Attachments SmartObject and select Delete. Click Yes for the confirmation.
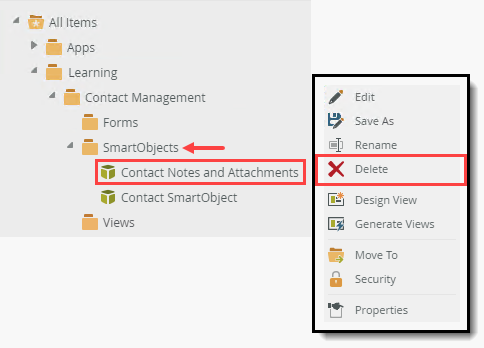
- Delete the Contact SmartObject SmartObject.
- Expand the SmartObjects category. Right-click the Contact Notes and Attachments SmartObject and select Delete. Click Yes for the confirmation.
- Delete the learning categories. You must delete the subcategories first (Forms, Views, SmartObjects) and then Contact Management. Finally, you can delete Learning if you do not intend building more tutorials, and remember that the Learning category might have a different name in your environment.
- Delete the application’s categories. You must delete the subcategories first (Forms, Views, SmartObjects) and then Contact Management.
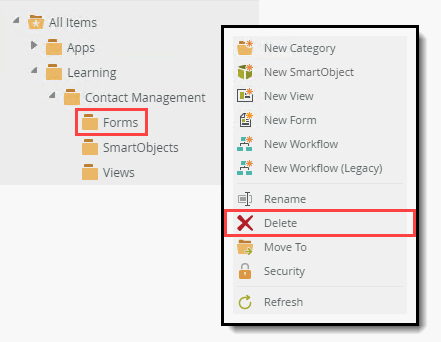
- Finally, you can delete the Learning category if you do not intend building more tutorials. Remember that the Learning category might have a different name in your environment.
- Delete the application’s categories. You must delete the subcategories first (Forms, Views, SmartObjects) and then Contact Management.
Summary
If everything worked, congratulations on building the Contact Management application! This tutorial introduced you to the data and forms components of an application. You learned the basics behind building a SmartBox SmartObject, designing views and forms, working with header-detail data, and configuring rules to build a relatively complex user interface.