Customizing the code in a workflow event, activity or rule
When using K2 for Visual Studio to design workflows, you may access and customize the code-behind for any item in the workflow canvas (Events, Rules, Activities etc.) by right-clicking the item and selecting the View Code option, as shown below. In this example, we show how to access the code for a Event and how to access the various rules for an Activity.
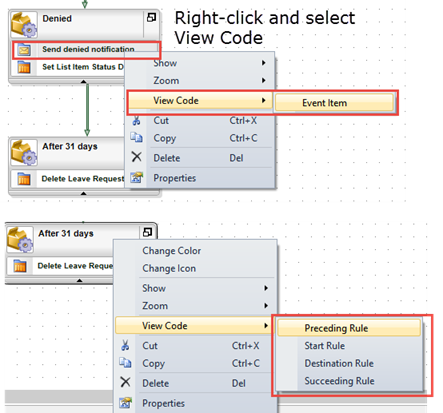
If the item you are editing utilizes Windows Workflow code, you may need to right-click any of the items in the workflow schedule again and select View Code. Locate the ExecuteCode section and then customize the code you wish to modify. 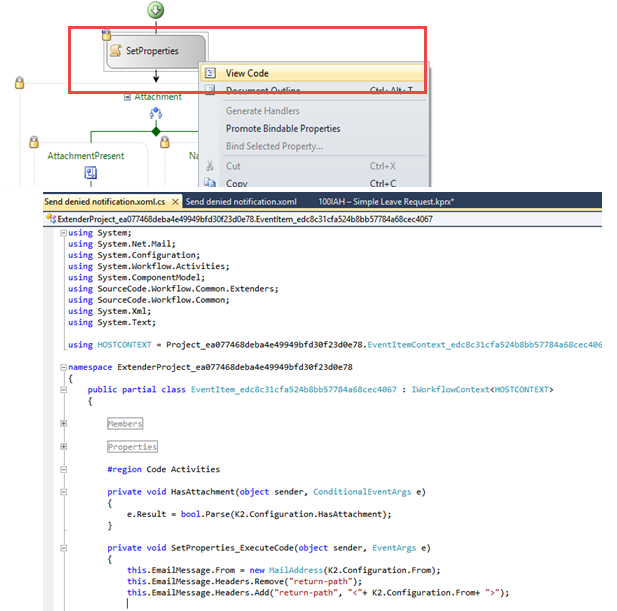
Once you are in the Code Editor, you may customize the code as needed. Remember to deploy the workflow once you have made your customizations.
Considerations and best practices
- Customizations are applied on a per-item basis, so customization applied to one event will NOT automatically be applied to another event that uses the same template, in the same workflow or in other workflows.
- Customizations should be tested to ensure that the event operates as expected and consistently. The custom code executes in the context of the K2 Service and inefficient code may adversely affect the operation of the K2 server
- It is possible to restore the default code template by executing the Update Design Templates command in the K2 design tools. The purpose of this tool is to apply enhanced code templates when you have upgraded your K2 environment to a newer version of the platform.
- The “Update Design Templates…” operation within the K2 designers restores the original templates for all items and will undo any customization. For this reason, you should mark any customized items clearly so that another user does not inadvertently run the Update Design Templates function and overwrite your customizations.
- It is highly recommended that customized templates within a workflow are kept to a minimum, and that any customization is thoroughly documented to maintain a clear understanding of why the template was modified.
- If you find it necessary to customize the code behind a workflow wizard many times, it may be a better approach to create a custom wizard for that event, or otherwise wrap the customization into an assembly or service and call that interface from your custom code., This will help to reduce maintenance and testing.
- Unless you are running an instance of K2 Server on the machine where you are writing code, it is not possible to debug the customized code directly from Visual Studio. You will need to deploy the workflow to a K2 environment and then use the Debugging a K2 workflow (legacy) approach to debug your customized code.