Download and Deploy a K2 Package
In this tutorial, you will download and deploy a sample workflow using the K2 Package and Deployment tool. Once the workflow has been deployed, you will start several instances of the workflow to use throughout the exercises.
The first step you need to take is to download a K2 project file that you will then deploy to the K2 server. This project file contains a basic workflow that was created in K2 Studio. Once deployed, you will start a number of process instances to use in the tutorial steps. To deploy this solution, you will use the K2 Package and Deployment tool.
In a real-world environment, a K2 package could be created by a developer from your development K2 environment, or perhaps you may have downloaded the package from the K2 community site or another resource. In this case, K2 is providing a simple workflow in a K2 package so you can learn how to deploy a simple K2 package.
Step 1 Tasks
- Download the K2 project file located at http://help.k2.com/files/9762.
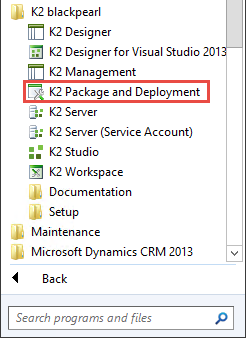
- Use the K2 Package and Deployment tool to deploy the project file. (Start > All Programs > K2 blackpearl > K2 Package and Deployment)
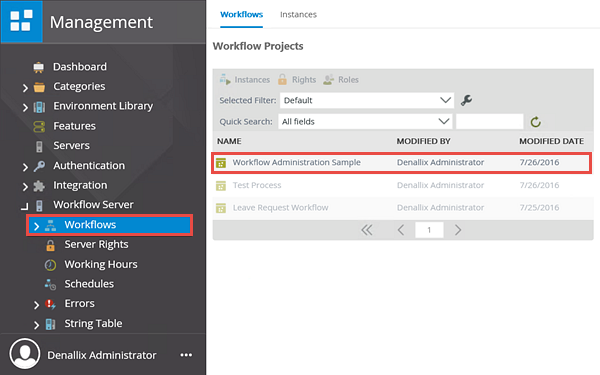
- Confirm the Workflow Administration Sample Process is shown in the Workflow Server > Workflows central pane in the K2 Management site. (Start > All Programs > K2 blackpearl > K2 Management)
- Download the K2 project file located at http://help.k2.com/files/9762 and Save As to your desktop. (To download the file, enter the file URL in your browser. You should then see a message with the options to either Open the file, Save or Save As. Select Save As and save the file to your desktop.)
- Launch the K2 Package and Deployment tool.
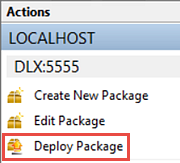
(Start > All Programs > K2 blackpearl > K2 Package and Deployment) - From the right-side Actions column, click Deploy Package.
- For the File Name, Browse to the K2 project file that you previously saved to your desktop. (The file name will be: K2Learning-100.DND_BasicK2Administration.kspx.) Keep the default values for the remaining deployment options and click Next.
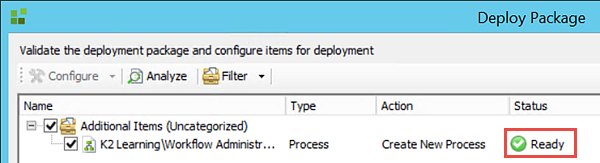
- On the Validate the deployment package screen, wait a few seconds until you see the Ready indicator in the Status column. Click Next to continue.
- Allow a minute or two for the package deployment to process and complete. When you see the green 'success' indicators next to the deployment descriptions, click Finish. Exit the K2 Package and Deployment tool.
- Launch the K2 Management site.
(Start > All Programs > K2 blackpearl > K2 Management)
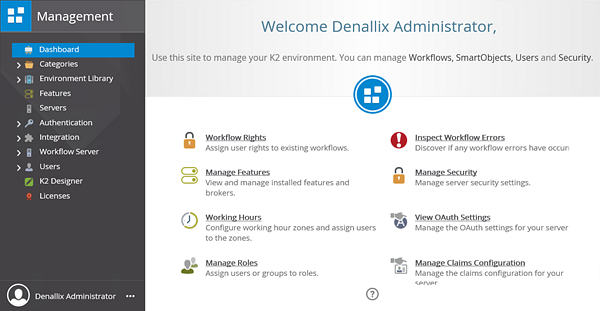
The site opens with the default Dashboard view. Your dashboard may or may not contain all of the features available, depending on your K2 server rights. - Expand the Workflow Server node, then click the Workflows node to expose the current Workflow Projects (also known as processes) in the central pane. Confirm the Workflow Administration Sample process is shown. This is the process that you just deployed. (Your list of processes will not be the same as the image below, outside of the Workflow Administration Sample.)

Now you will confirm the workflow appears in the K2 Management site. In later steps, you will start a number of process instances to use throughout the tutorial.
The K2 administrator's Dashboard view with admin rights
An end-user's Dashboard view with limited rights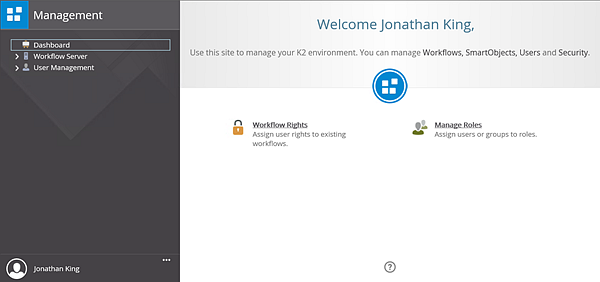
STEP 1 REVIEW
In this step, you downloaded and deployed a sample process to use in later tutorials. The deployment package was actually a K2 project file, which could have been deployed from K2 Studio or K2 for Visual Studio as well. You used the K2 Package and Deployment tool as an option, to give you experience for using this tool in your own environment to deploy projects between environments.
Now that you have successfully deployed your project and workflow, you can move on to the next section, Managing Processes and Process Instances.