35. Finance Processing
In this step, you take action on the Finance Processing task for the first claim. Recall that the recipient for this task is the Expense Claim Processing group and that you added yourself as a member of the group. (If you did not add yourself as a group member, one of the group members (that you added) must action this task. The following steps assume you added yourself to the processing group.)
- From your email client, locate the task notification email for the processing step. Open the form and add some comments to the Task Comments text area box. Select Finance Rejected for the action and submit the form. Confirm you receive the finance rejected email.
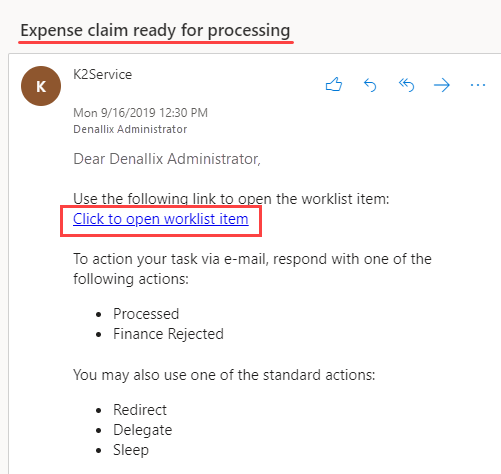
- From your email client, locate the task notification email for the processing step. Use the worklist item link to open the form. (Your subject line may not match the image below, depending on your wording when configuring the step.)
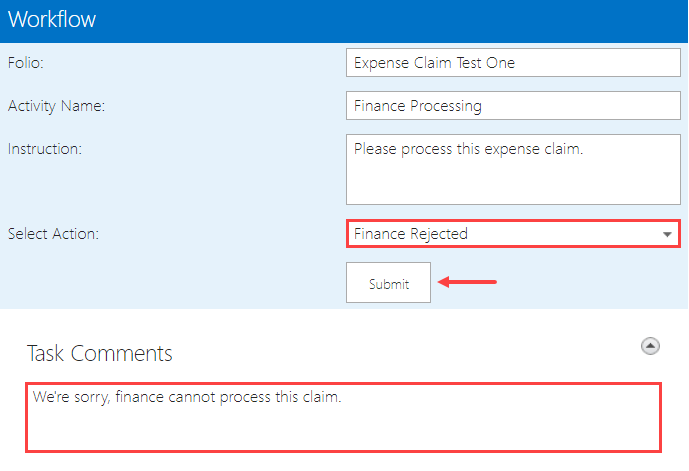
- Enter a few comments into the Task Comments text area box. Select Finance Rejected as the action decision. Submit the form.
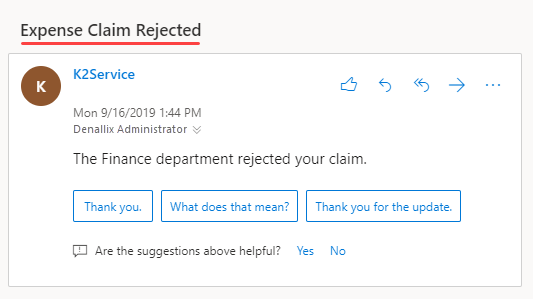
- Return to your email and confirm you see a message regarding the finance decision.
- From your email client, locate the task notification email for the processing step. Use the worklist item link to open the form. (Your subject line may not match the image below, depending on your wording when configuring the step.)
Review
In this step, you completed testing your Expense Claim application by submitting the finance processing decision. Congratulations! You have built a fully functioning Expense Claim application. In the final steps of this tutorial, you explore the reports available (in addition to your reporting dashboard).