29. Create a Form for Reports
In this step, you create your report form. You add two instances of the list view (you just created) to the form, along with the reporting item view. You configure rules for each of the list views, so that one displays items waiting for approval and the other displays items waiting for finance processing.
- Add a new form to the application with the following settings:
Field Value Name Expense Claim Dashboard Description Dashboard view of expense claims. Category (leave default value unchanged) - From the K2 Application elements page, click New > Form. Configure the general settings as follows (and click CREATE):
Field Value Name Expense Claim Dashboard Description Dashboard view of expense claims. Category (leave default value unchanged) 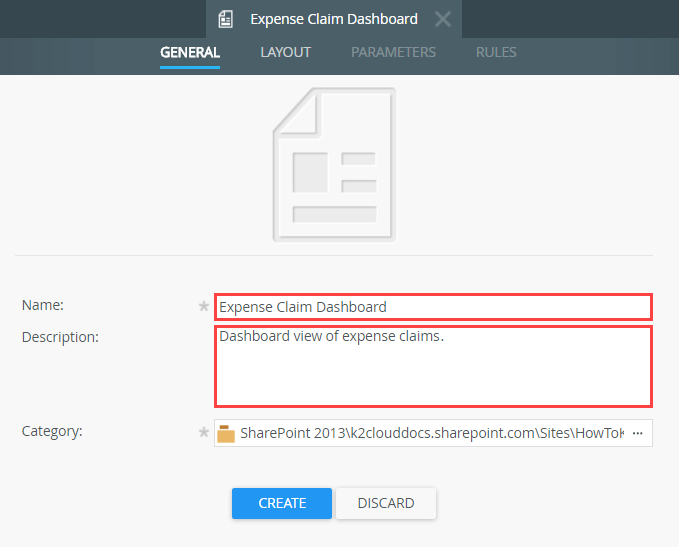
- From the K2 Application elements page, click New > Form. Configure the general settings as follows (and click CREATE):
- Drag the Expense Claim Reports view onto the form and rename the view Average Instances and Duration.
- Select the Views tab on the left side of your screen and drag the Expense Claim Reports view onto the design canvas. Rename the view
Average Instances and Duration.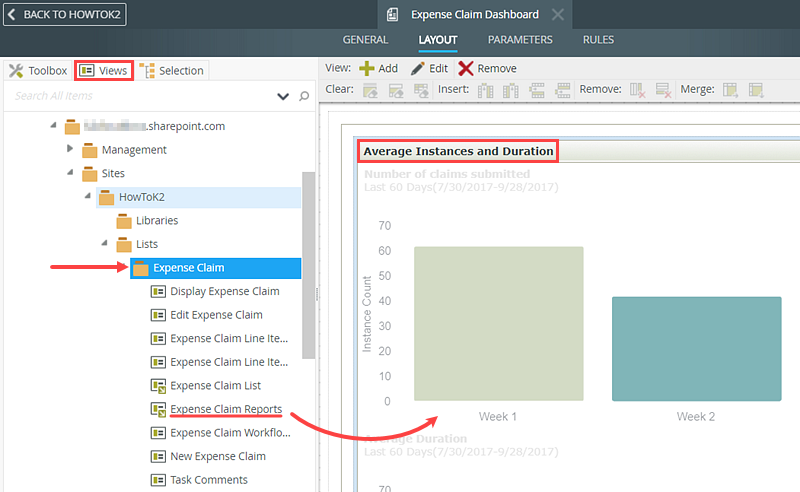
- Select the Views tab on the left side of your screen and drag the Expense Claim Reports view onto the design canvas. Rename the view
- Drag two instances of the Expense Claim List view onto the design canvas and rename each as follows: Expense Claims Waiting Approval, Expense Claims Waiting Processing. Change the form theme to SharePoint 2013.
- Drag two instances of the Expense Claim List view below the chart view, then rename each as follows:
Expense Claims Waiting Approval
Expense Claims Waiting Processing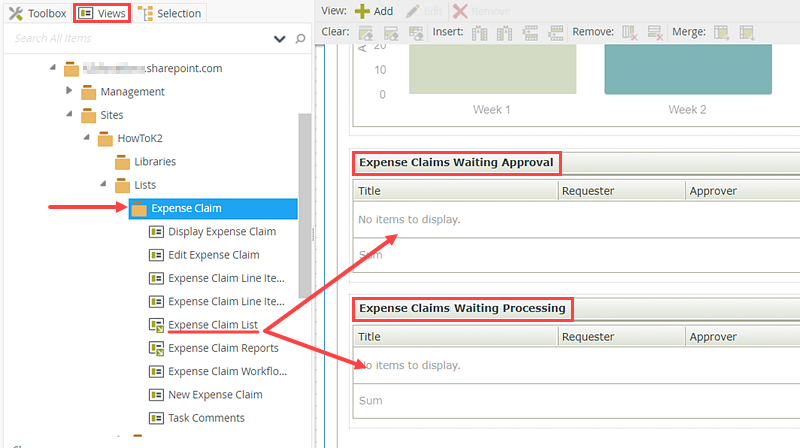
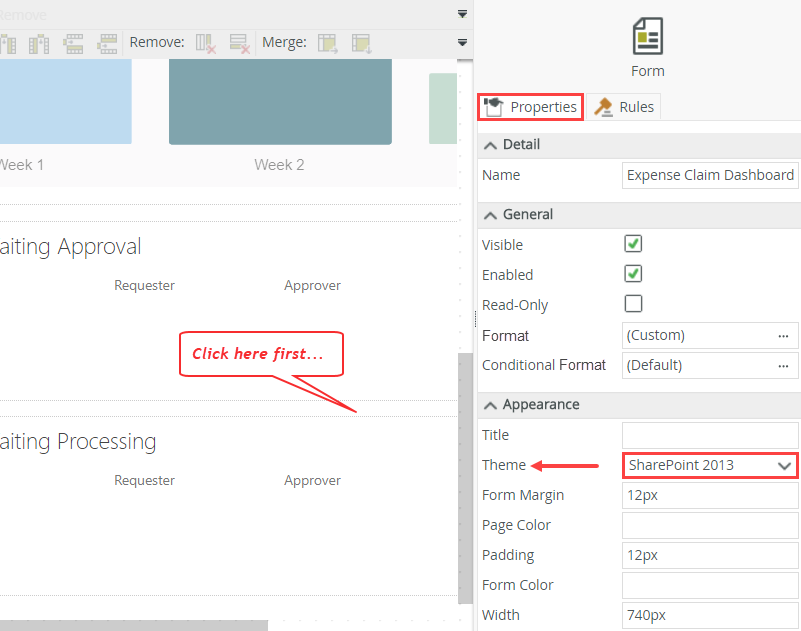
- Next, change the form's look and feel by selecting a different theme. Select the form (anywhere in the white space) and change the Theme property to SharePoint 2013.

- Drag two instances of the Expense Claim List view below the chart view, then rename each as follows:
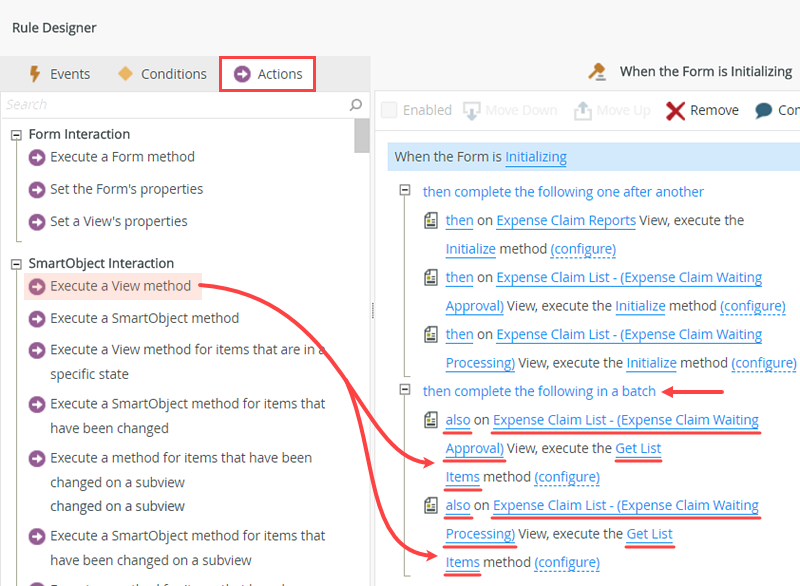
- Edit the form initializing rule and add two actions that call the Get List Items method for each of the list views. Change the two actions to run as a batch. You configure the actions in the next step.
- Next, edit a rule and add actions that retrieve expense claim items from the Expense Claim SmartObject.
Navigate to the RULES screen and edit the When the Form is Initializing rule.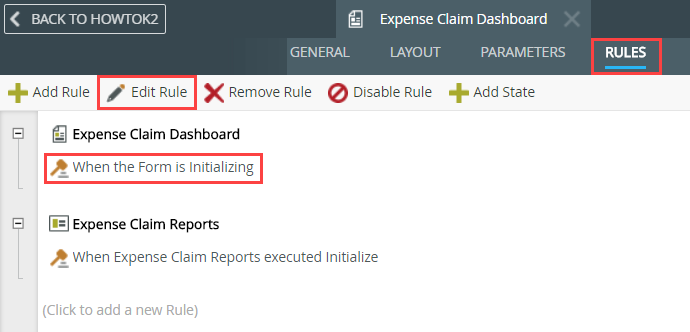
- Add two Execute a View method actions to the rule definition pane. Configure each to call the Get List Items method, one for each of the two list views on the form. Change the two actions so that they run as a batch.
- Next, edit a rule and add actions that retrieve expense claim items from the Expense Claim SmartObject.
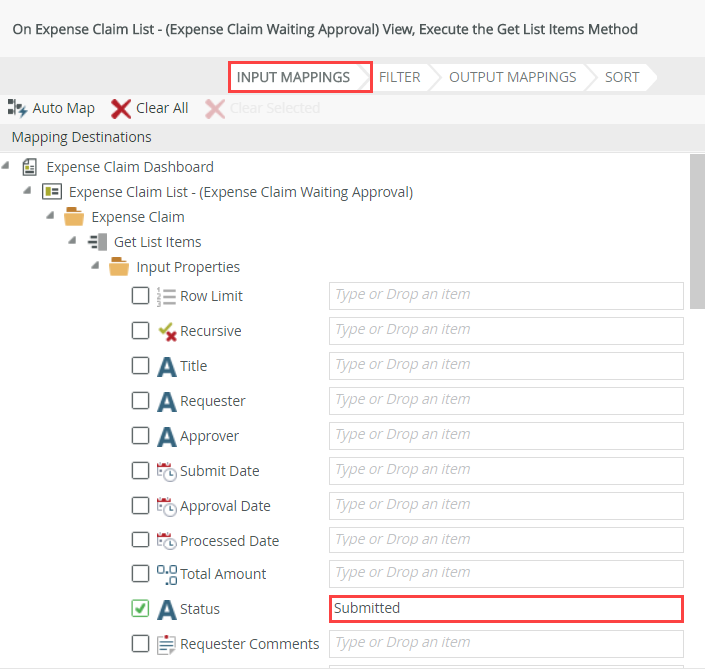
- Configure the Expense Claims Awaiting Approval action first. On the Input Mappings screen, enter Submitted for the Status column. You are applying a filter that returns all records that have a "Submitted" status.
- Click (configure) for the Expense Claims Awaiting Approval actions.

- On the Input Mappings screen, enter
Submitted
for the Status, then click FINISH.
You are filtering the SmartObject list items by the status property. In this case, you want all list items with a status of "Submitted" returned. Items that are approved or waiting for finance processing have a different status and are not returned.
- Click (configure) for the Expense Claims Awaiting Approval actions.
- Configure the Expense Claims Awaiting Processing action. On the Input Mappings screen, enter Approved for the Status column. Finish the form design. Here, you are filtering the records that are approved and waiting for finance processing.
- Click (configure) for the Expense Claims Awaiting Processing action.
- On the Input Mappings screen, enter
Approved
for the Status column, then click FINISH. Once again, you are filtering the list results by the status property. This time, only items that have been approved and are currently waiting for finance processing appear. - Click OK to close the rule designer then FINISH the form design.
Review
In this step, you created the form that hosts the reporting views. Your "dashboard" displays the item view with the two chart controls and two instances of the reporting list view. You configured actions so that one list view retrieves expense claim items waiting for approval and the other list view returns items waiting for finance processing. In the next step, you create a quick launch link in SharePoint that opens the reporting dashboard.