30. Create a Quick Launch Link in SharePoint that Opens the Reporting Dashboard
In this step, you add a Quick Launch Link in SharePoint that launches the reporting dashboard. The quick link makes it convenient to view the status of Expense Claim Workflows from your site collection.
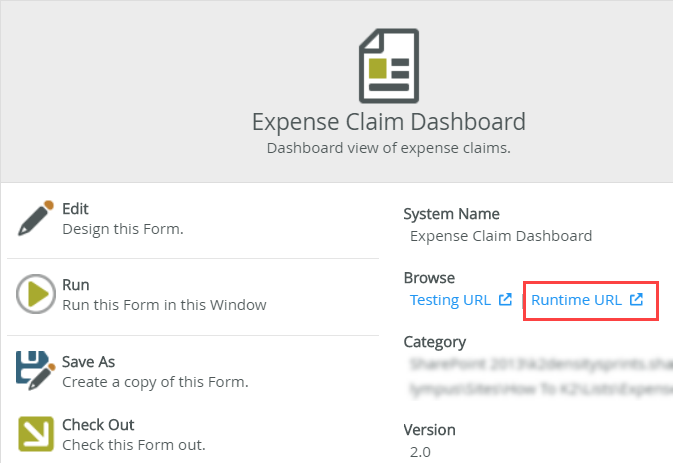
- Copy the Runtime URL for the Expense Claim Dashboard form. It should look similar to: https://[K2SERVERNAME]/Runtime/Runtime/Form/Expense+Claim+Dashboard/.
- First, you need the URL of the reporting dashboard. From the K2 Application elements page, right-click the Expense Claim Dashboard form and select Properties.
- Right-click the Runtime URL (in the central pane) and select Copy link address. The Runtime URL is the address you use to launch this form in a browser. Use this link in emails or web pages to open the reporting dashboard.
- Use your browser's Back arrow to return to the K2 Application elements page. Navigate to the home page of your site or subsite collection.
- First, you need the URL of the reporting dashboard. From the K2 Application elements page, right-click the Expense Claim Dashboard form and select Properties.
- Navigate to the Site Settings page. Add a new Quick launch link using the copied URL. Name the link Expense Claim Reports. Test the link from your home page.
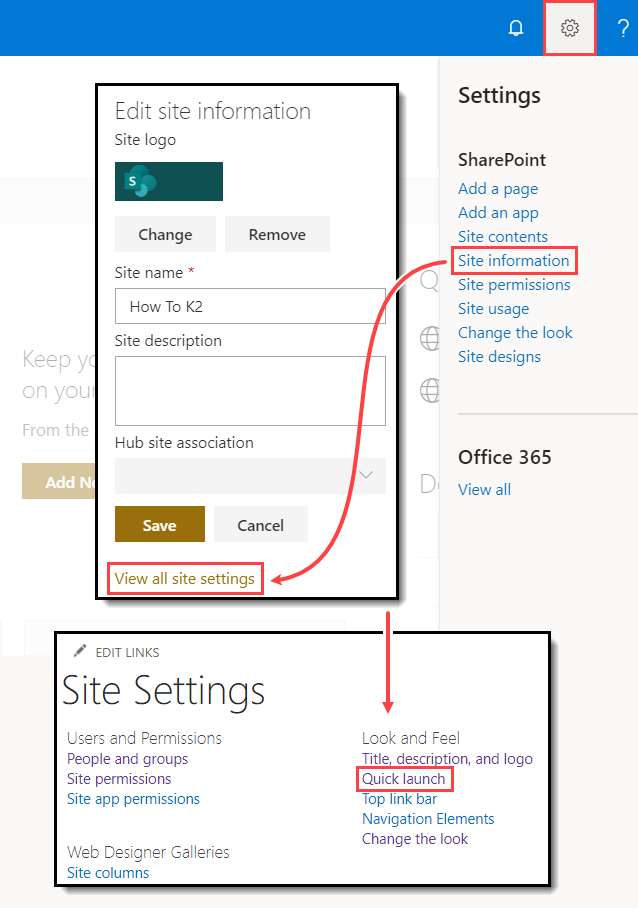
- From your site or subsite collection home page, navigate to the Site Settings page. Click the Settings cog and select Site Information. From the Edit site information pop-up, click View all site settings. From the Site Settings page, click Quick launch (found under the Look and Feel heading).
- On the Quick Launch page, click New Navigation Link. Paste the Runtime URL you previously copied into the Type the Web address text box. For the description, enter
Expense Claim Reports
and click OK. (The Heading value "Home" doesn't change.) In the left column, click Home to return to your site collection home page.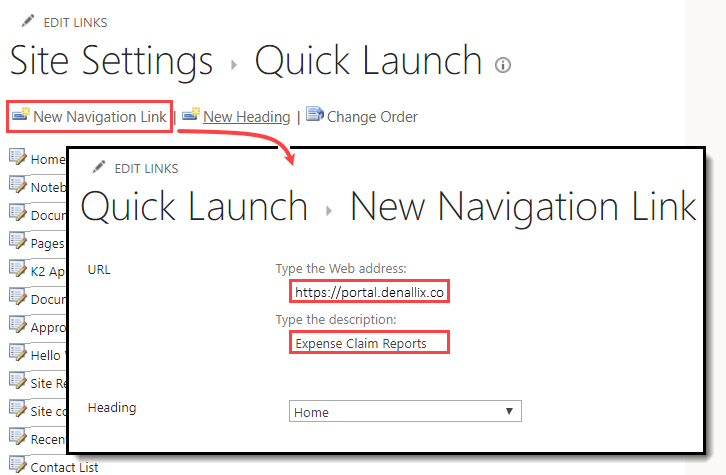
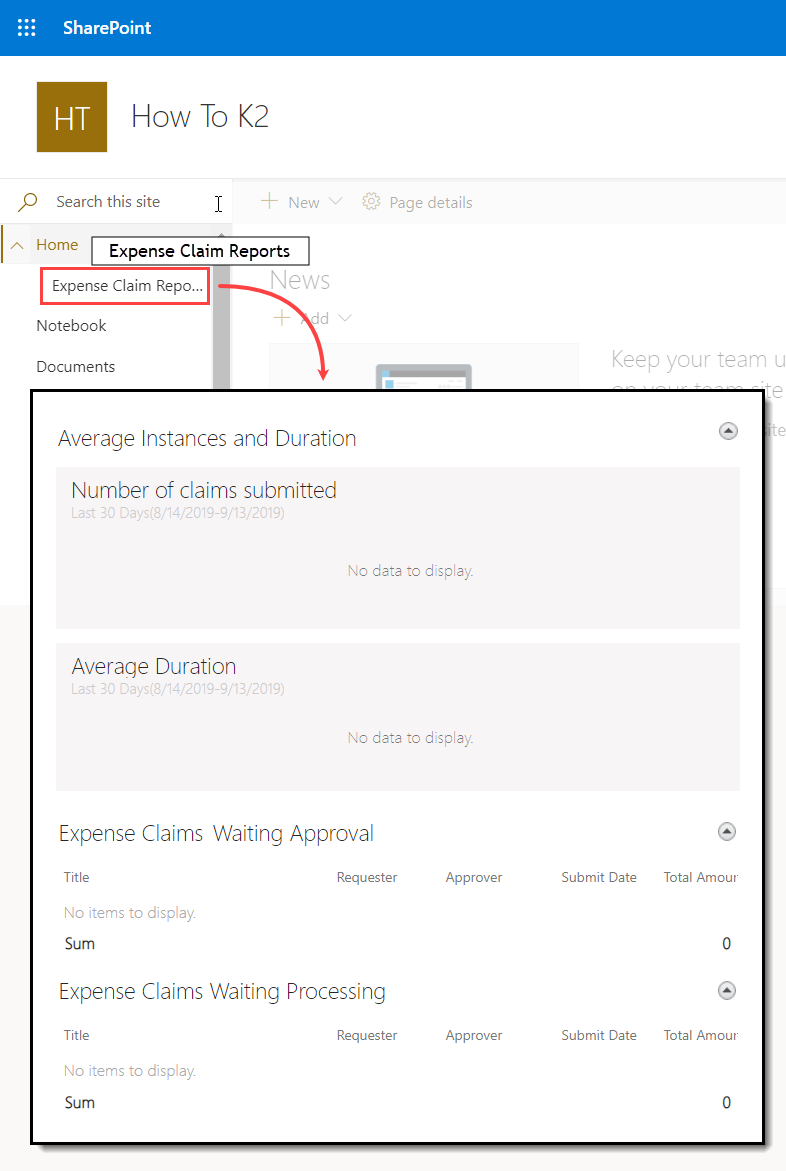
- From your home page, click the Expense Claim Reports Quick launch link to open the reporting dashboard. (You may need to expand the Home menu first.) Confirm the dashboard opens. The dashboard will not have data just yet, as you haven't submitted any expense claims.
- From your site or subsite collection home page, navigate to the Site Settings page. Click the Settings cog and select Site Information. From the Edit site information pop-up, click View all site settings. From the Site Settings page, click Quick launch (found under the Look and Feel heading).
Review
In this step, you added a new Quick launch link on your SharePoint site collection home page that opens the expense claim reporting dashboard. The very last step is to check in all forms and views, after which your application is complete!