14. Edit the Display Expense Claim Form
In this step, you edit the "display" form that the approver and finance processor uses. First, you add the read-only list view to the form, then configure a rule action to load the requester's line items into the list view. Next, you add the Task Comments view to the top of the form so that either task recipient (approver or finance processor) can add any questions or comments they may have. Because the display form is read-only, you need to provide an editable section for approvers and finance processors to enter their comments. In a later step, you use form states to configure the behavior of the form when it is being used for the approval task and then again, for the finance processing task.
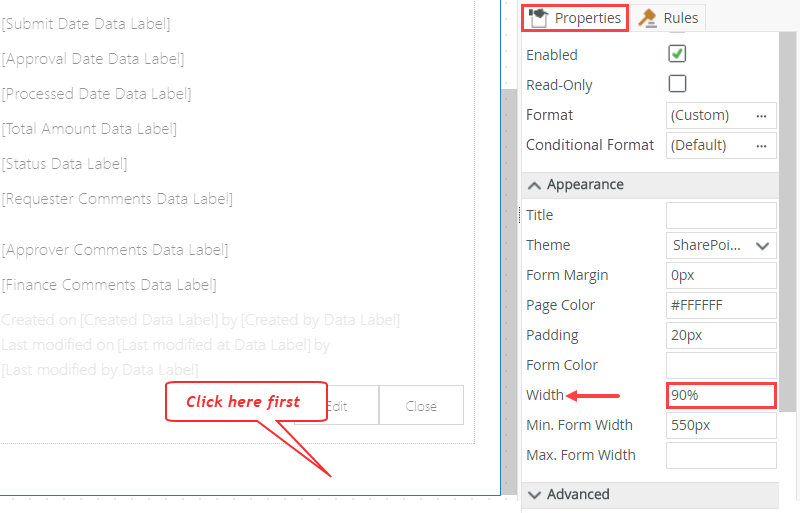
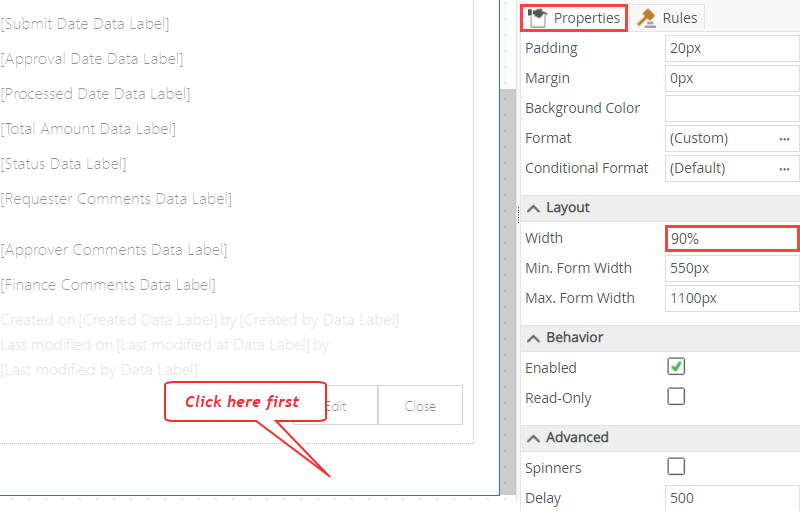
- Check out and edit the Display Expense Claim form, then set the form width to 90%.
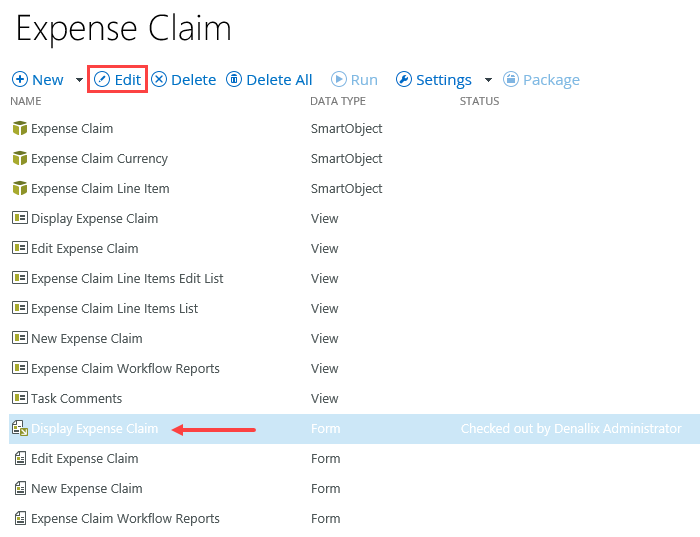
- Navigate to the K2 Application elements page. Check out and edit the Display Expense Claim form.
- Click the form's design canvas (outside of the header view), then set the form’s width property to 90%. Once again, you are just adjusting the width so that it fits nicely on the SharePoint page.
- Navigate to the K2 Application elements page. Check out and edit the Display Expense Claim form.
- Add the Expense Claim Line Items List view to the bottom of the form. Change the view name to Expense Claim Items.

- Click the Views tab in the left column. Navigate to the Expense Claim category, then drag the Expense Claim Line Items List view to the bottom of the form. Change the title of the view to:
Expense Claim Items
(This is the read-only list view.)
- Click the Views tab in the left column. Navigate to the Expense Claim category, then drag the Expense Claim Line Items List view to the bottom of the form. Change the title of the view to:
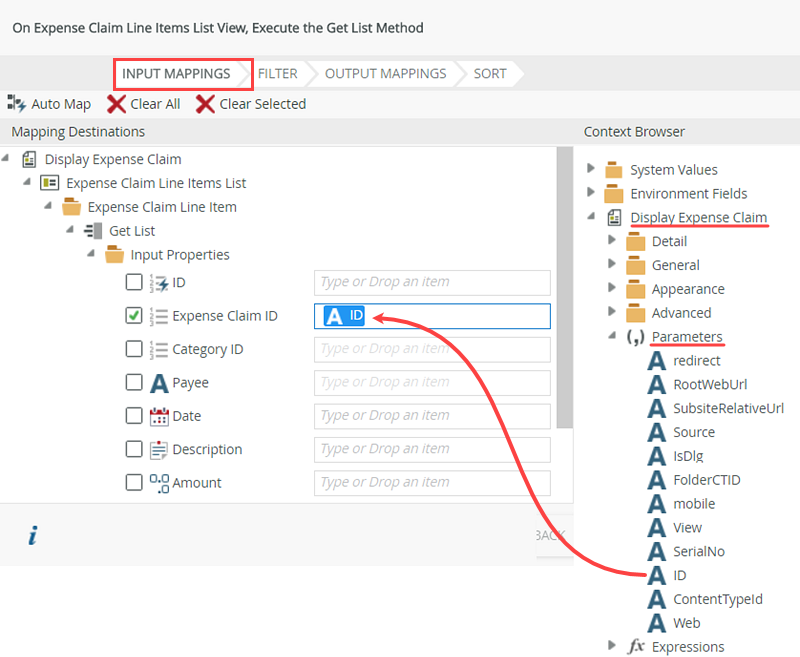
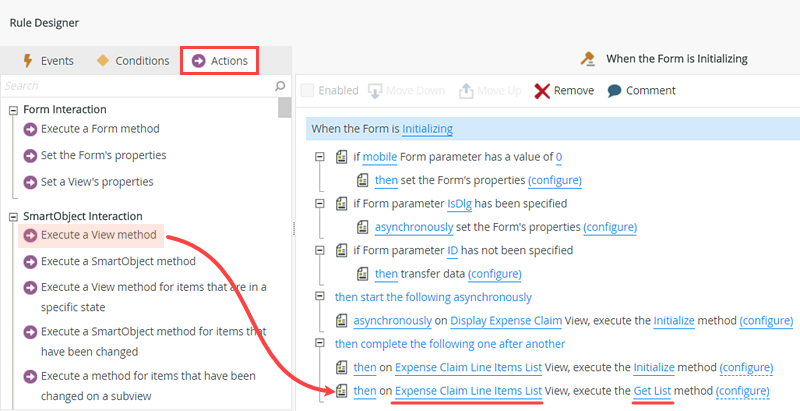
- Edit the form initializing rule. Add an action to call the Get List method of the Expense Claim Line Items List view (Execute a View method). Map the form Parameters > ID to the Input Properties > Expense Claim ID. You are mapping the header record's ID to the child records so that K2 knows which child records to retrieve.
- Now you focus a bit on the rules for this form. First, add an action to an existing rule that retrieves the child records for the list view. Use the current record's ID (which is the header record ID) and map it to the child records. K2 knows to retrieve each child record that matches the header record ID.
Click the RULES tab. Locate, then Edit the When the Form is Initializing rule.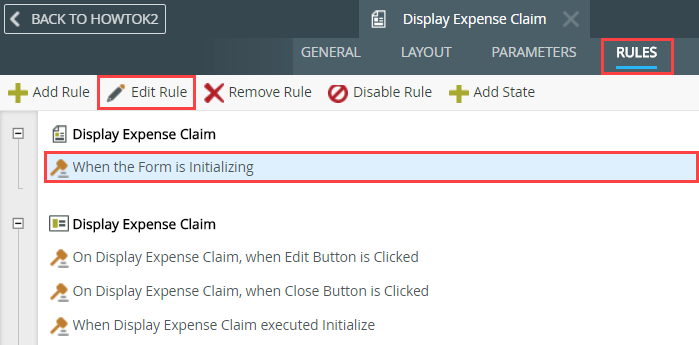
- Select the Actions tab and add an action to Execute a View method. Configure the action to call the Get List method of the Expense Claim Line Items List view.
- Next, you map the header record ID. Click (configure). You only want to show the line items associated with this specific expense claim. On the Input Mappings screen, drag the ID Parameter into the Expense Claim ID input property.
- Click FINISH to complete setting up the action configuration, then click OK to exit the rule designer.
- Now you focus a bit on the rules for this form. First, add an action to an existing rule that retrieves the child records for the list view. Use the current record's ID (which is the header record ID) and map it to the child records. K2 knows to retrieve each child record that matches the header record ID.
- Add the Task Comments view to the top of the form. Change the title to Task Comments
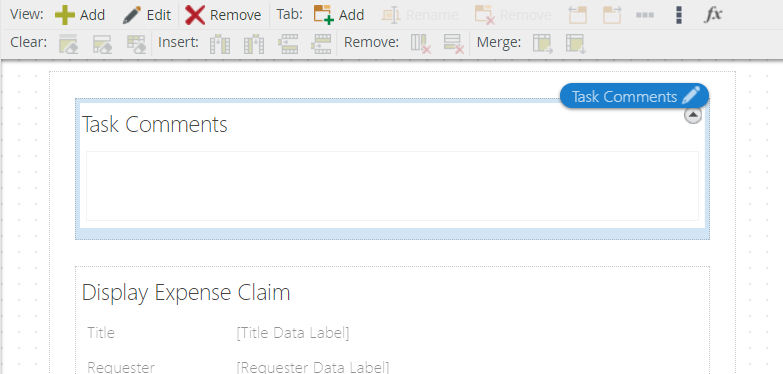
- To complete the display form, add the Task Comments view to the top of the form. The display view in its current state is read-only. You need to provide a way for approvers and finance processors to enter any questions or comments they may have. The Task Comments view is editable, so you add it to the form.
Click the LAYOUT tab. Drag the Task Comments view to the very top of the display form. Name the view
Task Comments.
The Task Comments view is located in the Expense Claim category from the Views tab (left column).
- To complete the display form, add the Task Comments view to the top of the form. The display view in its current state is read-only. You need to provide a way for approvers and finance processors to enter any questions or comments they may have. The Task Comments view is editable, so you add it to the form.
- Finish and check in the form. If time allows, test the Display Expense Claim form by opening the test item you created in the preceding step. Note that you can enter comments into the Task Comments view, while the remaining is read-only.
- Click FINISH to save and exit the form designer. On the K2 Application elements page, check in the form.
- You have set up the Display Expense Claim form to load the list of expense items associated with an expense claim. You have also added the editable comments view. If time allows, test the form.
From Expense Claim list in SharePoint, open the test item you created in the previous step. You should see the view load with the header content, along with the details content. If you added images to the line items for the claim, you should be able to click on the image to view the expense claim line item’s receipt. Notice the Task Comments view has the editable text area box. Enter some comments to demonstrate how you can edit this one field. The values in the Display Expense Claim view remain read-only.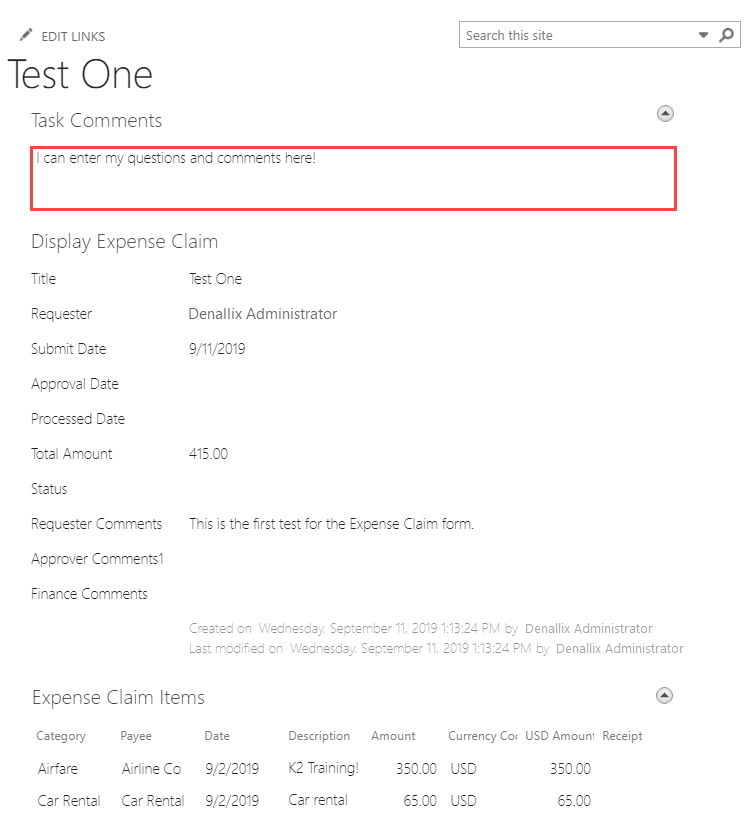
Review
In this step, you edited the "display" form and added the read-only line items list view to the form. You configured a rule action to retrieve the child records based on the current header record ID. You added the editable Task Comments view so that approvers and finance processors can enter any questions or comments they have. In the next step, you edit the "edit" form and add the editable list view to the form, then add a rule action that retrieves the requester's child records.