Managing Discovery Console Users
Creating Discovery Console Users
The process of creating Discovery Console users involve two main steps:
Adding the user in the user management tool
-
In the left top navigation bar, click Users.
-
On the screen that opens, click the Add user button.
-
On the Add User screen, enter the new Username (the only required field on this screen).
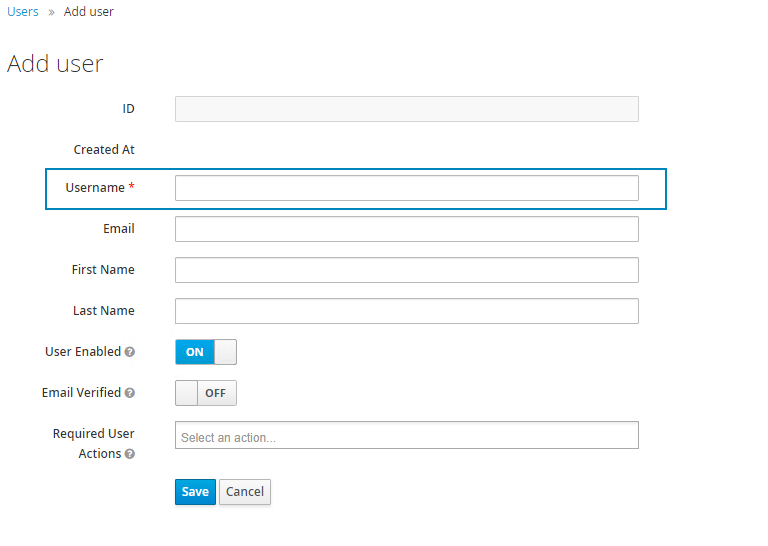
-
Click the Save button
-
The new user is created, and a screen displaying the user details opens.
-
Click on the Credentials tab and enter and confirm a password for the user.
 If the user should be required to change the password when they next log in, set the Temporary slider to ON.
 -
Click the Reset password button to save the new password.
-
Click on the Role Mappings tab and set the user access permissions (roles) as following:
-
Assign the console-user role to allow the user to login to the console. This role allows the user to view processes (Process List tab) in the Console. This is the most basic type of permission.
-
Assign the pd-admin role to allow the user to access the Settings tab in the Console.
For the user to see processes under Process List, the user must be assigned to a Team.
-
Assigning a user to a Team
Assigning a user to a team means that the user will be able to access the Team in the Nintex Process Discovery Console, as well as access the recorded data of that team.
-
Go to Console Settings.
-
Click the settings Cog icon and select Permissions.
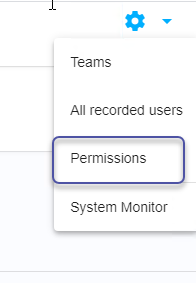
-
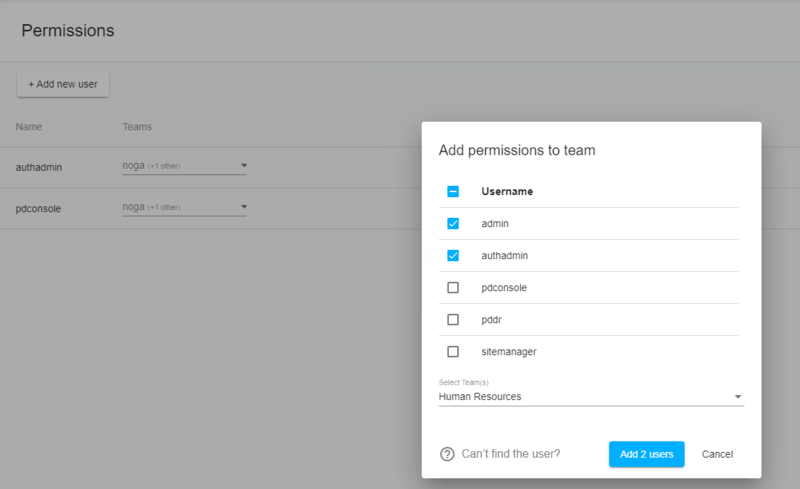
Click +Add new user.
-
In the dialog box that opens, select the relevant Process Discovery user(s) to which you want to give access to a specific Team, and then select the desired Team.
The list of users reflects the users that have been already created in Aerobase (User Management tool)EXAMPLE:
-
Click Add user/s.
Resetting user password
-
In the left navigation bar, click Users.
-
On the screen that opens, use the Search field to find the user whose password you need to reset, or click on View All users to see a list of all users in your organization.
-
From the resulting list, click
 in the relevant user's row.
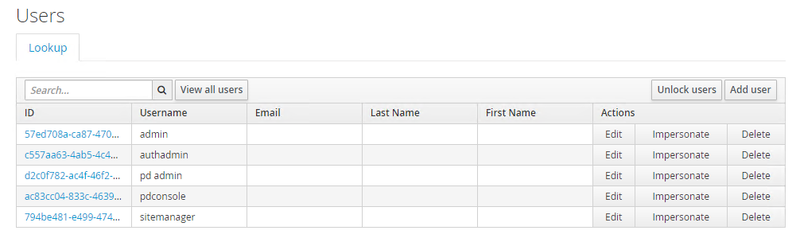
-
A screen displaying the user details opens.
-
Click on the Credentials tab.
-
On the Credentials screen, enter and confirm a new password for the user.
-
If the user should be required to change the password when they next log in, set the Temporary slider to
 .
. -
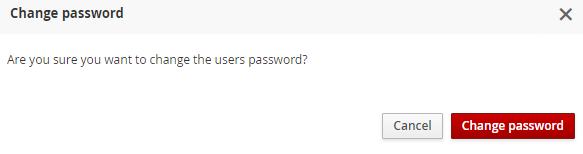
Click the Reset Password button to save the new password.
-
In the confirmation dialog that appears, click Change password.