4. Create a SmartForm from the Contact SmartObject
In this step, you create a new SmartForm using the Contact List SmartObject as the form's data source. You begin by creating a new view based on the Contact List SmartObject. This view is a read-only list view that displays your contacts. Instead of displaying all the columns from your SharePoint list, you select a few columns to display. You create a new form and add the view to the form. Finally, you test the form by launching it from the Runtime URL link.
-
Launch the Designer. Navigate to the Contact List SmartObject.
- Begin by launching the Designer.If you are unsure of how to launch the Designer, see Accessing Sites.
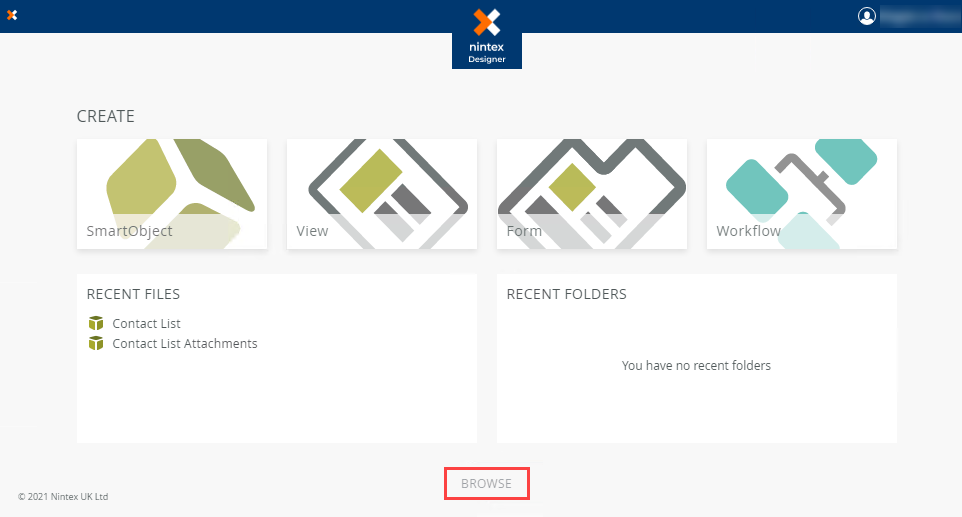
- You are on the designer's landing page. Click BROWSE to get started.
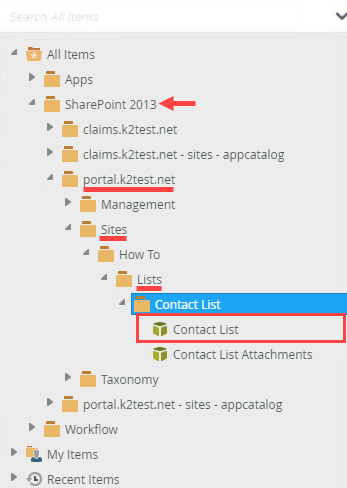
- First, you want to navigate to the Contact List SmartObject. The tree structure is similar to the Management categories menu. Expand All Items, then SharePoint 2013. Navigate to and select the Contact List SmartObject. (The image below is an example. Your menu tree may have different names, depending on your environment and if you created a subsite.)
- Begin by launching the Designer.
-
Design a new view from the Contact List SmartObject. Name the view Contact View and make it a List View. Create labels and controls, then select the following fields: First Name, Last Name, Phone, and Company Name. Finish the view.
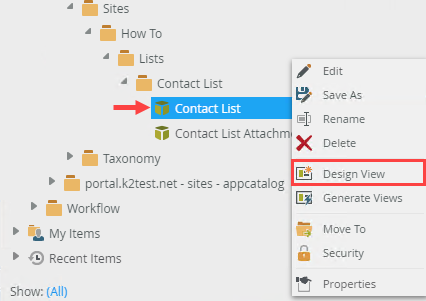
- The first step is to design a view from the SmartObject. Designing a view automatically creates a relationship (or link) between the SmartObject and the view. The SmartObject properties (remember the list columns) become view controls that you can add, edit, and remove. Right-click the Contact List SmartObject and select Design View.
- You are now on the GENERAL settings page. Name your new view
Contact View
then select List View for the View Type. Click CREATE. (Leave the other settings as is.)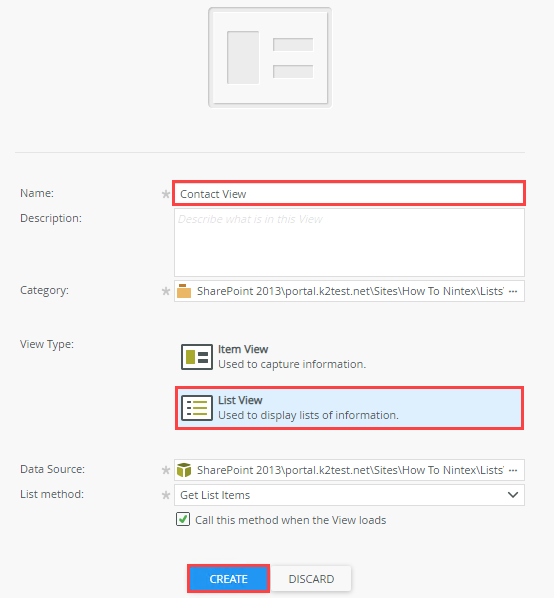
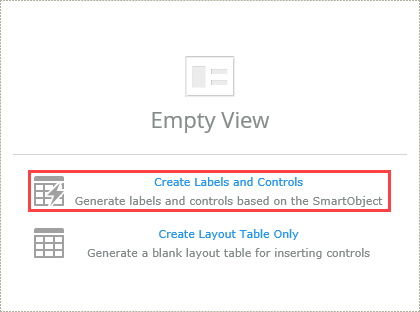
- Next, choose the layout you want for your view. The product can create labels and controls for you in a layout table, or the product can create just the layout table and you can add labels and controls manually. For this application, let the product create the label and controls. Click Create Labels and Controls.
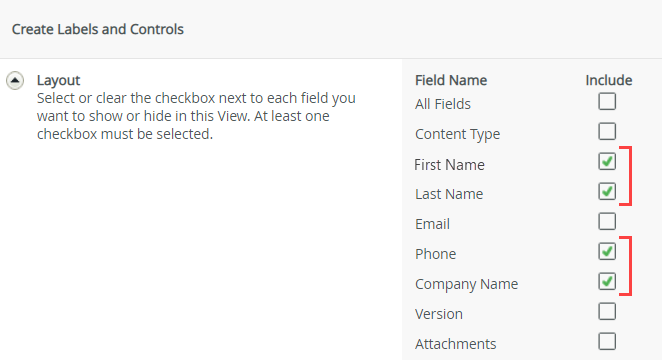
- On the Create Labels and Controls screen, include the following fields on your view: First Name, Last Name, Phone, and Company Name. There are no other changes to this screen, so click OK.
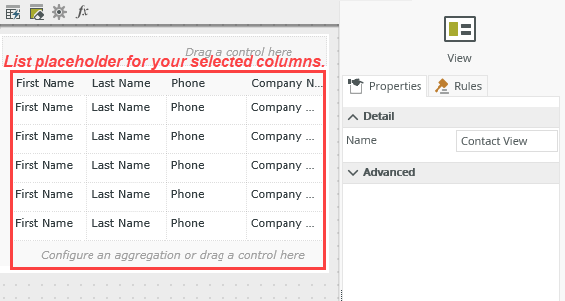
- You are now on the LAYOUT page. You can see a placeholder for the layout table and columns previously selected . You don't have any other changes to make to this view, so you can save and exit by clicking FINISH (in the upper right corner).
- The first step is to design a view from the SmartObject. Designing a view automatically creates a relationship (or link) between the SmartObject and the view. The SmartObject properties (remember the list columns) become view controls that you can add, edit, and remove. Right-click the Contact List SmartObject and select Design View.
-
Add a new form and name it Contact Form. Add the Contact View to the form. Finish the form.
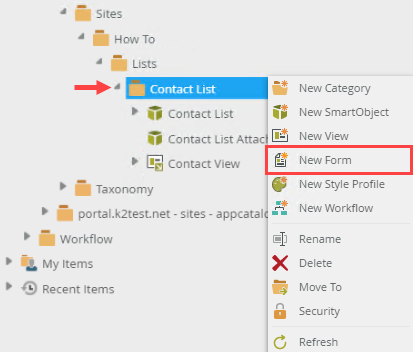
- Views are "contained" in forms when you are ready for public access. A single form may have several views, for example, a header view that displays employee details and a list view that displays company records. Forms contain all the components (such as views, controls, and rules) needed for a useful user interface and are accessible in a browser. In this step, you create a new form and add the list view to it. Right-click the Contact List category (folder) and select New Form.
- You are now on the GENERAL settings page. Name the form
Contact Form
and click CREATE.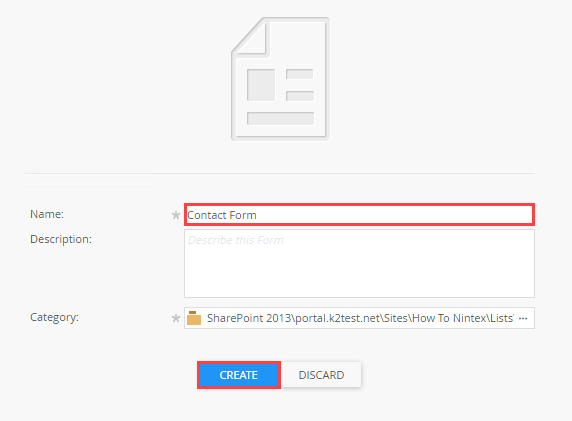
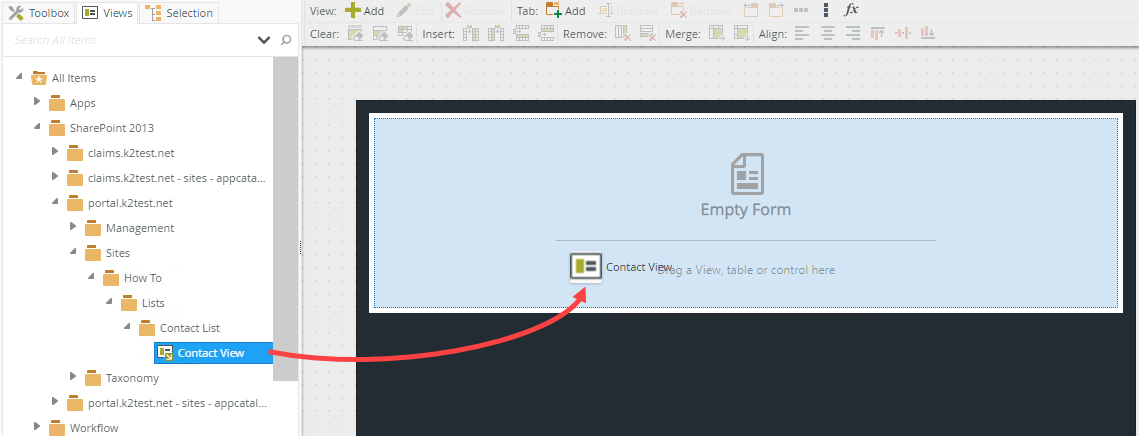
- In the central pane, there is a placeholder (Empty Form) for adding views and controls. You add the Contact List view to this placeholder. In the left side column, switch tabs to the Views tab. Navigate to your Contact View that is located in the SharePoint 2013 ... Contact List category. Drag the Contact View (view) into the placeholder.
- To make the view more meaningful, you will add a title to it. Click (Enter View Title) and change it to
My Contacts
then click outside the text box to set the title.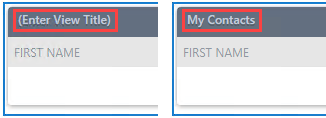
- The Contact View is a list view. By default when the view loads, the product queries the data source and returns the records back to the view. The product added and configured a rule to accomplish this when you created the view. The rule remains in place, even after adding the view to a form. To see the rule and how it is configured, click the RULES tab. Locate and select the When Contact View executed Initialize rule. Click Edit Rule.

- Notice the action: then on Contact View View, execute the GetListItems method. This action queries and loads the Contact List records when the view opens. (This is the same method that you just tested in Management.) Click Cancel, then Yes when you see the confirmation dialog.

- The form is complete. Click FINISH to exit the form. Next, you test the form and confirm your contacts appear when the form loads.
- Views are "contained" in forms when you are ready for public access. A single form may have several views, for example, a header view that displays employee details and a list view that displays company records. Forms contain all the components (such as views, controls, and rules) needed for a useful user interface and are accessible in a browser. In this step, you create a new form and add the list view to it. Right-click the Contact List category (folder) and select New Form.
- Use the Runtime URL to launch the form. Confirm you can see your list of contacts.
- Next, you test your new Contact Form. You use the Runtime URL to launch the form. This is the URL you should use when opening the form from other locations (such as an email or another web page). Select Contact Form from the categories, then click Runtime URL (in the central pane).
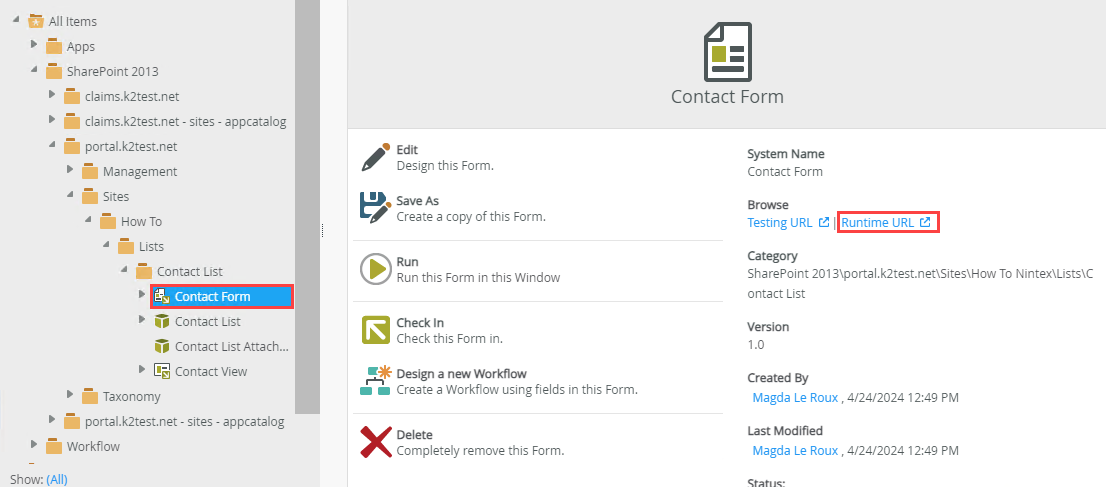
Your form opens in a new browser window. Review the list of contacts returned. You are viewing SharePoint list records from a form outside of SharePoint!
Your form may have a different style than the image below. The form below reflects the Lithium theme. The important concept is that you have data returned from your SharePoint list.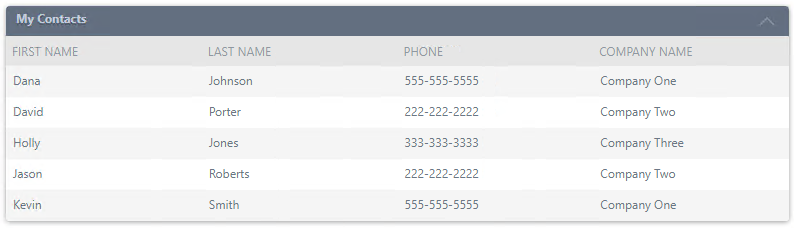
- Next, you test your new Contact Form. You use the Runtime URL to launch the form. This is the URL you should use when opening the form from other locations (such as an email or another web page). Select Contact Form from the categories, then click Runtime URL (in the central pane).
Review
In this step, you created a view that displays a read-only list of your contacts and a form to contain the view. Forms can contain several views, along with additional tables and controls. The Runtime URL is the public address you use to access the form. This URL opens the form in a browser. In the next optional step, you learn how to clean your environment by deleting the artifacts created in this tutorial.