
|
 |
|
 |
|
 |
|

|
Workflow templates provides the ability to create a new workflow using the basis of a saved workflow template. By using workflow templates, workflow designers are able to save a considerable amount of time without the need to build a similar workflow already in existence from scratch.
Workflow templates are associated at a Site Collection level. Saved workflow templates will only be available for reuse within the site collection the workflow was saved from. In order to use a workflow template from a different site collection, use the export workflow and import workflow features. Refer to Importing and exporting workflows.
Selecting a workflow template
To create a new workflow based on a workflow template:
- Navigate to the site, list or library (depending on the type of workflow to be created).
- Click on Create a Workflow.
- The Select a workflow template dialog is displayed.
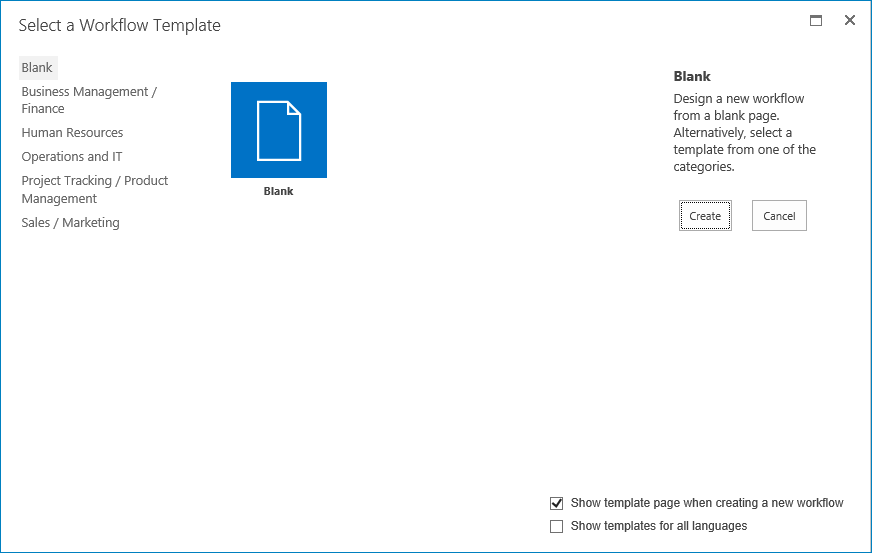
Note: Templates shown may differ from those available. Also, depending on what version of Nintex Workflow installed, pre-loaded templates may differ.
-
By default, the option of starting a blank workflow is presented. Any template categories available will be listed in the template box. By hovering over a template the description of the template. This description is also shown in the right hand column under the template name, along with the category of the template, the last date modified and the last person who modified the template.
- Select a template, by clicking on the Template and then click on the Create button; OR
-
Double click the template selected.
Show template page when creating a new workflow:
-
To disable the dialog from appearing each time the Create a Workflow is clicked, uncheck Show template page when creating a new workflow.
-
To re-enable the dialog to appear each time the Create a Workflow is clicked:
-
In the Workflow Designer, within the Ribbon, click on Open.
-
Check Show template page when creating a new workflow.
Saving a workflow as a template:
- Once the design of the workflow has been completed.
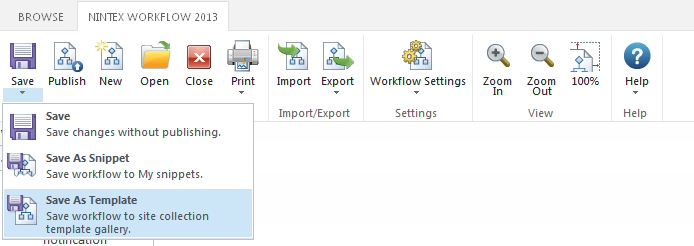
- In the Nintex Workflow Designer Ribbon, expand the available options by clicking
 below the Save icon.
 - Click on Save as Template.
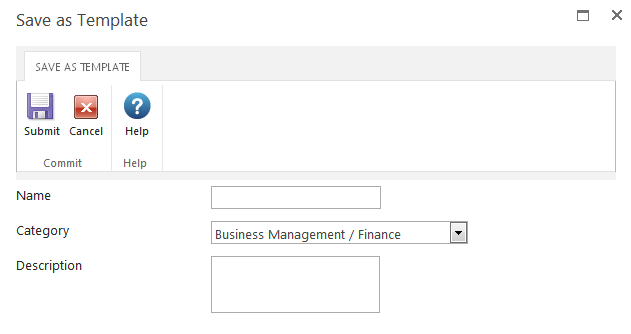
- In the Save as Template dialog:
- Name: The title of the workflow template.
- Category: Select an existing category to list the workflow template under or select New Category... and specify a Category Name for the workflow template to be listed under.
- Description: Brief description of the purpose of the template which could help users identify which template they might select.
Deleting a workflow template
Only an Administrator can delete workflow templates.
To delete a workflow template:
- Navigate to the Top Site level home page.
- In the Gear menu
 , found on the top right-hand side, click on Site Settings.
 - In the Nintex Workflow group click on Workflow Templates.
- The full list of workflow templates for the site collection will be displayed.
- Click on the workflow template to be deleted.
- In the Edit workflow template page, click Delete Item.
- In the Confirmation dialog, click OK.