How To: Use the SmartForms Tree Control to Navigate Dropbox Folders
In this article, you use the SmartForms Tree Control and configure it to use your Dropbox Folder SmartObject to display your Dropbox folders and files. The Folder SmartObject and others are created for each cloud storage feature you activate. These features allow you to integrate K2 with Dropbox, Box, Google Drive, and OneDrive using SmartObjects, and then use these SmartObjects in your K2 solutions. For more information about the cloud storage service type and creating service instances, see Cloud Storage.
Scenario
You want to use the Tree control to navigate your Dropbox folders and also see files stored in those folders. You add the tree control to a number of views used in your organization and configure it so that people using the forms can find the correct file.
Below is an example showing a DropBox folder structure with files in the tree control in a SmartForm: 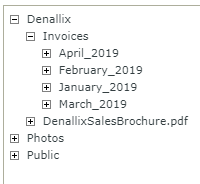
Below is an example of the folders and files as they appear in dropbox: 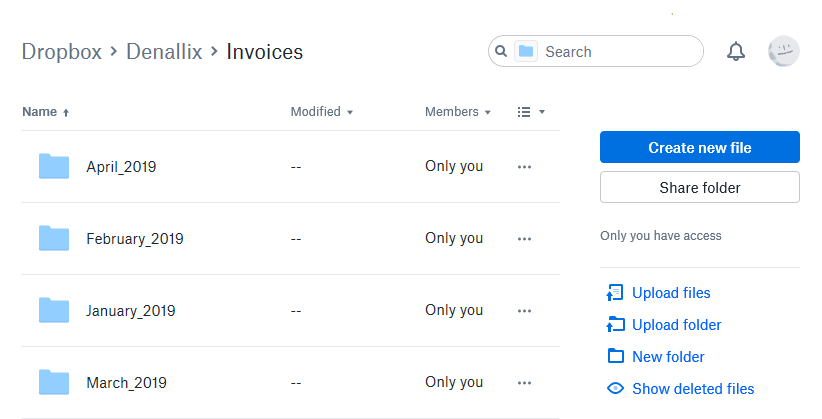
Steps
In this scenario, you use the Dropbox Folder SmartObject to populate a Tree control in a SmartForm.
Setup Steps
The following steps set up the scenario. If you want to skip the setup steps and view the topic step, go to Create a new view using a Tree Control.
-
Activate the Dropbox feature
- See Dropbox Feature Activation for configuration steps
Create a view using the Tree control
Create and configure a view with the Tree control using the Dropbox Folder SmartObject. In this scenario, you navigate folders and files in the Denallix folder in Dropbox.
-
Create a new view using a Tree control.
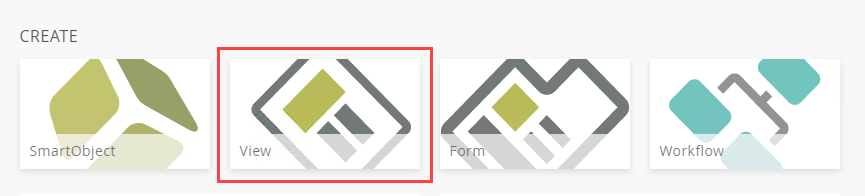
- In K2 Designer, select the create View option.
If you are not familiar with creating views, see How To: Create an Item View and a List View.
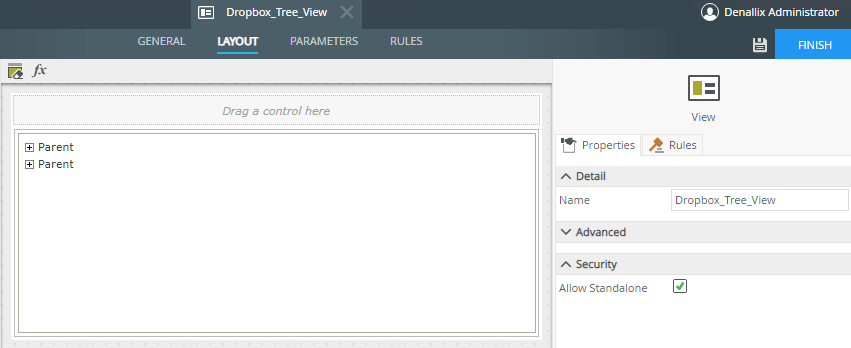
- Name the view Dropbox_Tree_View. Specify a Description.
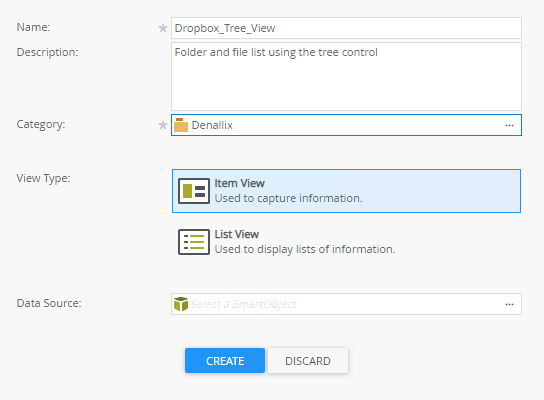
- Select a Category for the view. In this example, the Denallix category is used.
- Select Item View.
- Click Create to start creating the view.
- In K2 Designer, select the create View option.
If you are not familiar with creating views, see How To: Create an Item View and a List View.
- Configure your view to use the Tree control.
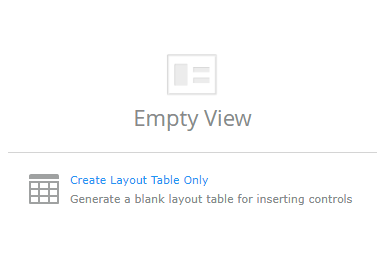
- Select Create Layout Table Only.
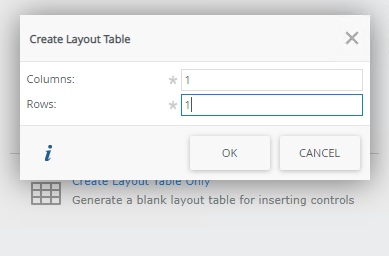
- Change the Columns and Rows values to 1 and click OK.
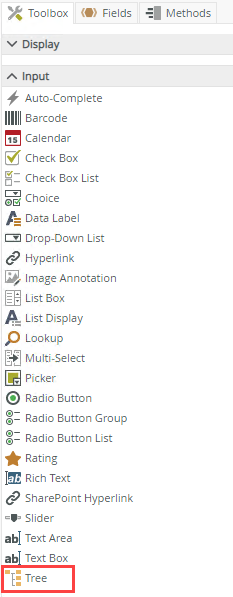
- Drag and drop the Tree control from the Input toolbox onto the view canvas.
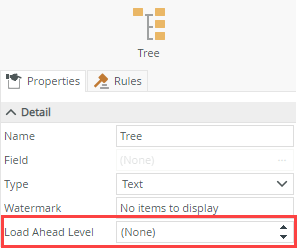
- Set the Look Ahead Level property to (None). See Considerations for more information about this setting.
- Click the ellipses (...) of the Data Source Type

- Add a new data source and configure it to use your Dropbox Folder SmartObject. In this example, the Dropbox category name is Denallix Dropbox. You set this name during feature activation.
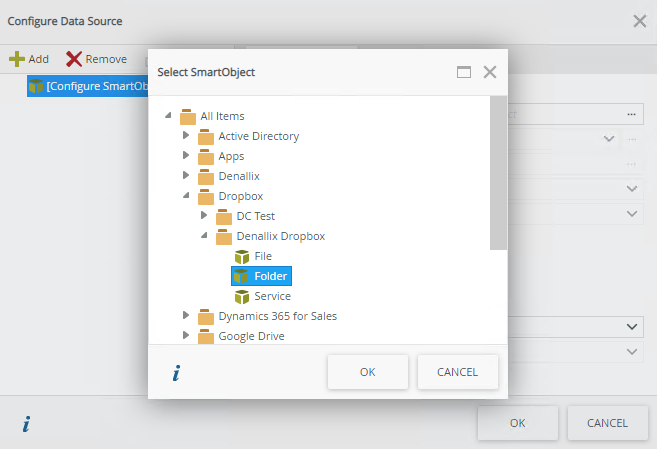
- Click OK.
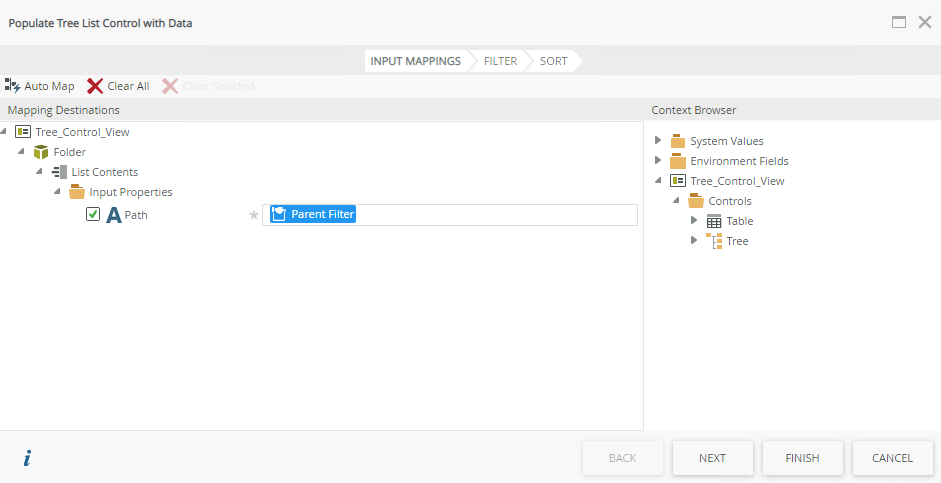
- Click the ellipses (...)of the List Contents Method.
- Configure the Path property with a forward slash /. This configures the path to the root (first level) Dropbox folder.
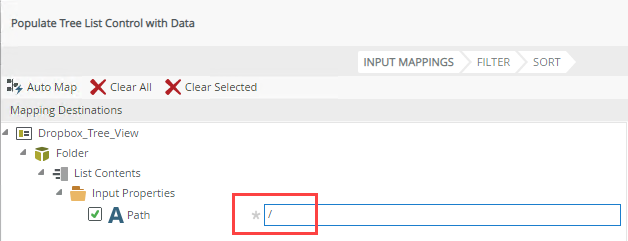
- Click Next.
- Click Next again (you don't need additional filters).
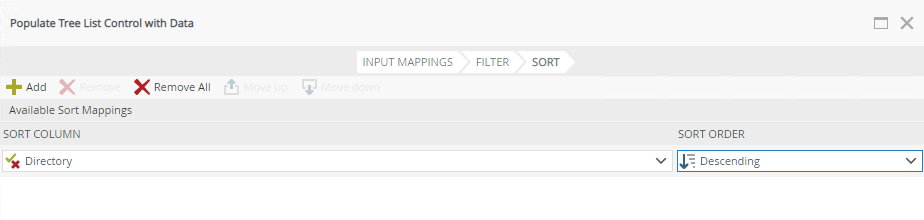
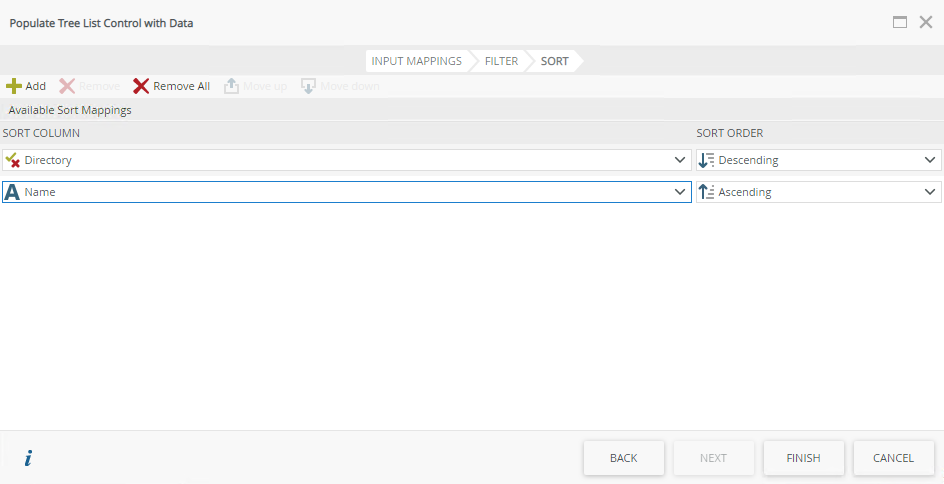
- Click Add, then select Directory in the Sort Column and configure the Sort Order to Descending.
- Click Add again, then select Name in the Sort Column and configure the Sort Order to Ascending. This configures the control to list folders first and then files.
- Click Finish
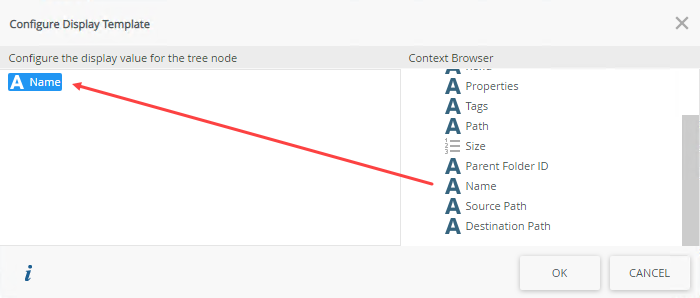
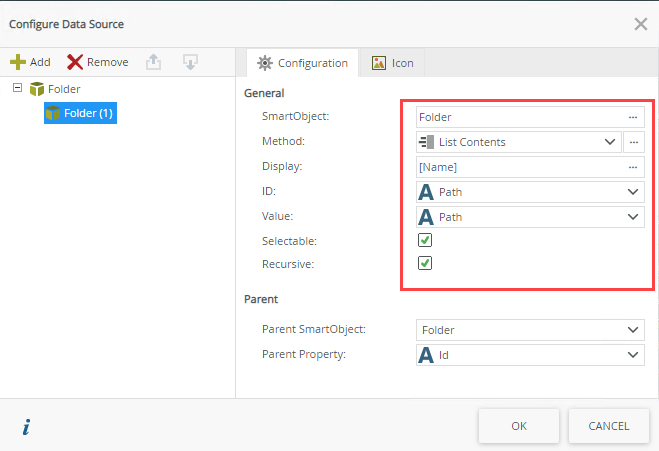
- Click the ellipses (...) of the Display field
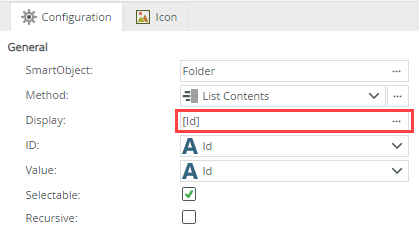
- Remove the existing display value, then drag and drop the Name property from the Context Browser . Click OK.
- Set the ID and Value properties to Path.
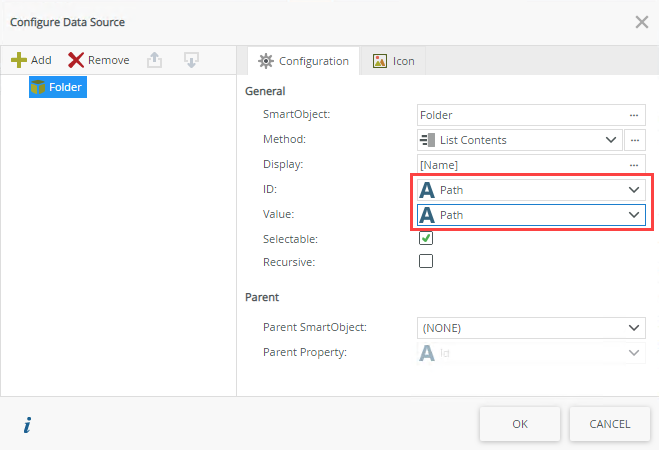
- Click the Add button again to further configure the data source.
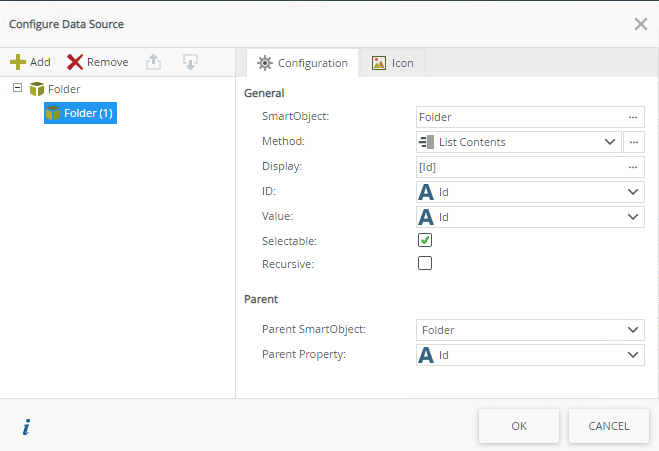
- Using the steps above as a guide, configure the General properties as shown in the image below. Remember to turn on the Recursive option.
- Select the ellipses (...) of the List Contents Method. Leave the Path property as is and click Next.
- Click Next, then Next again.
- Configure the Sort Column mappings as shown here.

- Click Finish.
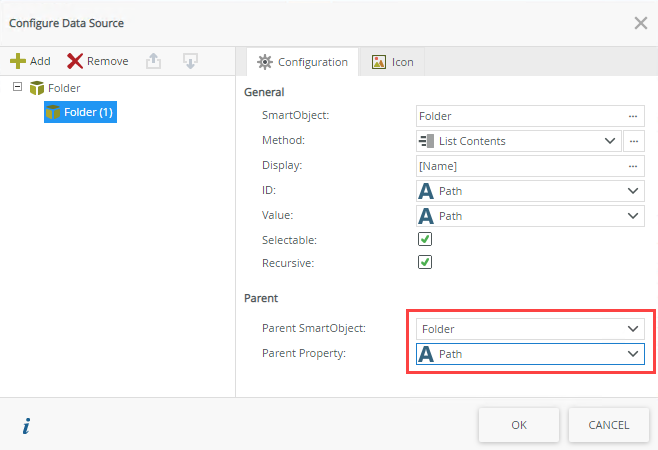
- Next, configure the Parent properties as shown in the image below. Then click OK to end the Configure Data Source configuration.
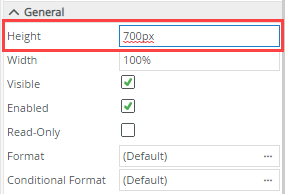
- Change the Height property of the tree control to 700px.
- Click Finish to save your view.
- Select Create Layout Table Only.
- Create a new form using your Dropbox_Tree_View. In the form create a rule to suppress the error message from the Folder SmartObject's Get Contents method returned when viewing a file.
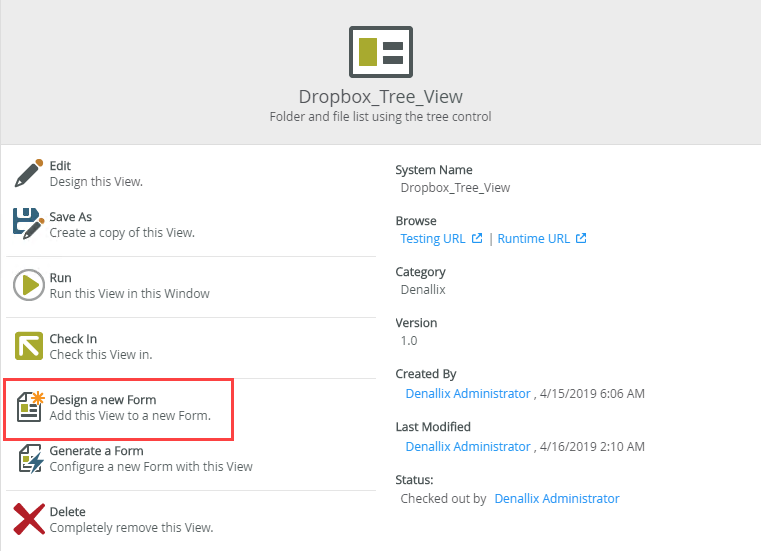
- On the Dropbox_Tree_View page, select Design a new Form.
If you are not familiar with creating forms, see How To: Create a Form.
- Specify Dropbox_Tree_Form as the Name and specify a Description.

- Click Create.
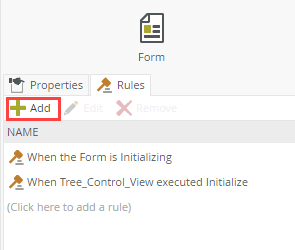
- On the Rules tab, click Add to create a new rule.
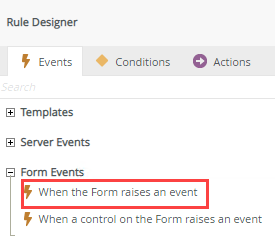
- In the rule designer, select When the Form raises an event from the Form Events options.
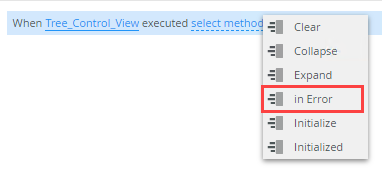
- Click select method and select the in Error option.
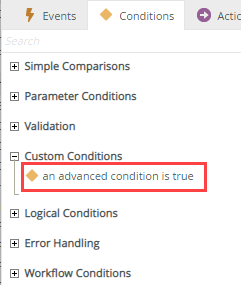
- From the Conditions rule options click an advanced condition is true from the Custom Conditions section.
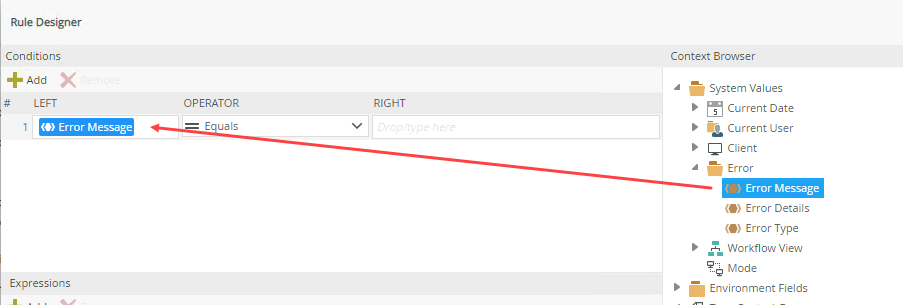
- Click Add to start the condition configuration.
- Drag and drop the Error Message field from System Values > Error folder in Context Browser into the Left text box.
- Change the conditions operator to Contains, then specify No folder found with the specified ID or path in the Right text box. This suppresses an error that sometimes occurs but can be safely ignored.

- From the Actions tab click Continue to next execution to complete this conditional statement.

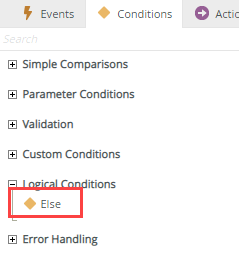
- Start a new conditional phrase by clicking on Else in the Logical Conditions section.
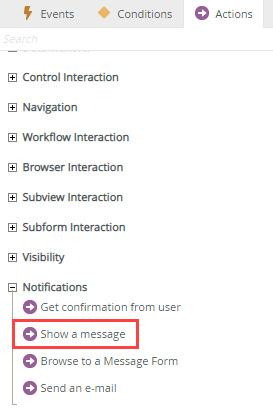
- Click Show a message from the Actions tab Notifications section.
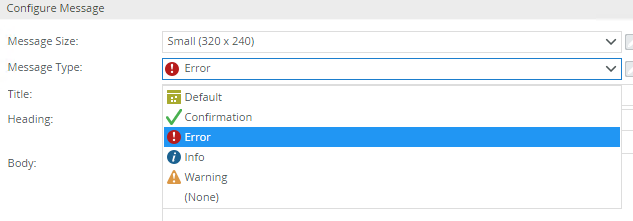
- Select Error as the Message Type.
- Specify Error on the tree form as the Title, then drag and drop Error Message from System Values > Error folder in Context Browser into the Body of the message. This shows any other errors that might occur.

- Click OK.
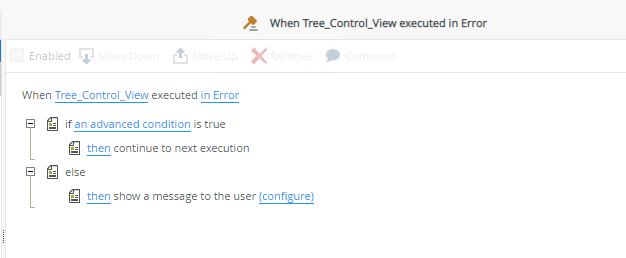
- Your rule looks similar to the following image:
- Click Finish to save your form.
- On the Dropbox_Tree_View page, select Design a new Form.
If you are not familiar with creating forms, see How To: Create a Form.
- Test your form.
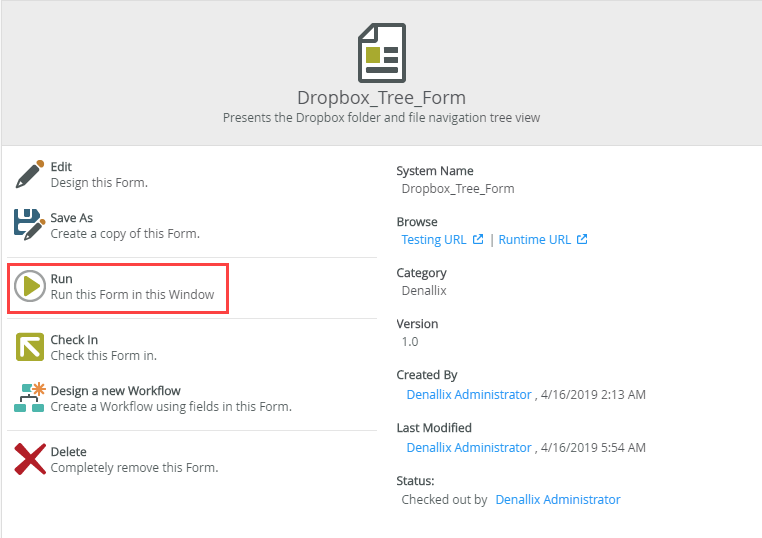
- On the Dropbox_Tree_Form page in K2 Designer, click Run.
- Wait for the form to load and the control to gather your Dropbox folders and files, then click a folder to open the tree.
- On the Dropbox_Tree_Form page in K2 Designer, click Run.
Review
You used a tree control to populate a navigation tree with your Dropbox folders and files.
Using the selected item's path
This example showed how to configure the Tree control to display the contents of your Dropbox folders and files. To retrieve the selected value of the tree control in rules, you can use the Value property of the Tree control. (Do not use the Path property as it provides the full path and type used, and also includes the SmartObject name.) You can then use a Transfer Data rule to send the Value property to another control. 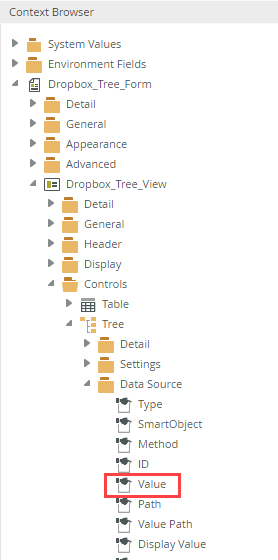
Considerations
- The navigation tree does not look for child folders and files since you configured the Look Ahead Level property to (None), so all items have plus signs next to them until they are clicked. At that point they are evaluated. However, depending on the number of items in your data source, setting a Look Ahead Level level can reduce performance on the initial load.
- Showing icons does not work with SmartObjects generated during feature activation. The icons on the tree control only bind to string or numeric values, however the folder indicator for these SmartObjects is Boolean.