How To: Create a Form
This article illustrates how to create a form containing an item view and a list view. Forms contain one or more views and other controls that comprise the user interface you see when opened in a browser. Forms have rules that control the behavior of the form, for example, starting a workflow after you click a button.
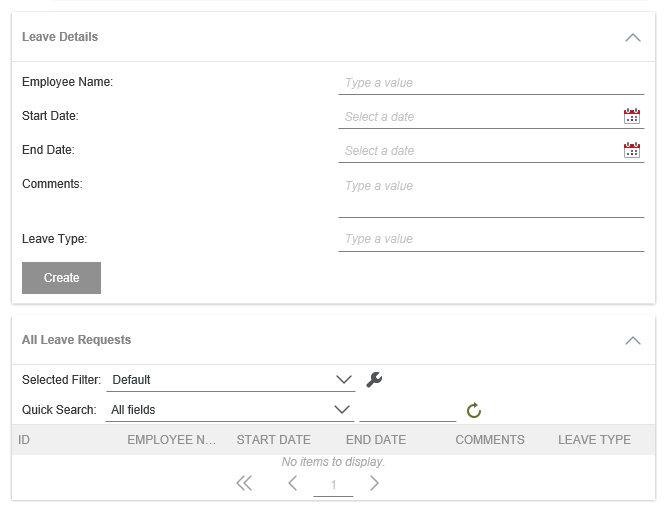
The Leave Request Form you create
Scenario
Continuing with the Leave Request application, you need a form that acts as the user interface for entering and approving leave requests. The form contains the leave item view with the leave details, and the leave list view that displays saved leave requests. You created these views by following the steps in the topic How To: Create an Item View and a List View.
Steps
You generate a form from the Leave Request Item View, then add the list view. By generating the form, K2 creates the form and adds the item view to the form's canvas. You could also design a form which creates the form with an empty canvas. In that case you manually add the views you need.
- Generate a form from the Leave Request Item View. Name the form Leave Request Form. Change the view title to Leave Details.
- In K2 Designer, right-click the Leave Request Item View and select Generate Forms.
- Change the form name to
Leave Request Form,
then select the option to Save and edit the Form. Click OK.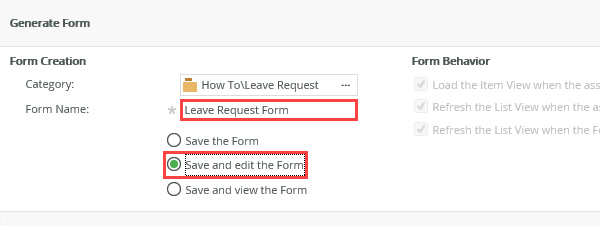
- Click (Enter View Title) and change it to
Leave Details.
This step is not required, but your form sections are more clear with descriptive titles.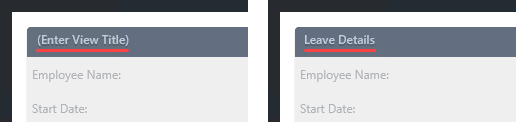
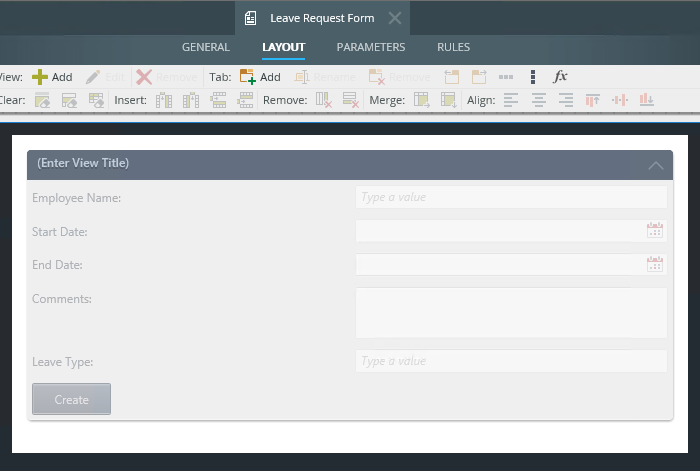
Your design canvas should look similar to the image below. (Depending on your K2 version, your form may have a different style and color.)
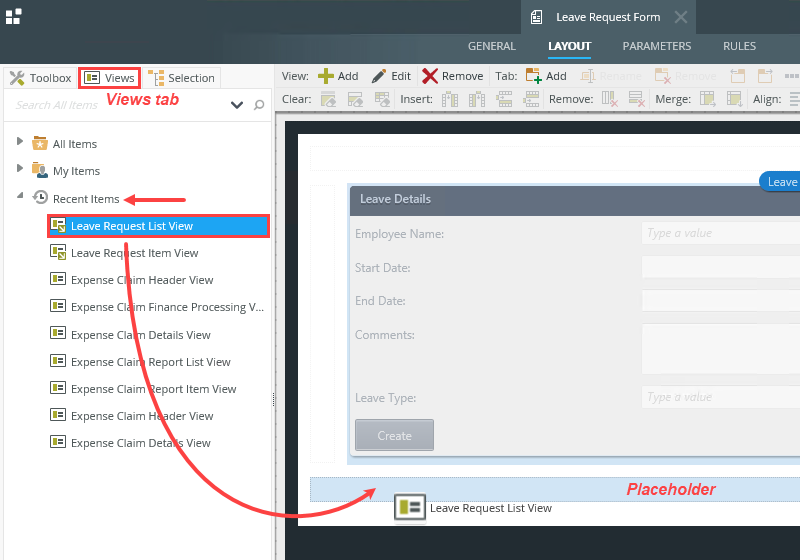
- Add the Leave Request List View to the design canvas, just below the item view. Change the view title to All Leave Requests.
- Now, you add the second view to the design canvas. On the left-side of your screen, make sure the Views tab is active. Locate the Leave Request List View in the Recent Items category. (Your explorer may not match the image below exactly.) Click and drag the view onto the design canvas. Notice as you drag the view onto the canvas, placeholders appear. Drop the view into the placeholder just below the Leave Details view.
- Change the view title to
All Leave Requests.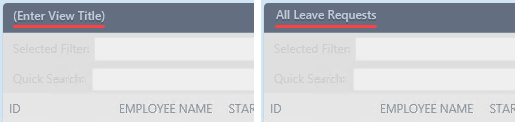
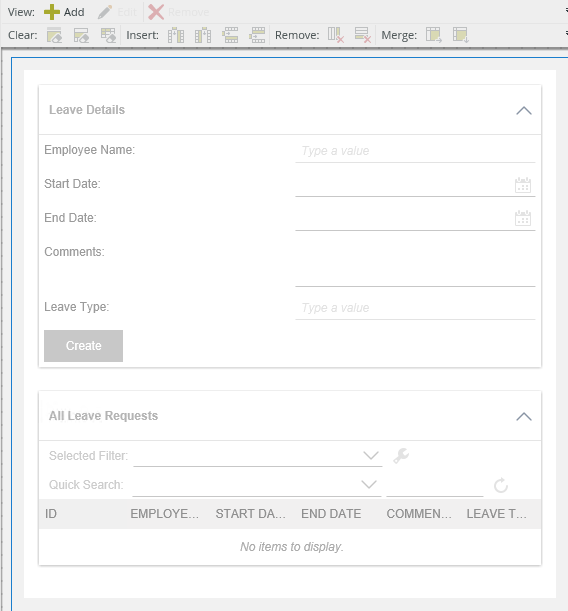
Your design canvas should look similar to the image below.

- Now, you add the second view to the design canvas. On the left-side of your screen, make sure the Views tab is active. Locate the Leave Request List View in the Recent Items category. (Your explorer may not match the image below exactly.) Click and drag the view onto the design canvas. Notice as you drag the view onto the canvas, placeholders appear. Drop the view into the placeholder just below the Leave Details view.
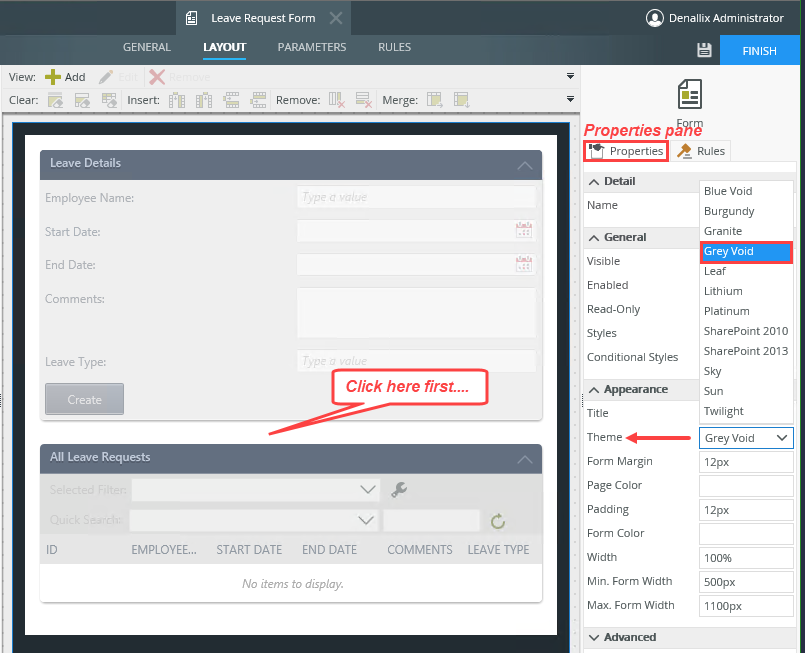
- Change the theme to Grey Void.
Before moving on to the workflow build, you change the form's theme. A theme is a template that controls the look and feel of the form. There are a number of themes you can choose from or you can create your own.
- Click anywhere on the form's canvas that is not part of a view. Locate the Theme property in the Properties pane on the right-side of your screen. Change the Theme to Grey Void.
- Your form should look like the image below. Click Finish to save and exit your form.
- Click anywhere on the form's canvas that is not part of a view. Locate the Theme property in the Properties pane on the right-side of your screen. Change the Theme to Grey Void.
Review
A form is the user interface you see when you open itin a browser. Forms are containers for views, other controls, and rules. A single form may have one or more views that typically create logical sections for interacting with data. You can apply individual controls to a form as well, such as buttons or images. Form rules control the behavior of the form, for example, starting a workflow after you click a button.