How To: Upload a file to Dropbox with a SmartForm
In this article, you use the Dropbox File SmartObject to upload a file to your Dropbox. This File SmartObject and others are created for each cloud storage feature you activate. These features allow you to integrate K2 with Dropbox, Box, Google Drive, and OneDrive using SmartObjects, and then use these SmartObjects in your K2 solutions. For more information about the cloud storage service type and creating service instances, see Cloud Storage
Using a SmartForm to upload a file to Dropbox
Scenario
Your company uses an online form for customers to request warranty repairs. As part of your form, you want your customers to upload an image showing their damaged item. You need this image uploaded to Dropbox so that your repair engineers can access it.
Steps
In this scenario, you use the Dropbox File SmartObject to create an item view. In the item view, you configure the Upload method with the Path and File parameters.
Setup Steps
The following steps set up the scenario. If you want to skip the setup steps and view the topic step, go to Create a new view using your Dropbox File SmartObject.
-
Activate the Dropbox feature
- See Dropbox Feature Activation for configuration steps
Create a view using the Upload Method
Create and configure a view using the Upload method of the Dropbox File SmartObject. In this scenario, customers upload an image to the Denallix folder.
-
Create a new view using your Dropbox File SmartObject.
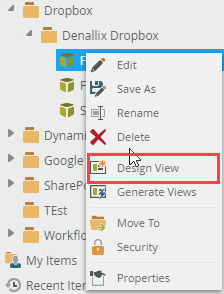
- In K2 Designer, navigate to your folder in the Cloud Storage > Dropbox folder (this name is based on the name you specified during Dropbox feature activation), right click your File SmartObject, and select Design View.
If you are not familiar with creating views, see How To: Create an Item View and a List View.
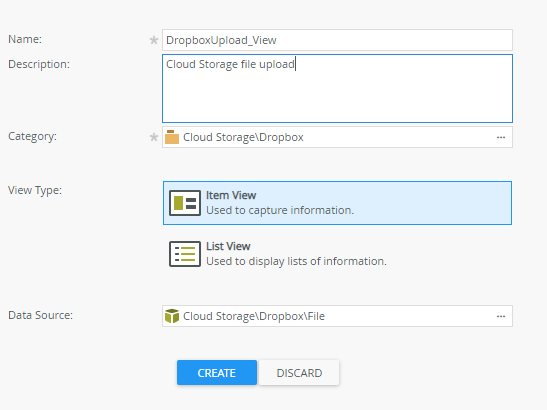
- Name the view DropboxUpload_View.
- Select a Category for the view. In this example, the category containing the SmartObject is used.
- Select Item View.
- Click Create to start creating the view.
- In K2 Designer, navigate to your folder in the Cloud Storage > Dropbox folder (this name is based on the name you specified during Dropbox feature activation), right click your File SmartObject, and select Design View.
If you are not familiar with creating views, see How To: Create an Item View and a List View.
- Configure your view to use the Upload method with the Path and File properties.
- Select Create Labels and Controls.
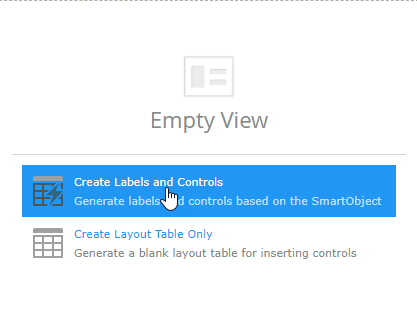
- Select to include Path and File layout field names and check the Upload method in the Standard button column.
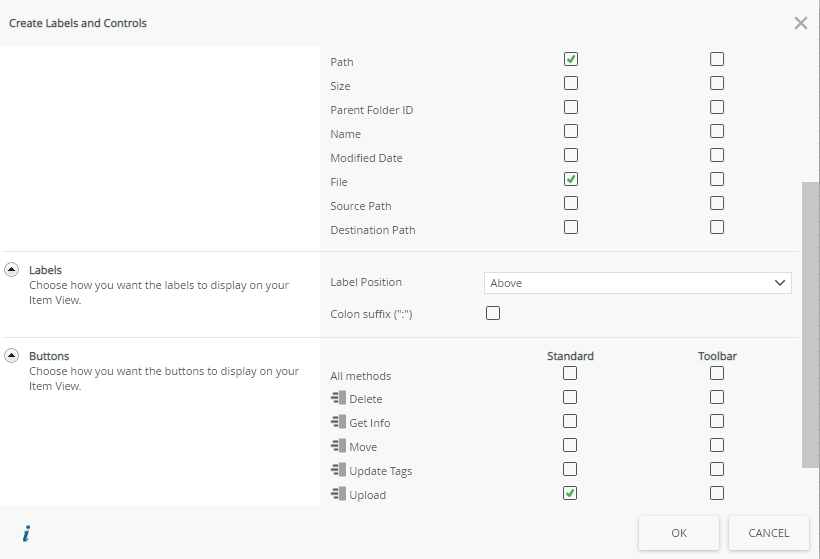
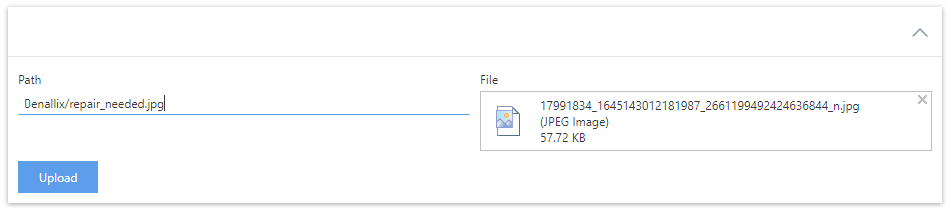
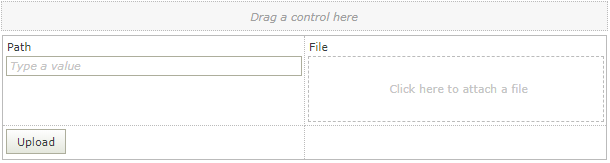
- Your view looks similar to the following image:
- Select Create Labels and Controls.
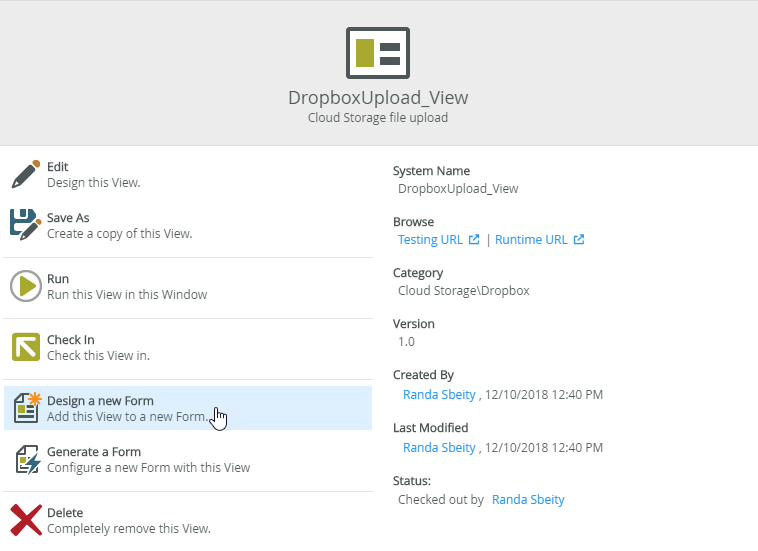
- Create a new form using your DropboxUpload_View.
- On the DropboxUpload_View page, select Design a new Form.
If you are not familiar with creating forms, see How To: Create a Form.
- Specify DropboxUpload_Form as the Name and Cloud Storage upload form for Dropbox as the Description.

- Click Create.
- Click Finish to save your form.
- On the DropboxUpload_View page, select Design a new Form.
If you are not familiar with creating forms, see How To: Create a Form.
- Test your form by uploading an image to Dropbox
- On the DropboxUpload_Form page in K2 Designer, click Run.

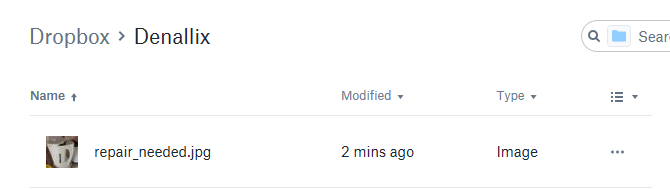
- Drag your image onto the File control and specify the Path (you must include the file name and extension of the file in the Path property). In this scenario, you upload a file named repair_needed.jpg to the Denallix folder. Note that you may want to create a rule to change the name of the file before uploading it to Dropbox.
- Go to your Denallix folder in Dropbox and confirm that the image is uploaded.
- On the DropboxUpload_Form page in K2 Designer, click Run.
Review
You used the Upload method of the Dropbox File SmartObject to upload an image to a Dropbox folder.