Edit a workflow with the Designer
When you need to make changes to your workflow, edit it and deploy a new version. See Workflow versioning for details about the differences in saving a draft (minor) version of the workflow, or publishing (Deploy) it as a major version of the workflow.
To access the Workflow Designer you need the Designer rights in the Management site. This also allows you to create, edit, and delete workflows in the designer.
To deploy a workflow you need Export rights on the Workflow Server. For more information and how to grant rights, see the Server rights topic.
- From a supported browser, access the the Designer and click Browse. The root URL is typically https://{webserver}/designer.
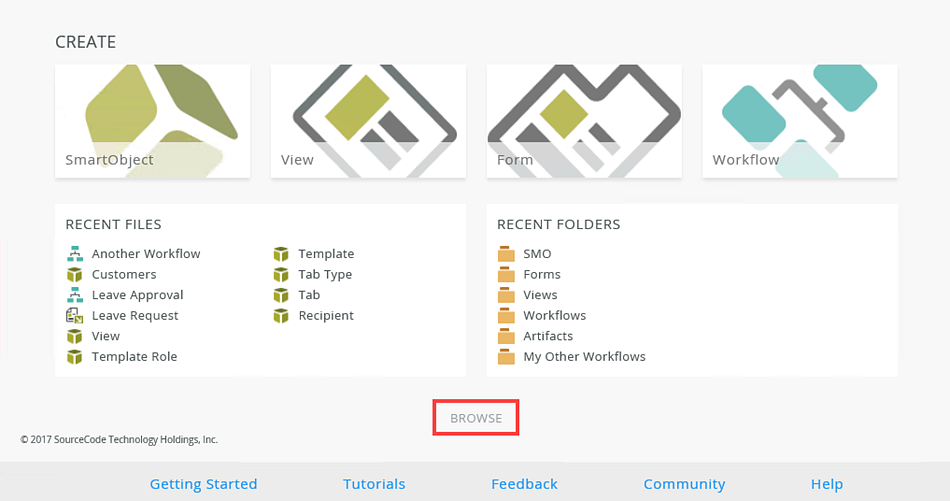
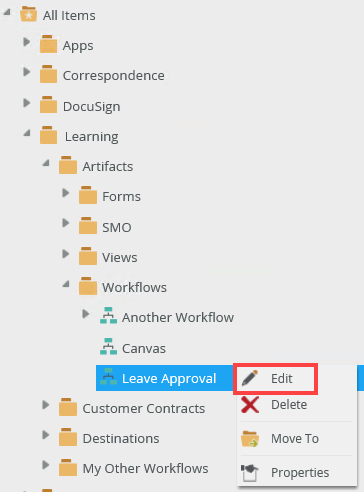
- Find the folder in the Designer category tree where your workflow is located. Select the workflow and click the Edit link.

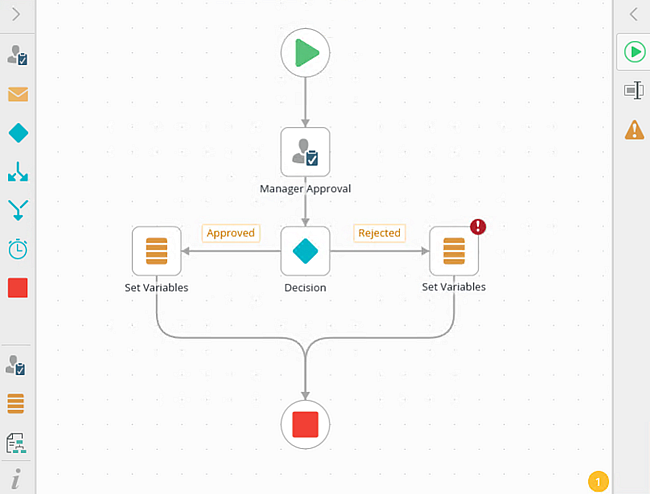
- The Workflow Designer displays the workflow:
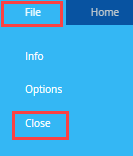
- To close the Workflow Designer, click the File menu and select the Close option. This returns you to the Designer page.
- You can also select the workflow, right click and select Edit.
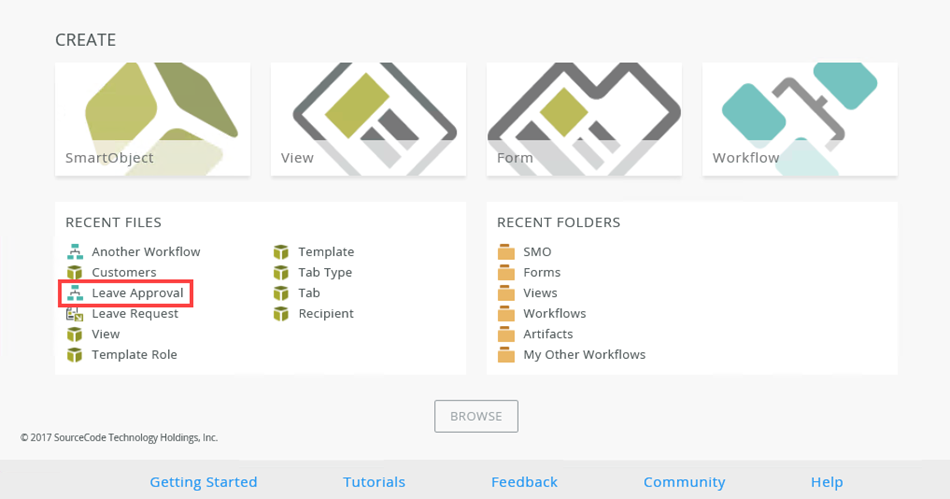
- The Recent Files section on the Designer page contains a list of artifacts including workflows. Click a workflow link to edit the workflow.
- As you build a workflow, the Workflow Designer automatically saves your workflow in the background. When the Workflow Designer saves your work, the Save button animates until your workflow is saved. You can also click on the Save button to save changes. Remember that your workflow is not available for use until you save a draft or deploy it.
- If a workflow closes unexpectedly, the workflow remains locked and reverts to the last saved version. You can unlock the workflow by actioning the pop-up that shows when you open the workflow again, or the owner of the workflow can unlock it by selecting Unlock from the workflow menu in the category tree of the Designer. When unlocking the workflow, it retrieves the last saved version of the workflow.
- Once you are finished making your changes to the workflow, you must deploy it. For more information on how to deploy a workflow, see the Deploy a Workflow topic.
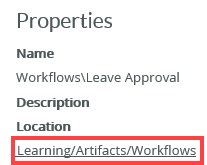
You can see the location of the workflow under the Properties section. Click the link to open the folder in the Designer.