How To: Use the Oracle Broker in an Environment
This article demonstrates how to create a SmartObject based on an Oracle service object. You create a new instance of the Oracle service type and point it to a table in your existing Oracle database. Each Oracle environment has its own settings, so you must contact your Oracle database administrator and request a sample connection string. After creating a new Oracle connection, you create a SmartObject and a list view that displays the records.
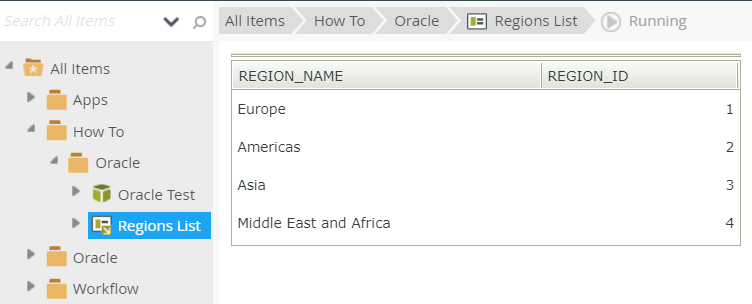
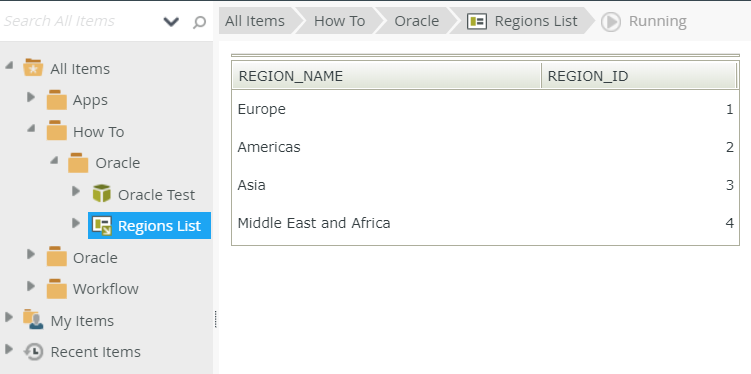
Data returned from an Oracle data source
Scenario
In this scenario, you are a citizen developer. You have several forms which other employees can submit online. You have been asked to create a view (to be used on a form) that displays information from an Oracle table.
Steps
You begin by adding a new instance of the Oracle service type. You create an advanced SmartObject, then add the Oracle properties and methods. Finally, you create a list view from the new SmartObject, then run it to confirm you have data returned from the Oracle table.
Setup Steps
The following steps set up the scenario from start to finish.
- From the Management site, create a new service instance based on the Oracle (or Oracle Service in some installations) service type. Configure the connection using the values required for your Oracle environment. (Each environment is specific to the type of installation; Nintex K2 does not provide documentation on configuring Oracle environments.)
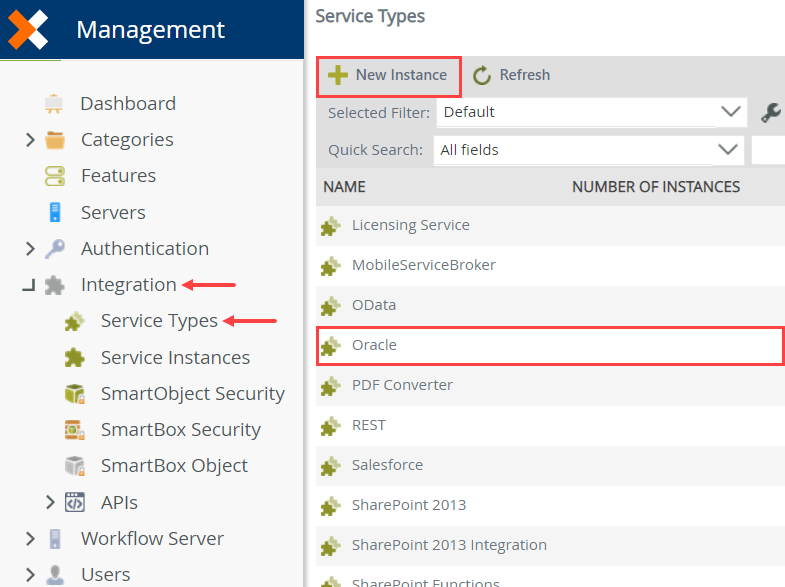
- From the Management site, expand the Integration node and click Service Types. In the central pane, locate the Oracle service type. (You may need to scroll to the next page.) Select Oracle (or Oracle Service) and click New Instance.
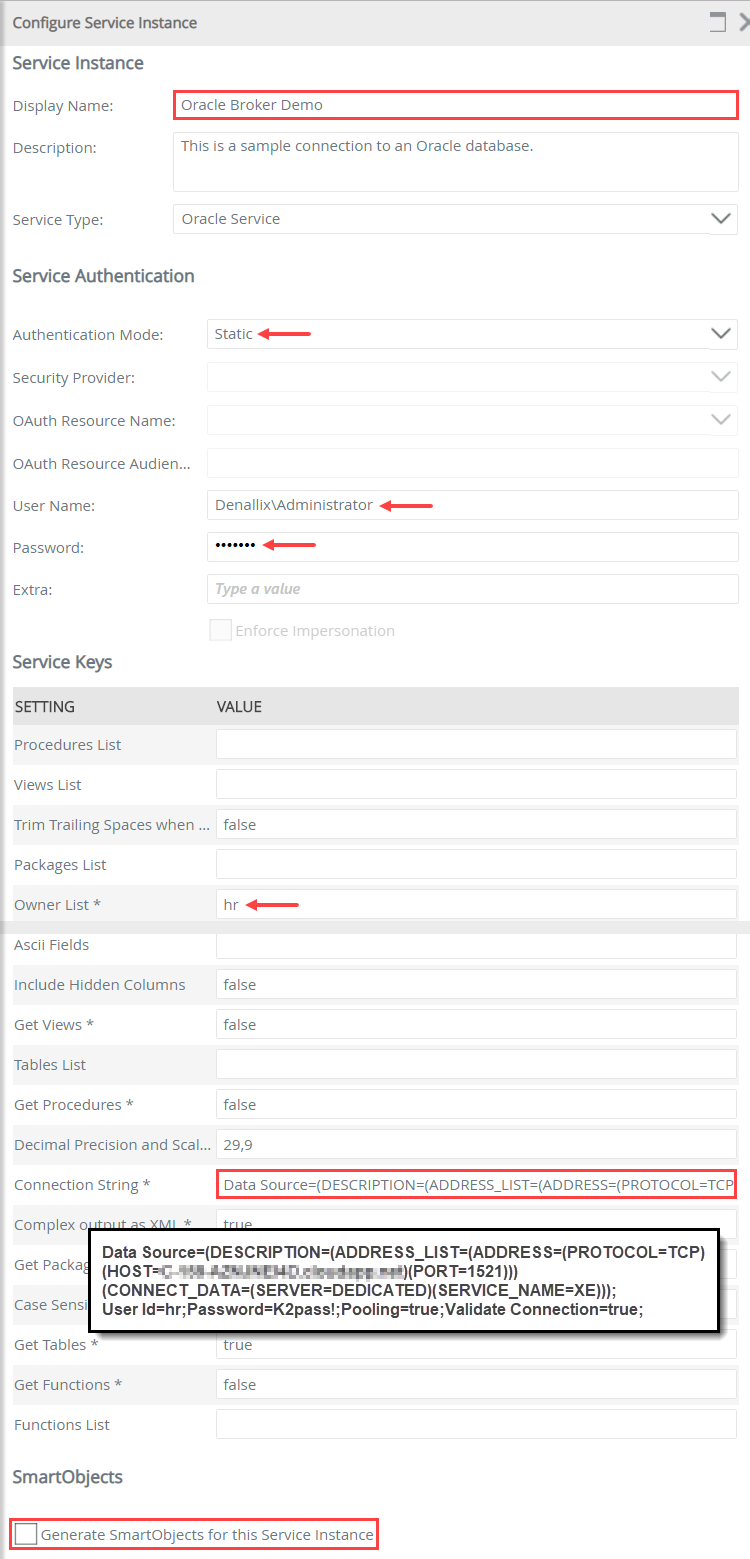
- Complete the string values. Your service instance configuration is unique to your Oracle environment. You may need to contact your Oracle administrator to know which settings are required to access your environment and the necessary values. The image below reflects an example environment and is likely different for your environment. Do not select the option to generate SmartObjects as you build one from scratch in a later step. Click OK to create the service instance. Click OK when you see the instance created dialog.While your connection string is unique to your environment, note that the system requires the value: Validate Connection=true;
- From the Management site, expand the Integration node and click Service Types. In the central pane, locate the Oracle service type. (You may need to scroll to the next page.) Select Oracle (or Oracle Service) and click New Instance.
- In the Designer, create an advanced SmartObject called Oracle Test. Add the methods from the Oracle service instance created above. Create All the properties.
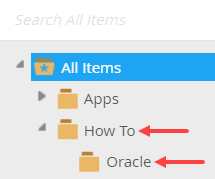
- Launch the Designer. If desired, create new categories to keep your work organized.
- Right-click your category and select New SmartObject. Name the SmartObject
Oracle Test
then select the Advanced SmartObject option. Click Create. The advanced option allows you access to existing service objects and their methods. In this case, you use the Oracle service object created in the previous step.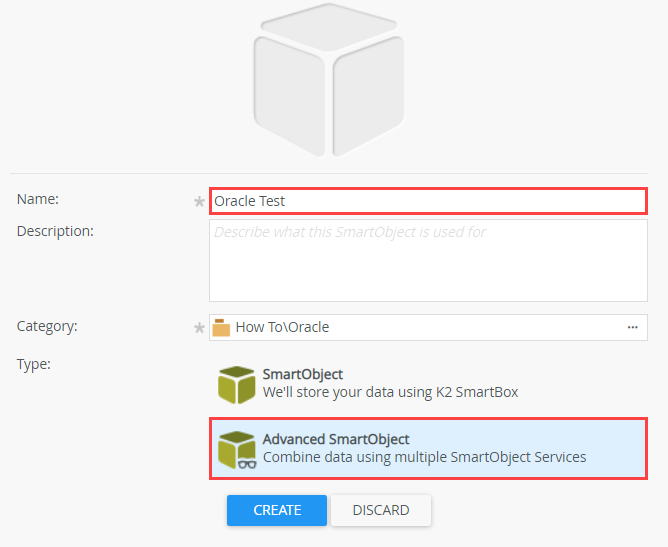
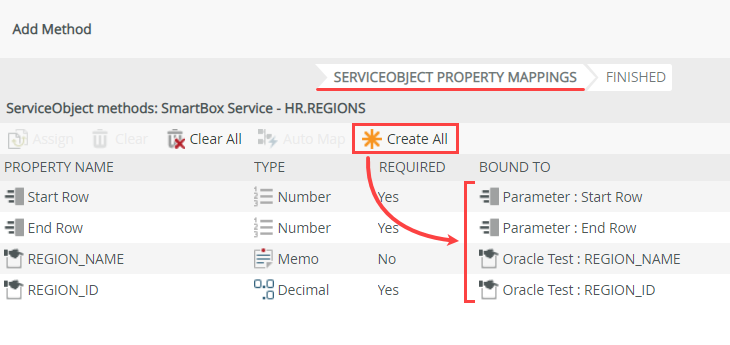
- From the ServiceObject Explorer, locate the Oracle Broker Demo service instance created in the previous step. Expand the node, then expand Tables. Drag one of the tables onto the design canvas. Remember, your tables are likely different from the example. A new window opens with property mappings.

- On the ServiceObject Property Mappings screen, click Create All. The system creates corresponding properties in the new SmartObject and binds them to the data source properties. Click OK.
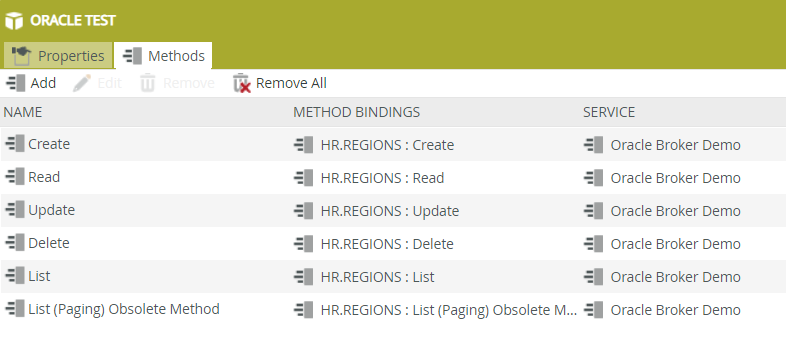
- Your SmartObject should now display methods and properties. Click Finish to save and exit.
- Launch the Designer. If desired, create new categories to keep your work organized.
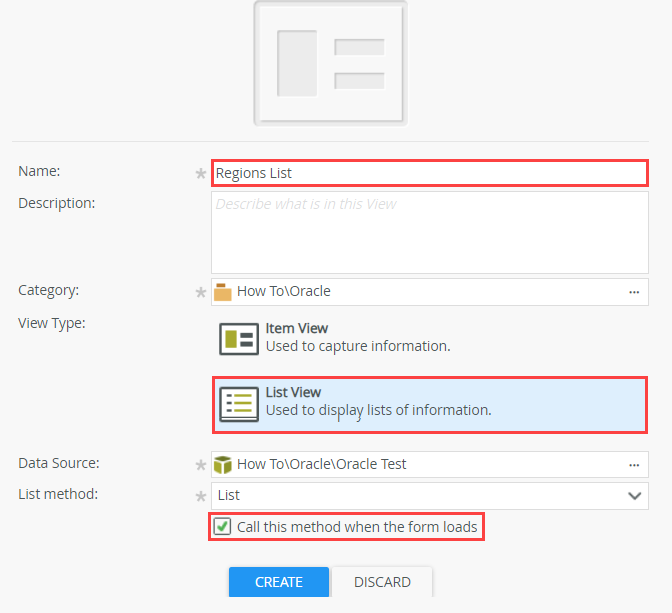
- Design a list view from the Oracle Test SmartObject. Be sure to check the Call this method when the form loads box. Create labels and controls for all fields. Finish the view.
- Right-click the Oracle Test SmartObject and select Design View. Name the view then select the List view option (in the image below, the name is Regions List). Check the box to Call this method when the form loads. The system retrieves and loads all records from the SmartObject each time you open the view. You can also uncheck this option and configure rules later that retrieve SmartObject records. You might do this if you need to filter the records prior to loading them.
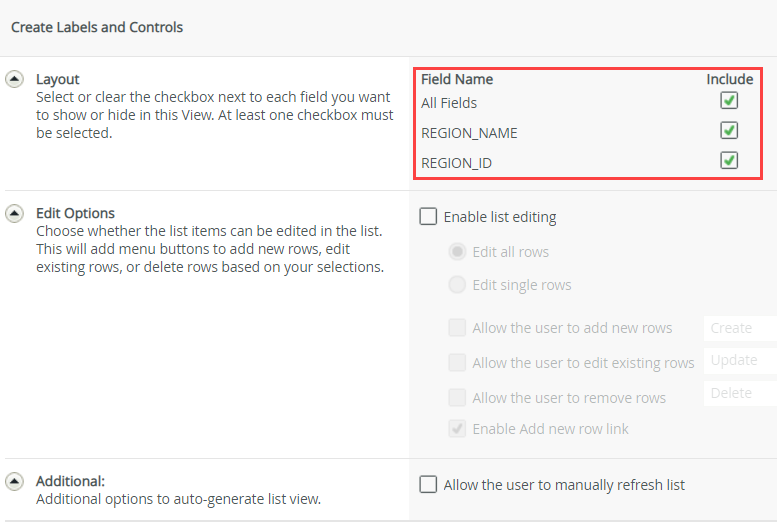
- Click Create Labels and Controls. This option allows you to pick which SmartObject properties you want as view controls.
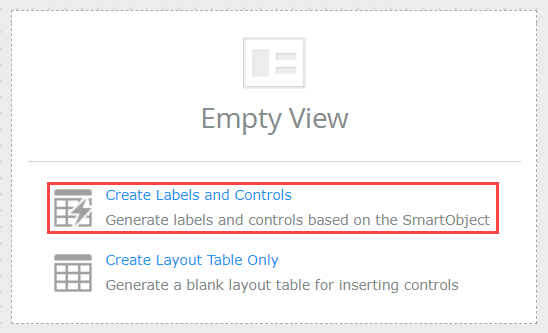
- For this demonstration, select all fields. Do not enable list editing. In this case you want a read-only list of records.
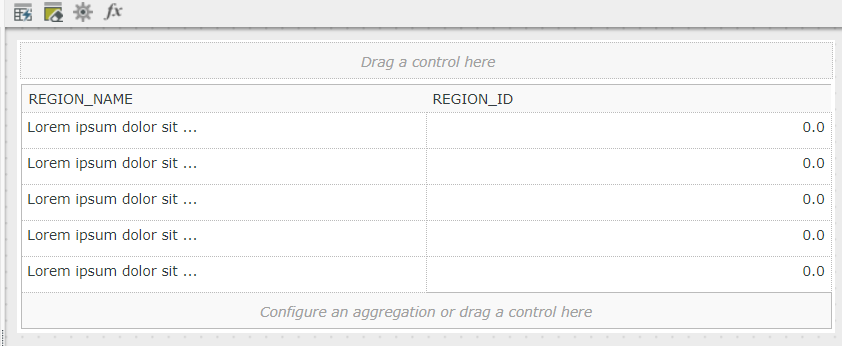
- Your view layout appears in the design canvas. Click Finish to save and exit.
- Right-click the Oracle Test SmartObject and select Design View. Name the view then select the List view option (in the image below, the name is Regions List). Check the box to Call this method when the form loads. The system retrieves and loads all records from the SmartObject each time you open the view. You can also uncheck this option and configure rules later that retrieve SmartObject records. You might do this if you need to filter the records prior to loading them.
- From the Designer, run the list view and confirm you have data returned from your Oracle data source.
- Select the list view (Regions List in the sample below). In the central pane, click Run.
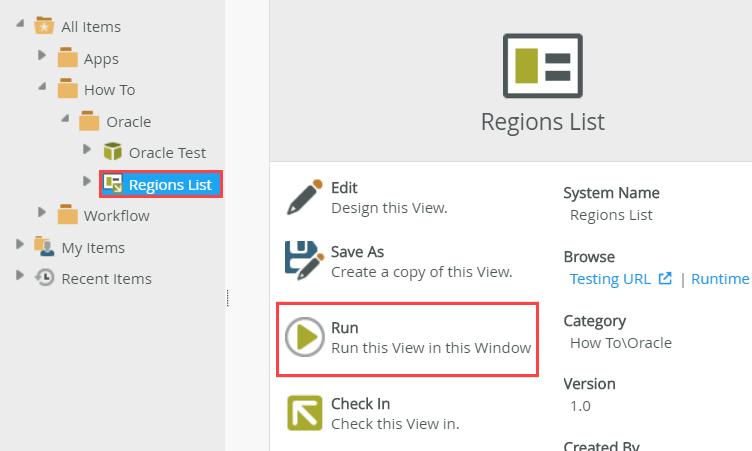
- The view opens with a list of records from the Oracle data source. Use the Oracle SmartObject properties and methods in the same manner you would any other data source. Once you establish the connection, the data source behaves as any other.
- Select the list view (Regions List in the sample below). In the central pane, click Run.
Review
To use Oracle-based data in your applications, you must first create an instance of the Oracle service type and point it to your Oracle environment. Once you establish the connection, create an advanced SmartObject using the properties and methods discovered. Finally, use the SmartObject in views, workflows, and rules for integration with your Oracle environment.