How To: Create a Mobile Form with a Barcode Control
This topic shows you how to build a form that can be opened in the Workspace (Mobile) app on mobile devices. The form includes a barcode control to allow customers to capture a barcode along with other information.
Barcode control on a mobile form
Scenario
In this scenario, you create a Returns solution that allows customers to return a product they've purchased. The return is done using a form available in the Workspace (Mobile) app and allows customers to scan the barcode of the product they're returning.
Steps
In the following steps, you build the Returns solution using a SmartObject, a view containing the barcode control, and a form containing the view.
Setup Steps
The following steps set up the scenario from start to finish. If you want to skip the setup steps and view the topic step, go to Add and Configure the Barcode Control.
-
Create the SmartObject
- Open the Designer and create a SmartObject called Returns with the following properties.
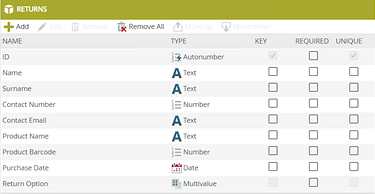
Returns Properties Type Key Required Unique ID Autonumber Yes No Yes Name Text No No No Surname Text No No No Contact Number Number No No No Contact Email Text No No No Product Name Text No No No Product Barcode Number No No No Purchase Date Date No No No Return Option Multivalue No No No - Click Finish on the SmartObject page.
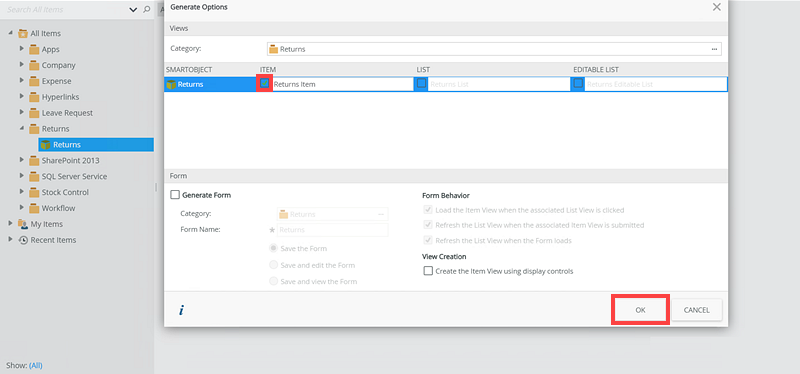
- Generate an item view based on the Returns SmartObject.
- Open the Designer and create a SmartObject called Returns with the following properties.
-
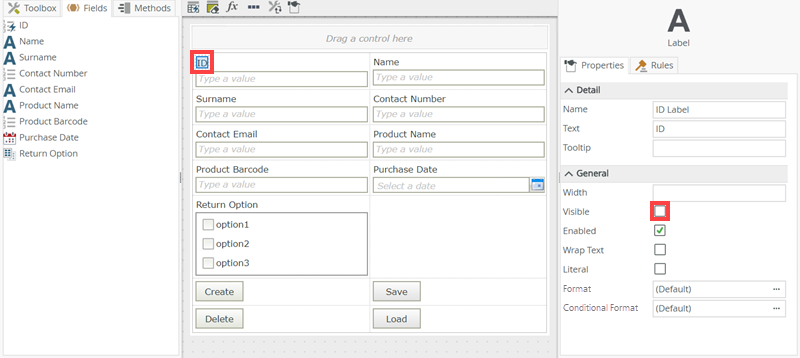
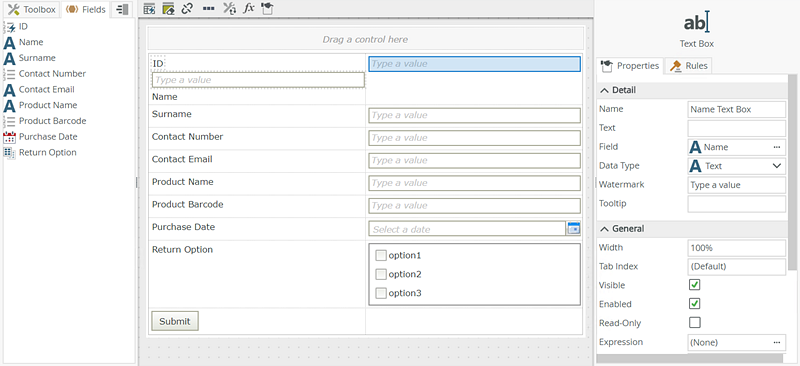
Generate and edit the item view
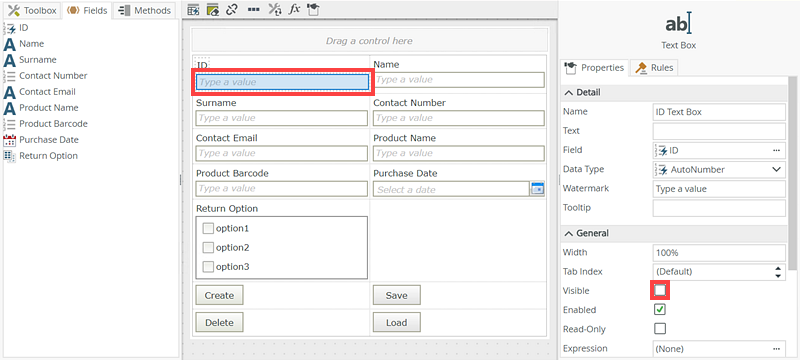
- Edit the Returns item view and disable the Visible option for the ID label and text box controls.
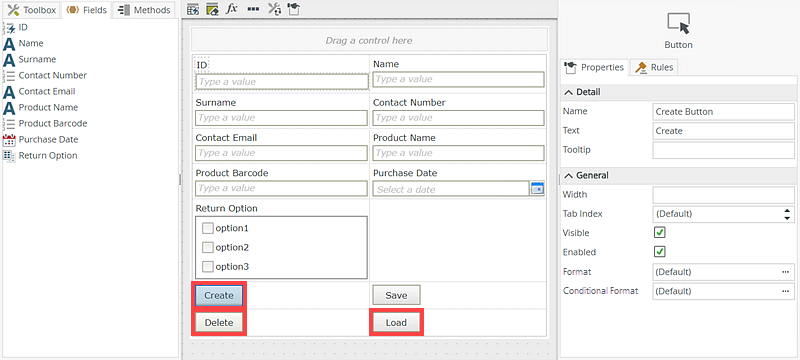
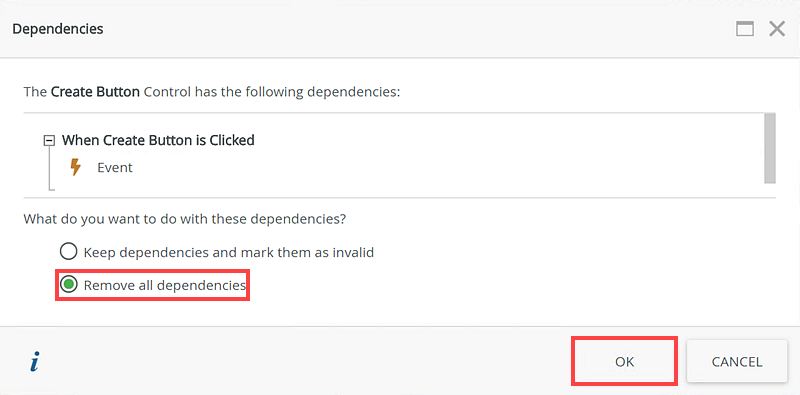
- Delete the Create, Delete, and Load buttons. Select Remove all dependencies when deleting the buttons.
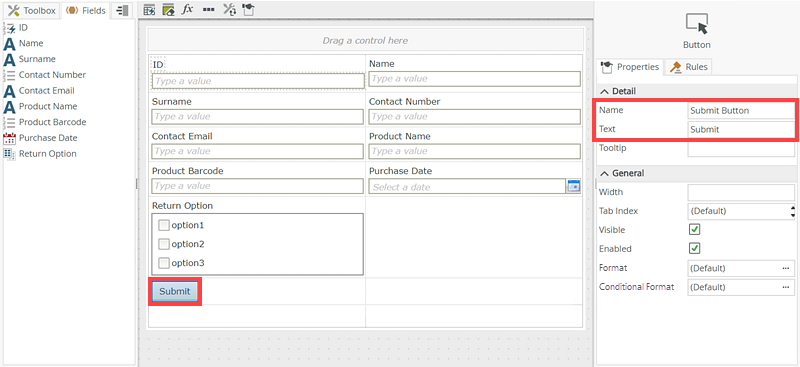
- Move the Save button under the Return Option.
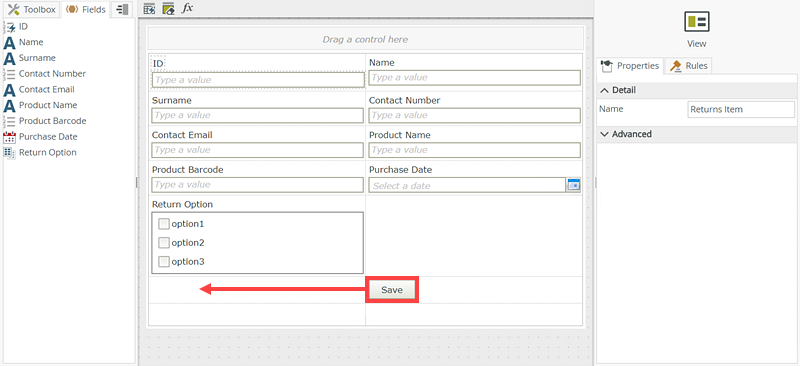
- Rename the Save button to Submit.
- Rearrange the view as shown here:
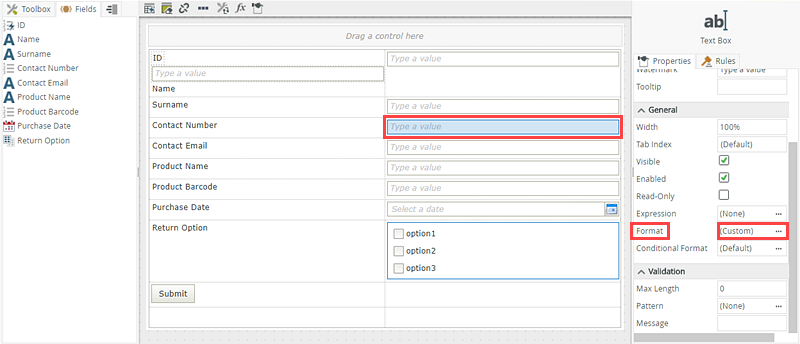
- Select the Contact Number text box control and click the Format ellipse ....
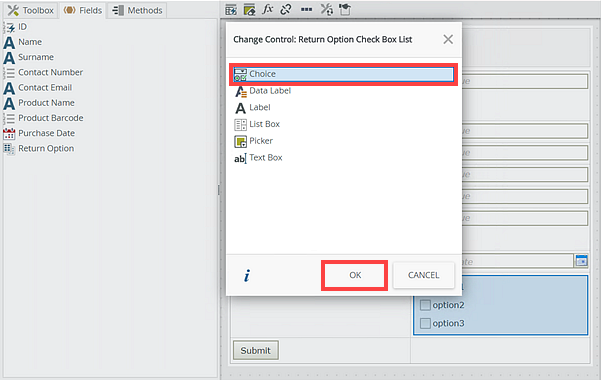
- Select the Return Option Check Box List control and click the Change Control option.
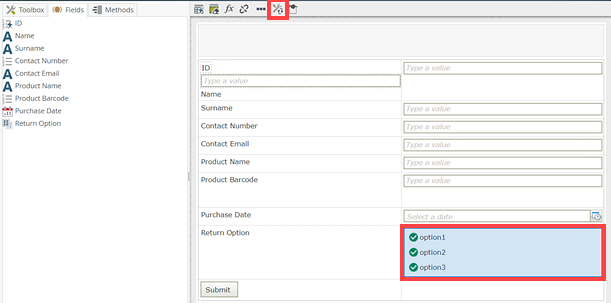
- On the Change Control: Return Option Check Box List page, select Choice and click OK.
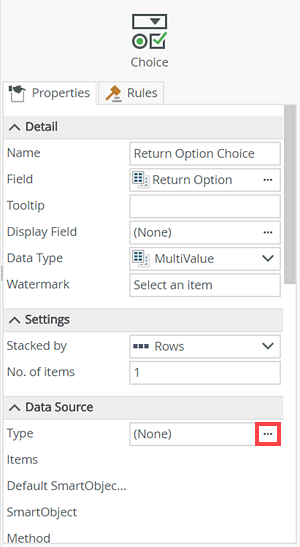
- Click the Typeellipse ... in the Data Source section of the Return Option Choice control.
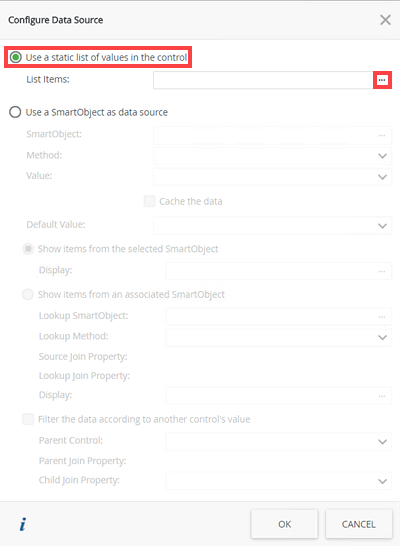
- On the Configure Data Source page, select the Use a static list of values in the control option, and click the ellipse ....
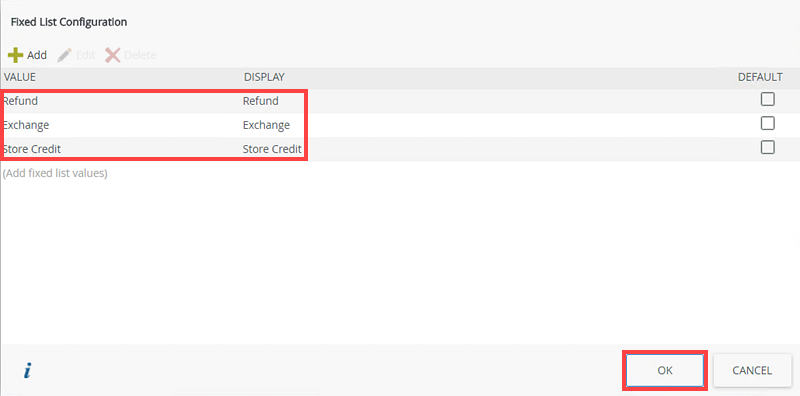
- On the Fixed List Configuration page, click Add.
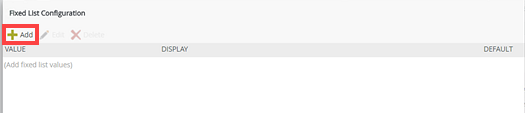
- Add Refund, Exchange, and Store Credit on the Fixed List Configuration page. Click OK and OK again.
- Click Finish and Check In the Returns Item View.
- Edit the Returns item view and disable the Visible option for the ID label and text box controls.
Inserting and configuring the barcode control
The step below explains how to add and configure the barcode control. For more information about using the barcode control, see Barcode control.
-
Add and configure the barcode control
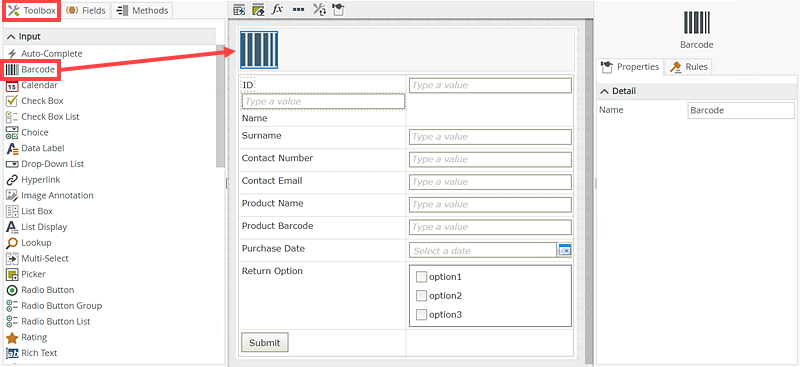
- Drag the Barcode control from the Input section in the Toolbox tab on to the view.
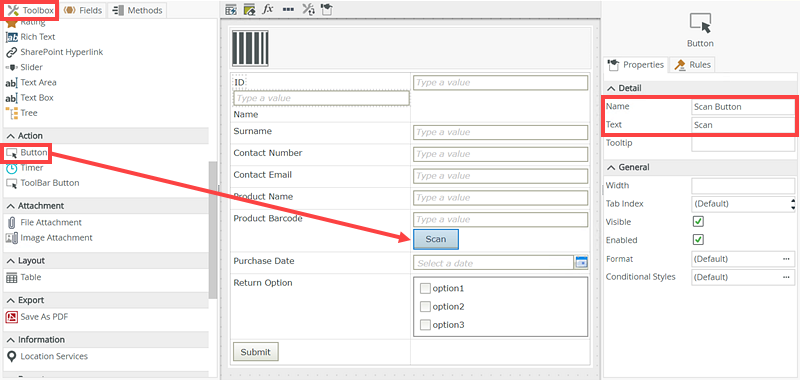
- Drag a Button control from the Action section in the Toolbox tab under Product Barcode text box control and rename the button to Scan.
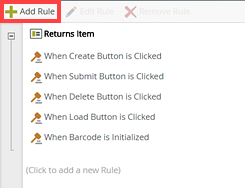
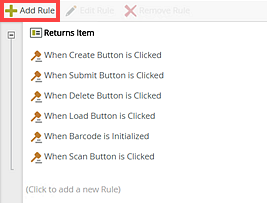
- Go to the Rules tab and click Add Rule.
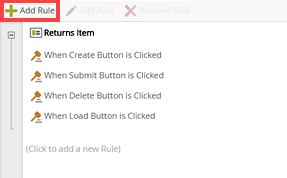
-
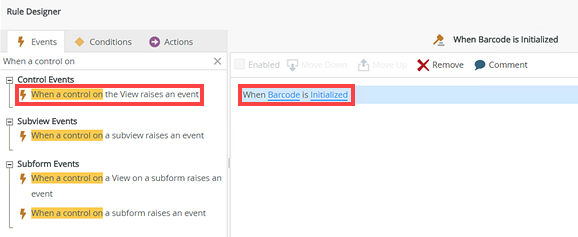
Add a When a control on the View raises and event event. Select Barcode on the select control option and Initialized on the select event option.
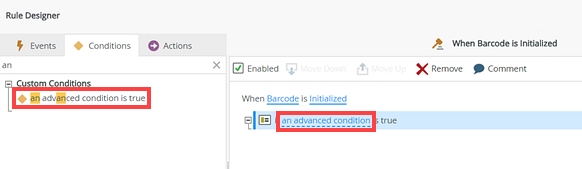
- Next, click the Conditions tab and add the an advanced condition is true condition. Click the an advanced condition link.
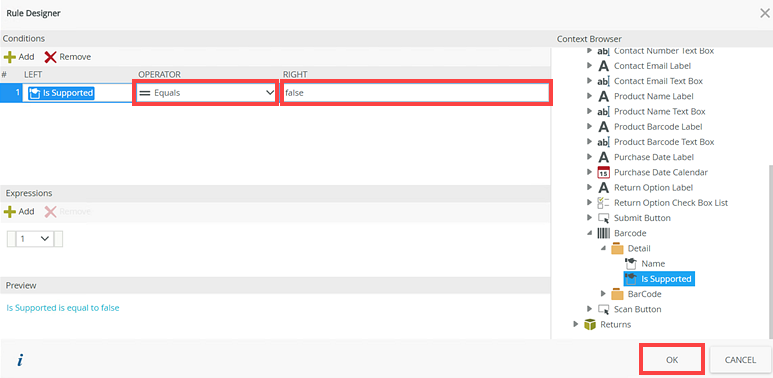
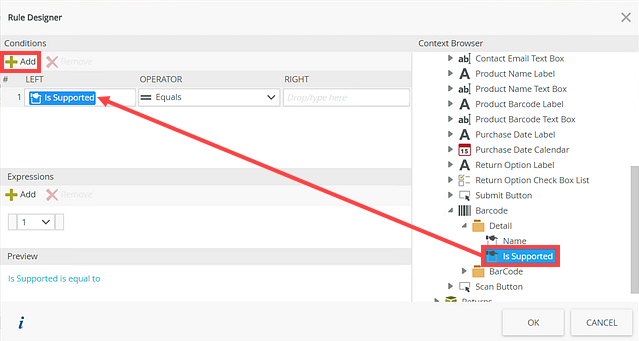
- On the Rule Designer page, click Add. Drag the Is Supported option from the Controls > Barcode > Detail section from the Context Browser to the Left option.

- Configure the Operator option to Equals and the Right option enter false. Click OK.
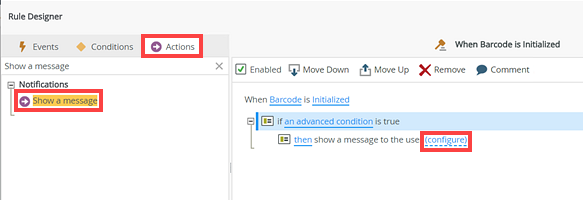
- Click on the Actions tab and add the Show a message action. Click configure.
- On the Show a Message to the User page, configure the Title, Heading and Body fields with the following values:
Title: Control not supported
Heading: Barcode Control
Body: The Barcode control is not supported on your device.
This message is shown when the button is clicked if the barcode control cannot be used on that particular device. Click OK and OK again.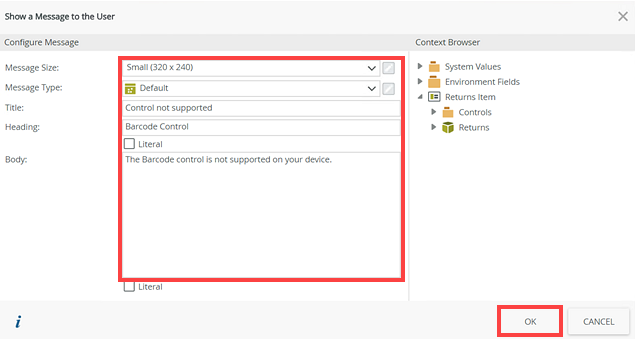
- Click Add Rule.
- Add a When a control on the View raises an event event. Click the select control option and select the Scan Button.
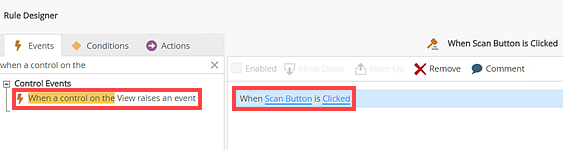
-
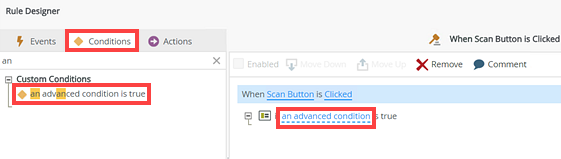
Click on the Conditions tab and add the an advanced condition is true condition. Click the an advanced condition link.
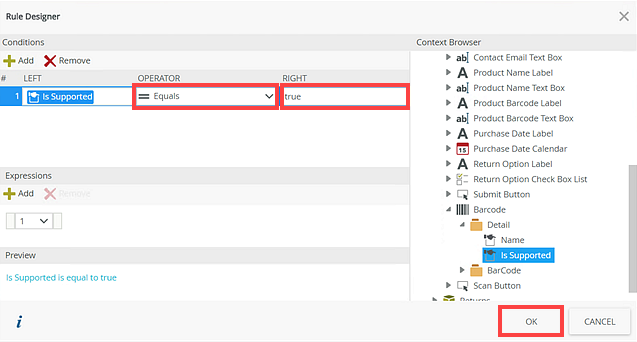
- On the Rule Designer page click Add. Drag the Is Supported option from the Controls > Barcode > Detail section from the Context Browser to the Left option.
- Configure the Operator option to Equals and the Right option enter true. Click OK.
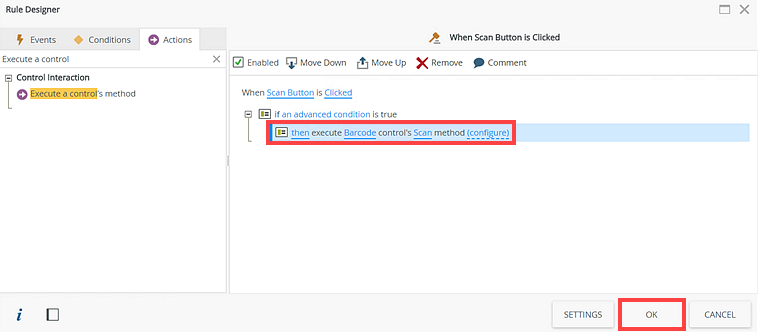
- Click on the Actions tab and add a Execute a control's method action.
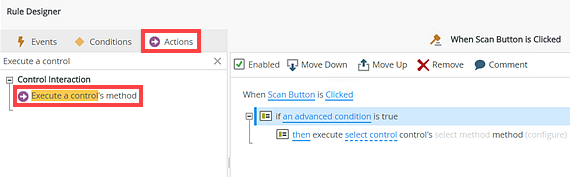
- Click on the select control link and select Barcode. No configuration is required for the method. Click OK.
- Click Add Rule.
-
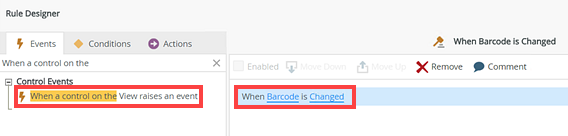
Add a When a control on the View raises an event event, select Barcode on the select control link and Changed on the select event link.
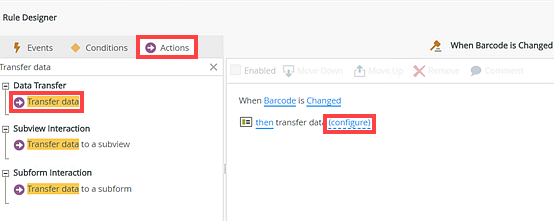
- Click the Actions tab and add the Transfer data action. Click configure.
- Drag the Value option from the context browser (Returns > Controls > Barcode > BarCode) to the Product Barcode Text Box field. Click OK and OK again.
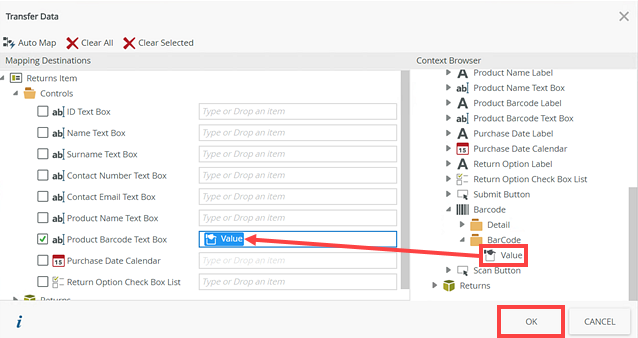
- The barcode control is now configured to capture the item's barcode on the view.
- Drag the Barcode control from the Input section in the Toolbox tab on to the view.
-
Create a form containing the view and optionally enable it as an application form and for offline use
- Generate a form based on the Returns Item view by using the Generate a Form option on the item view's properties page and naming the form Returns.
- To enable the Application Form option on the form so that it can be opened in the Workspace (Mobile) app, see the How To: Enable the Application Form option on a Form topic.
- To enable the Offline Availability option on the form so that it can be opened in the Workspace (Mobile) app when it's offline, see the How To: Enable Offline Availability on a Form topic.
- Click Finish and check in the Returns Item form.
-
Open the form in the Workspace (Mobile) App
- You can open the Returns form in the Workspace (Mobile) app.
- You can open the Returns form in the Workspace (Mobile) app.
Review
You learned how to create a form for use in the Workspace (Mobile) app that included a barcode control to capture information.