Administer Apps from the App Catalog
This section describes how to administer apps. The administration tools you use depend on your permission level. By default, the account used during app creation is assigned as the app administrator. The app administrator can:
- add, edit and remove users from the app administrators list
- add, edit and remove users from the installers list
- edit certain data fields and properties for an app
- share the app with other users
- add the app to the Favorites menu on the Favorite Apps workspace
For more information on how to assign rights to the app, see the Authorization Overview topic.
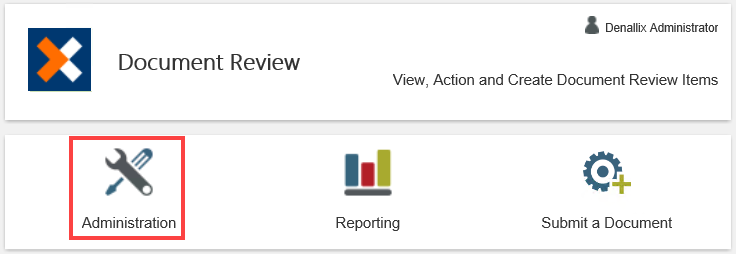
As an app administrator, you see the Administration icon on the app landing page. If you are not the app owner, you do not see the icon.App administrator icons
App user icons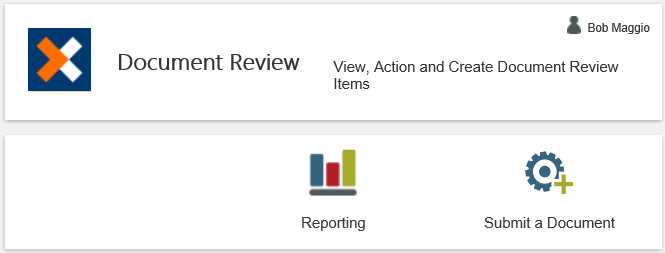
App Administration
This section describes administration of apps and how to configure them.
Images in this section may be different from what you see in your environment. Administering an app depends on the specific one you are working with.
Follow the steps below to perform administration duties:
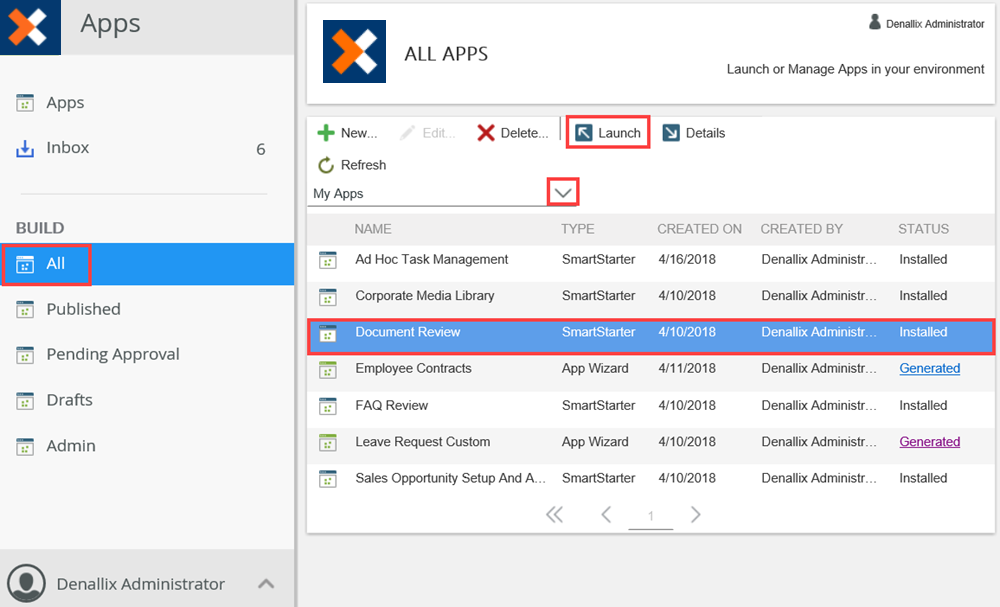
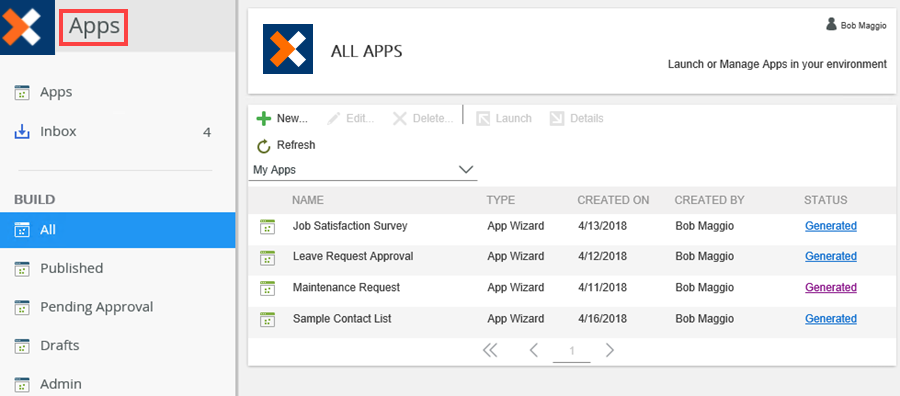
- Open an app by launching it from either the All option in the Build section or My Apps list. This list shows apps you create, apps created by other users to which you have access, and apps installed from the App Catalog. From this list, you can open apps to administer. Select the app and click Launch to access the Administration feature for the app.
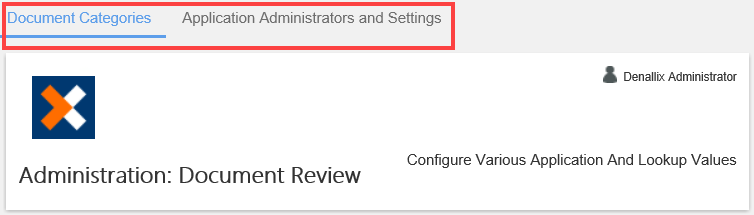
- From the app landing page, click the Administration icon.
- The Administration page shows. At the top of the page you'll find tab options in the Menu bar. The menu contains a tab for app administration settings as well as other tabs to define lookup values of the app.
- Lookup values include options such as country, city, currency and anything typically shown in a drop down menu. It could also include destination users (approvers) for workflows. To configure the lookup values, select the relevant tab in the Menu bar. In this example, you can change the document categories for the Document Review app. Select the Document Categories tab.
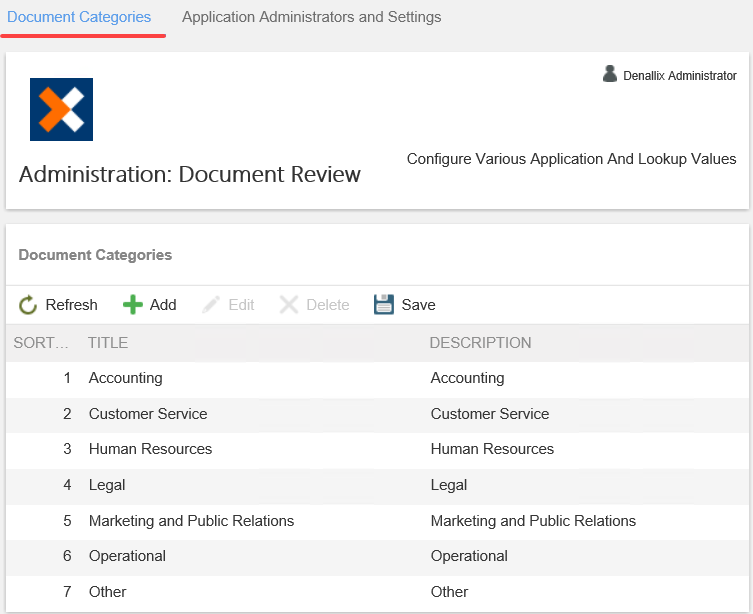
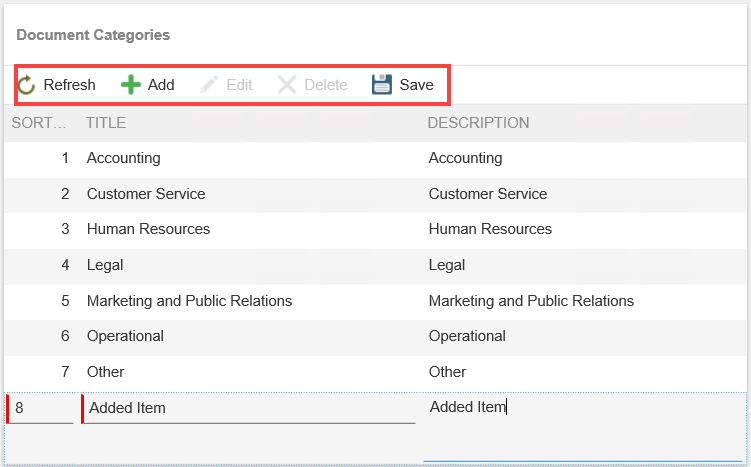
- The Document Categories section contains a list of categories. At runtime this shows as a drop-down menu on the request form but you can customize this according to your needs. Click Add to add a new category. To edit an existing category, click Edit. To delete and item from the list, click Delete. To save changes made to the list, click Save. Click Refresh to refresh the items in the list.
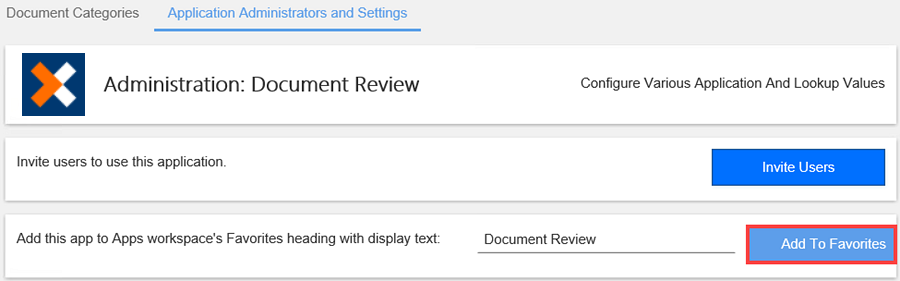
- On the Menu bar, select the Application Administrators and Settings tab. In this example, the Document Review app is selected.
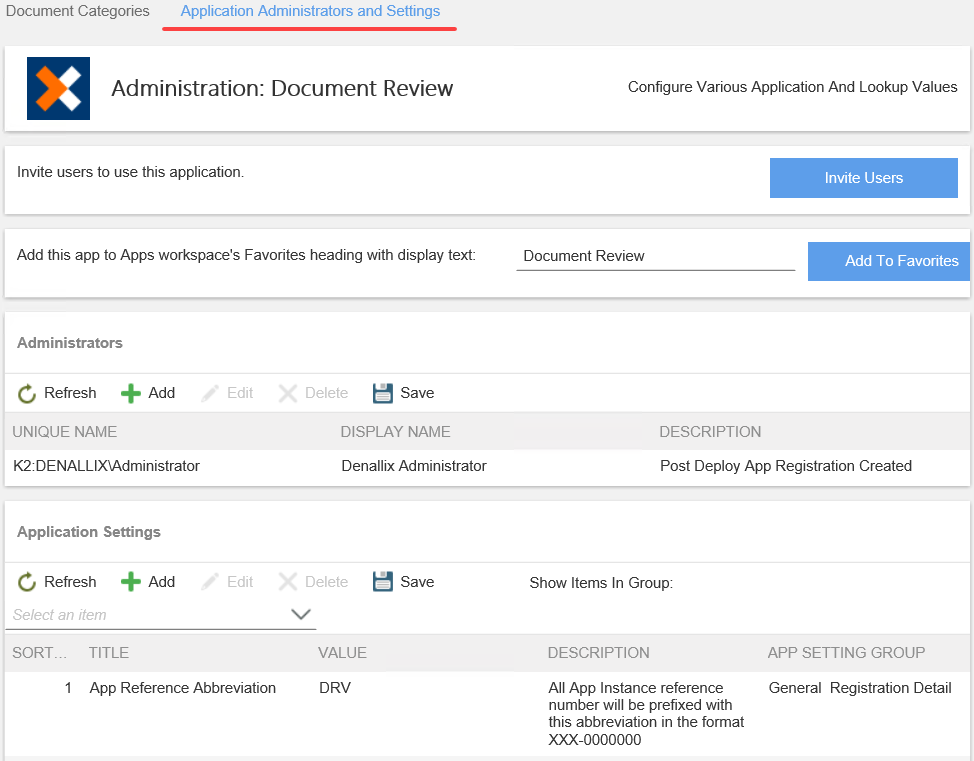
The following options are available:
 Invite Users
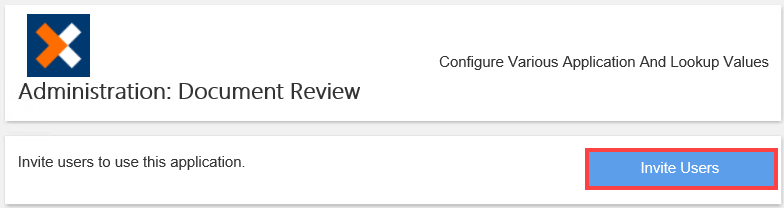
You can invite users to share your app. The invited user receives an email with a URL for them to access the app.
- From the Application: Administrators and Settings page, click the Invite Users button.
- The Email Notification page shows.
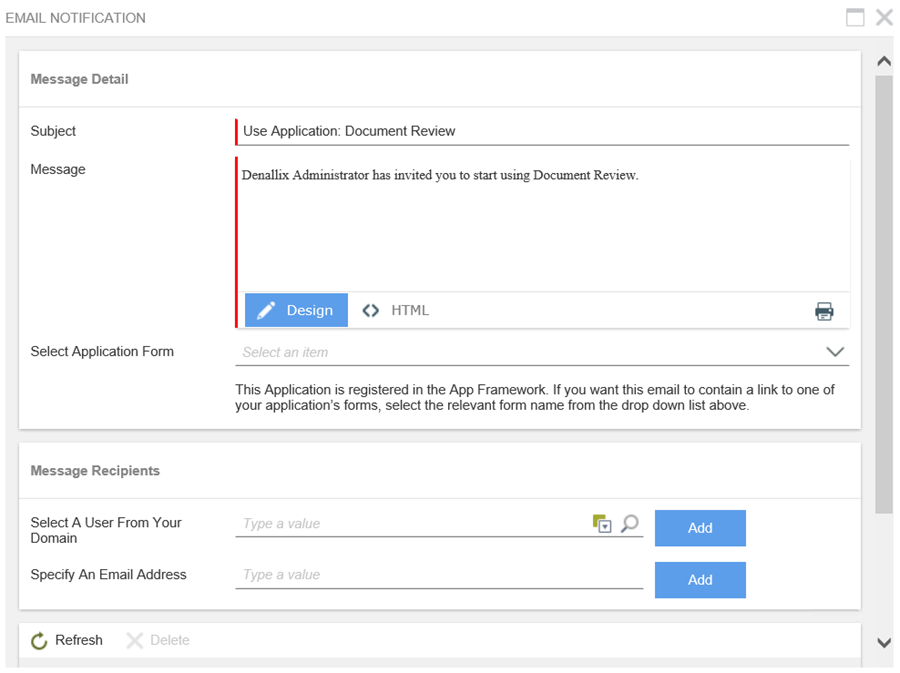
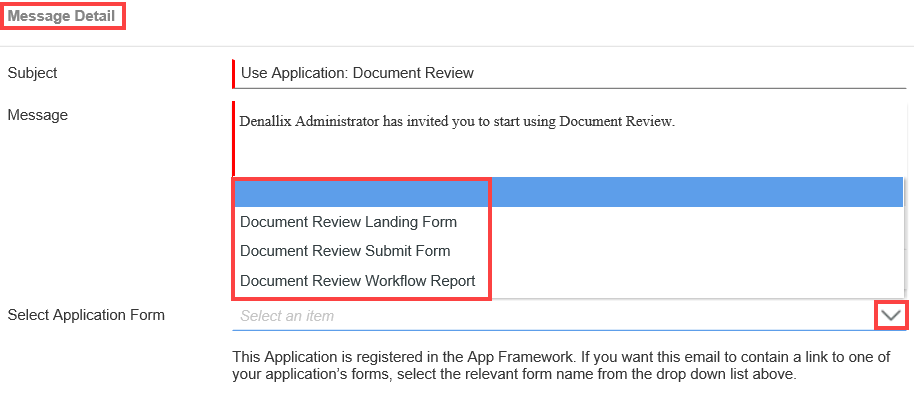
- Edit the email subject line and message body. Select the request form link you want to appear in the email message from the Select Application Form menu.
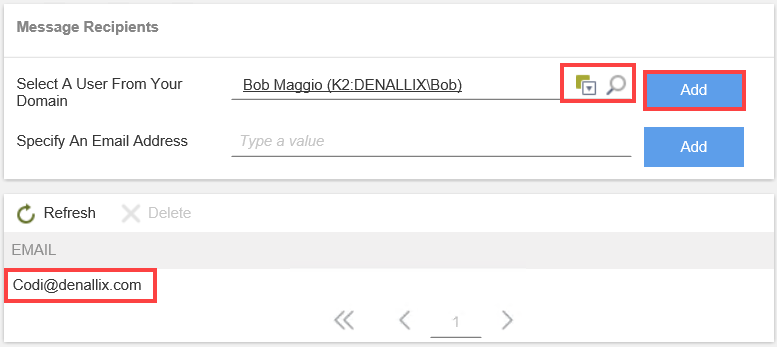
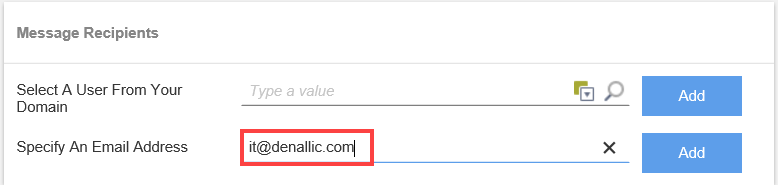
- For the message recipients, enter a user name, then click Resolve. Click Add. Repeat this for each user you want to receive an invitation.
 You cannot add a group of users, such as Finance or Human Resources, to the list. To add multiple users, select and add them individually.
 - You can also use the Specify An Email Address field to type an address. You can use this feature to send app invites distribution groups in your organization.
When you send an invite to someone outside of your organization (domain) they will not be able to use the app.
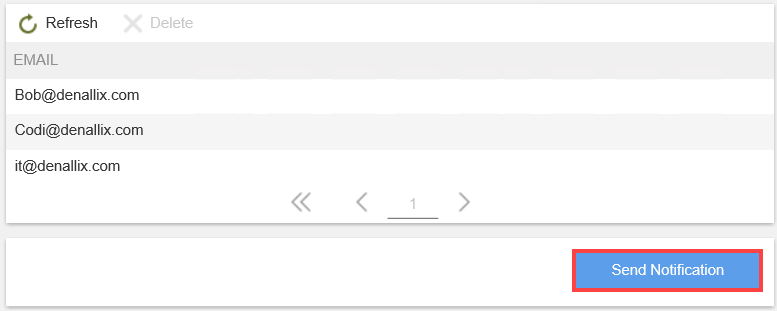
- Click the Send Notification button to send the email notification.
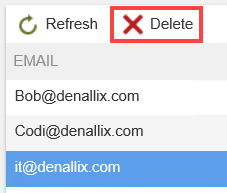
- To remove a recipient from the list, select them and click Delete.
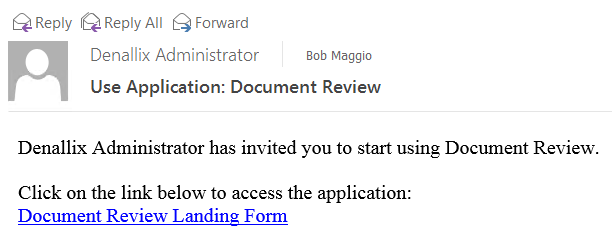
- Each recipient receives an email with a link to the request form.
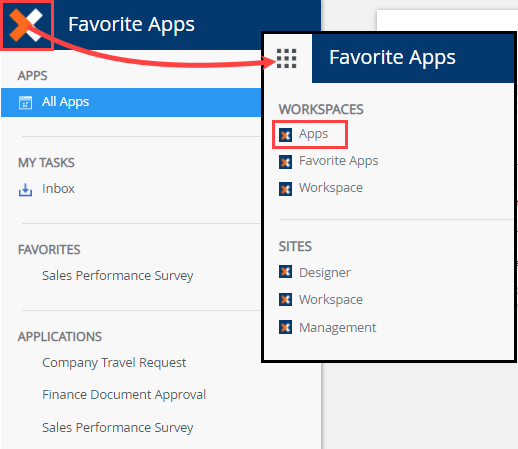
Add to FavoritesYou can add apps to the Favorites section for quick access. The Favorites section appears on the Favorite Apps workspace. By default, the Favorite Apps workspace is hidden which means you have to make it visible to see the apps you've marked as favorites in this workspace. Note that the Favorite Apps workspace is a separate workspace from the Apps workspace, but you can easily toggle between the two by clicking the logo and select the one you want.
You must be a App administrator or the owner of the app to add apps to the Favorites section on the Favorite Apps workspace.How to enable / show the Favorite App workspaceTo add apps to the Favorite section, you need to enable the Favorite App workspace in Management.-
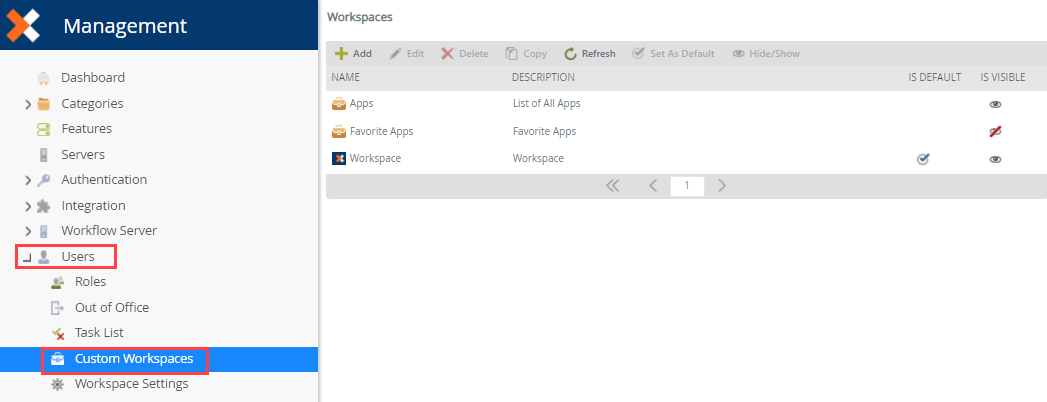
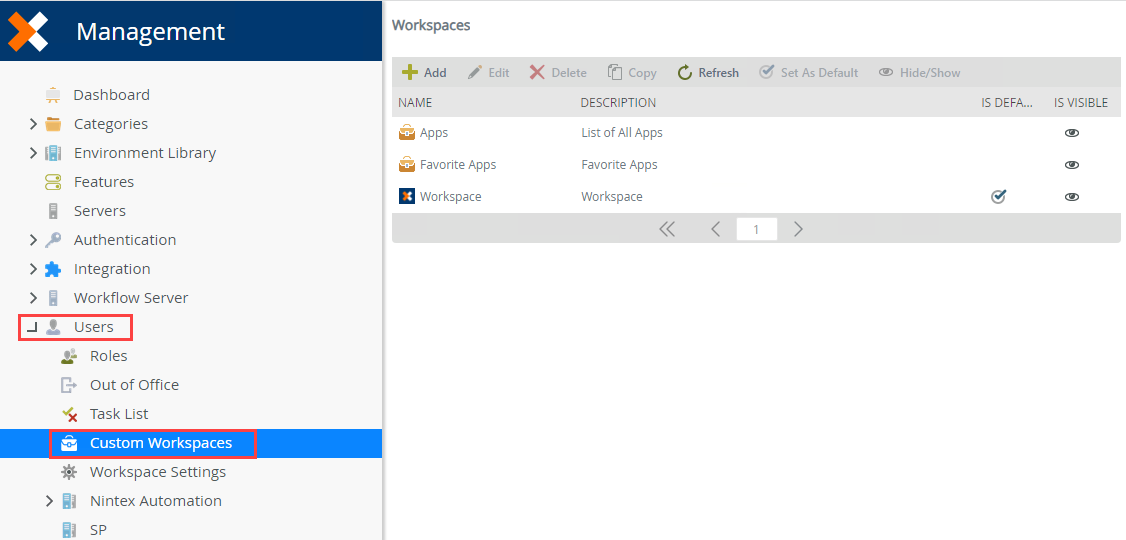
From Management, browse to Users and select Custom Workspaces.
-
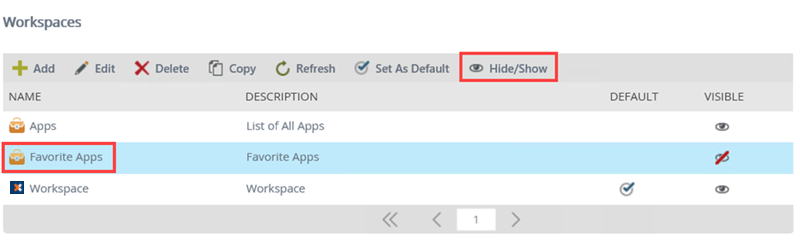
Select Favorite Apps and click Hide/Show.
-
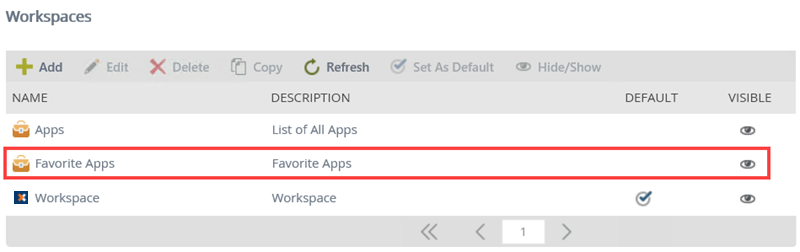
The Favorite Apps workspace is now visible.
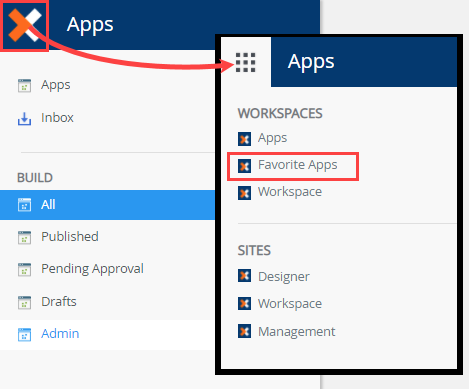
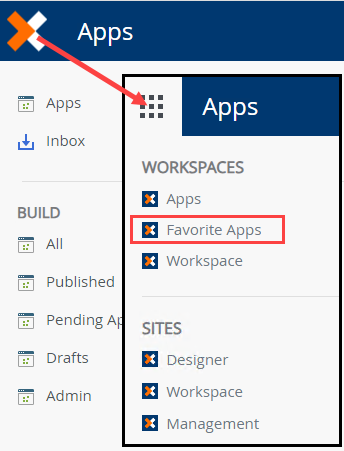
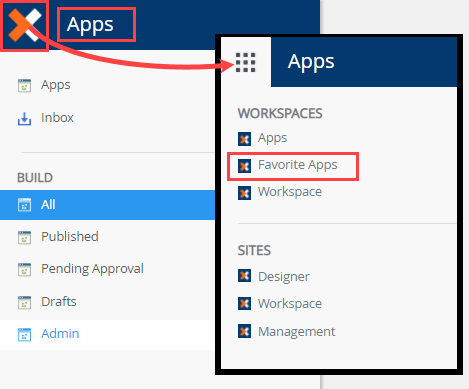
- To see the Favorite Apps workspace, click the logo from App workspace.
How to add an app to the Favorite section on the Favorite Apps workspaceFollow these steps to add apps to the Favorite section.
- From the Administrators and Settings page, type the name for the favorite link. Click the Add To Favorites button.
- Click the logo from App workspace and make sure you select the Favorites App workspace.
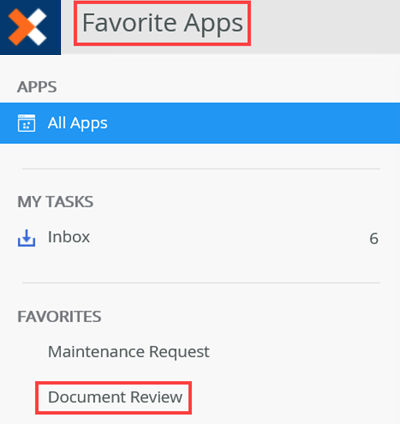
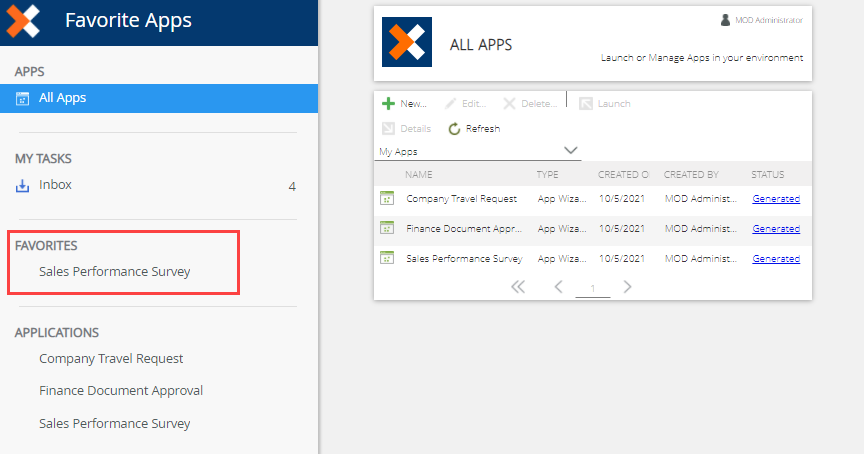
- The added favorites link shows in the Favorites section on the Favorite Apps workspace.
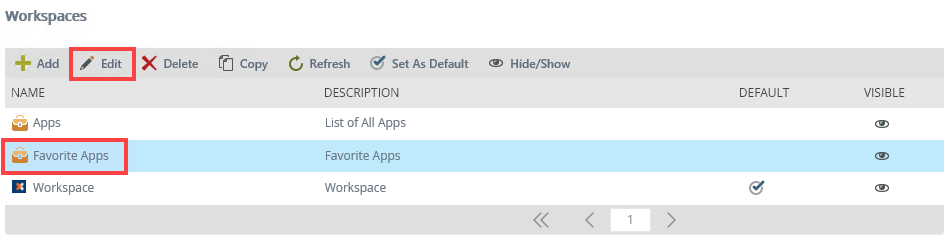
How to remove an app from the Favorite section on the Favorite Apps workspaceTo remove an app from the Favorites section, you need to remove it from the Custom Workspaces section in Management. Follow these steps to remove an app from the Favorite section on the Favorite Apps workspace.
- From Management, browse to Users and select Custom Workspaces.
- Select Favorite Apps and click Edit.
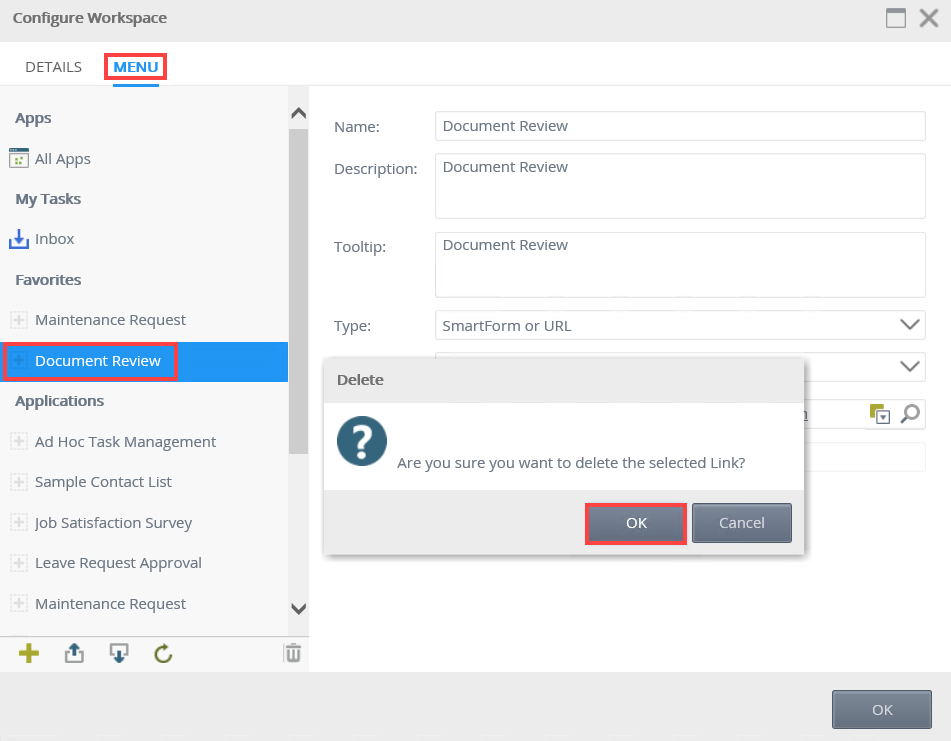
- From the Configure Workspace page, click the Menu tab. Select the favorite you want to remove and click the trash bin and click OK to confirm.
How to toggle between the App and Favorite Apps workspacesFollow these steps to toggle between the App and Favorite App workspaces.
- From the Apps workspace click the logo and select Favorite Apps workspace.
- The Favorite Apps workspace shows.
- To return to the Apps workspace, click the logo and select Favorite Apps workspace.
- The Apps workspace shows.
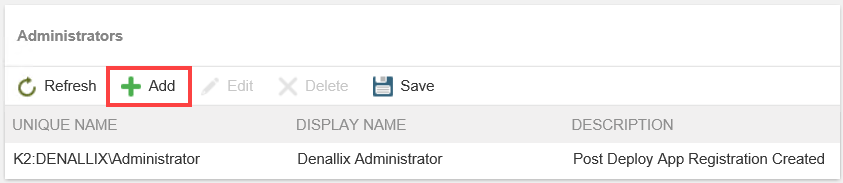
AdministratorsYou can add additional app administrators. With this you grant ownership of the app to the additional administrators. By default, the user who creates the app is assigned the administrator role.
- From the Application: Administrators and Settings page, click Add in the Administrators section.
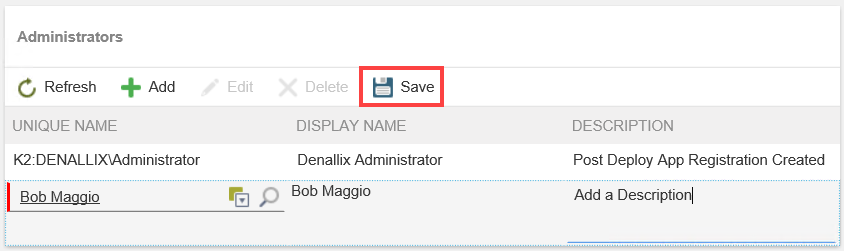
- Use the search feature or the picker control on the Unique Name field to find domain users to add as administrators. The Display Name auto populates with the user's name. In the Description field, type a detailed description. Click Save to add the selected user.
 You cannot add a group of users, such as Finance or Human Resources, to the list. To add multiple users, select and add them individually.
 - In this example, Bob is added as an administrator for the application.

Application SettingsThis part of the app design makes it possible to alter some of the behavior and look of the app without having to open the pieces of the app in the designers. Items labeled Form Title or Form Detail allow you to change the text at the top part of each form. You can also set the form width or change the approval forms associated with a workflow without opening the Designer and changing it there. You can add, edit and delete app settings.
- From the Application: Administrators and Settings page, click the Add button in the Application Settings section.
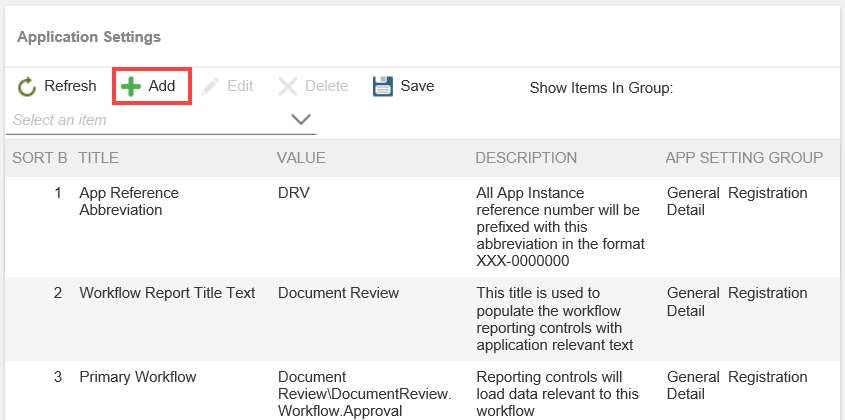
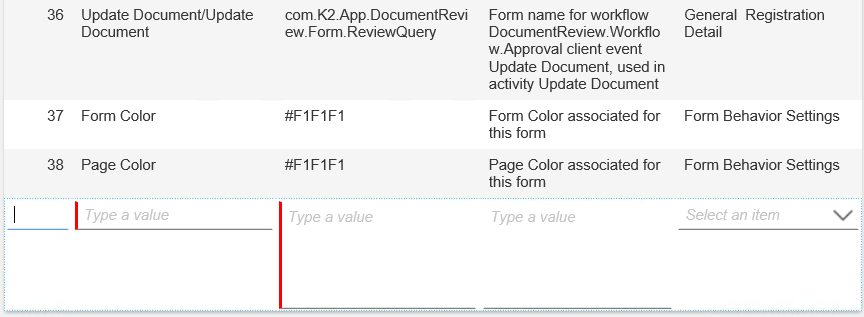
- In the inserted line, add an app settings by typing values for Sort by, Title, Value and Description fields. From the App Settings Group menu select one of the available options.
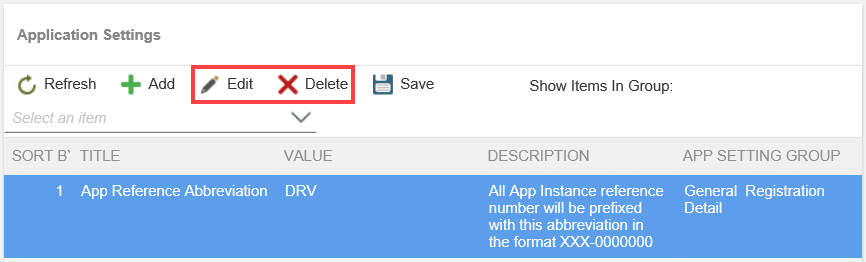
- Click Save. To edit a setting, click Edit. You can also delete settings by selecting a setting and clicking Delete.
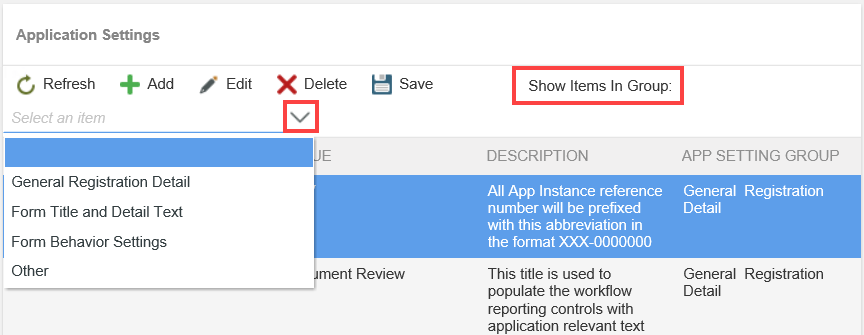
- To filter the settings, click the Show Items in Group menu and select an option.
- From the Application: Administrators and Settings page, click the Invite Users button.
- To exit the administration page, click on the Logo or the application name in the Applications or Favorites sections.
