K2 Designer for SharePoint - How to Configure Outcomes
Outcomes can easily be configured using the User Task wizard or the Workflow Step Outcomes icon.
Configure Outcomes using the User Task Wizard
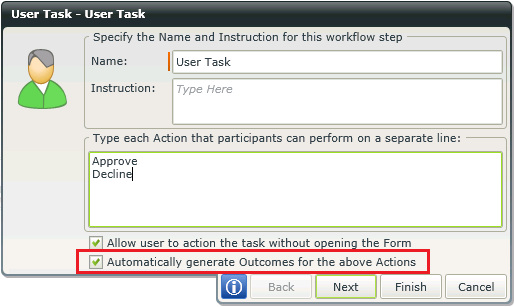
When dragging the User Task to the design canvas, the User Task Wizard opens. On the first page of the wizard the name for the task can be entered as well as actions to be taken after the task completes. Outcomes can be created automatically from these actions by enabling the option named “Automatically create Outcomes for the above Actions” as per the image below:
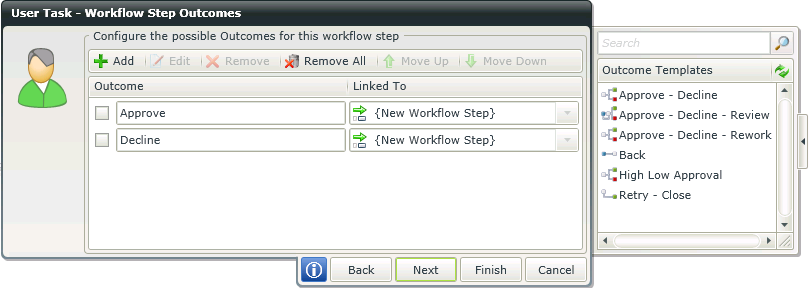
After clicking Next the Workflow Step Outcomes page will open and the outcomes will be listed and can be edited if necessary. Outcome rules can also be edited here. See image below:
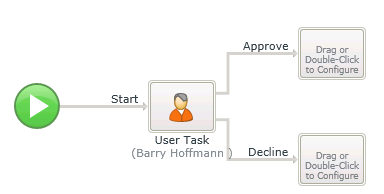
The outcomes for the Approve and Decline actions will be created as per the image below upon completion of the User Task wizard:
Configure Outcomes using the Workflow Step Outcomes icon
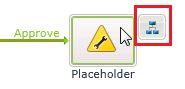
Configuring outcomes using the Workflow Step Outcomes icon will mainly be used for System Tasks but can also be used for User Tasks. The Workflow Step Outcomes icon can be used from an activity even if a task has not been added to the activity yet. To use the Workflow Step Outcomes icon, hover over the activity and select the top right icon as illustrated in the images below:
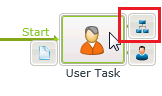
Configured Activity - User Task
Configured Activity - System Task
![]()
Blank Activity
The Workflow Step Outcomes wizard will open and new outcomes can now be added or existing outcomes can be edited. Outcome Rules can also be added or edited.
