K2 Out of Office - Add Destination Users in K2 Workspace
When configuring K2 Out of Office it is necessary to assign destination users who will receive the shared worklist items. The destination users can be set by the user, administrator or manager.
Add Destination User
 |
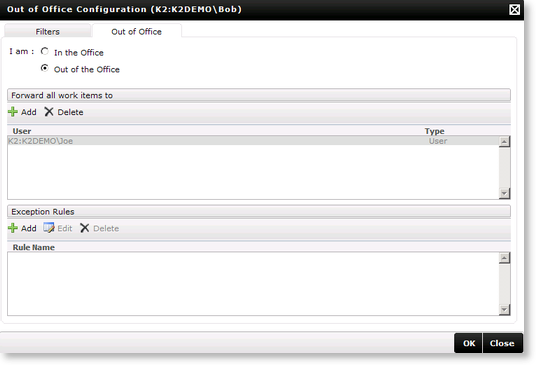
Open the Out of Office Configuration screen. |
 |
In the Forward all work items to section, click on Add. |
 |
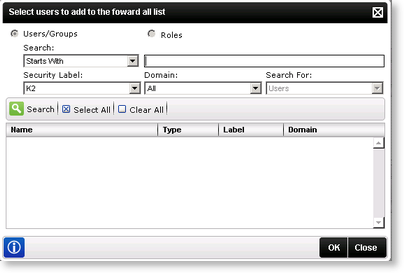
Search for a user, select the check box next to the user's name to assign rights to the user and click OK to save the settings. User search screen
Fig. 1. Select Destination Users |
| Feature | What it does |
|---|---|
| Users/Groups | Allows the user to only search for the available Users |
| Roles | This is disabled on this screen |
| Search Text Box | Allows the user to enter the search text string |
| Security Label | Click on the drop down and select the security label to use in the search |
| Domain | Click on the drop down and select the domain to use in the search |
| Search | The search button will take into consideration all criteria specified in the Starts With drop-down, the Search For text box and the Security Label drop-down and search for destinations that fit those criteria. The destinations will be displayed in the list below. |
| Select All | The user can select all the destinations in the list by clicking this button. |
| Clear All | The user can clear all selected check boxes in the list by clicking this button. |
| User Name - Type | All destinations (Names and types) will be displayed in this list after the user clicked the Search menu item. |
Delete Destination User
|
Select the user from the Out of Office Configuration screen and select Delete. Delete Destination User screen
Fig. 2. Delete Destination User |
See Also
