Modify
Once you have your K2 environment up and running, you may need to modify components or change configuration settings. Re-run the Setup Manager to add or remove components, or to change configuration settings.
If, after the initial installation of K2 blackpearl, you need to add additional components to an existing server, rerunning the K2 Setup Manager will allow you to add them.
The Modify option allows you to selectively add and remove K2 blackpearl components. If you add components using this option, it will run the configuration automatically after installing.
You can install and remove different components during the same session of Modify. For example, you can select to uninstall a component while at the same time installing a different component. After that it will automatically run the Configuration option for the components.
Run the Setup.exe file from within the extracted installer package in order to launch the Setup Manager. When running the Setup Manager from the Start Menu it might not display the Modify option in some cases.
Before adding a new component, evaluate your K2 environment and make sure that the target server is a good fit for your requirements. Then, determine if all the prerequisites are met, and run the K2 blackpearl Setup Manager to add and configure the new components.
Steps:
- Be sure to save all your work and close the designers before continuing.
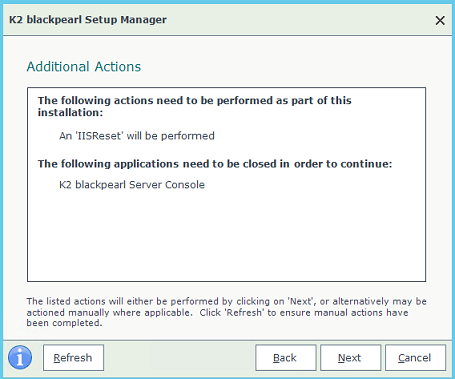
- Ensure that all K2 related processes, such as K2 Designer for Visual Studio, K2 Designer for SharePoint, K2 Web Designer (Legacy), and K2 blackpearl Server service, are shut down.
- Run the K2 blackpearl Setup Manager (Setup.exe) and select the Modify K2 blackpearl option.
- Select components to add (by checking the check box next to the listed component) or remove existing components (by unchecking the check box next to an installed component).
- Click Next.
- Select required component to modify and click Next.
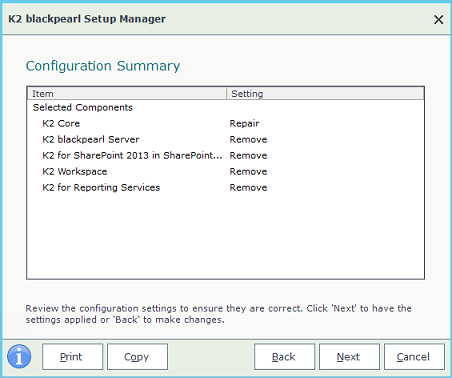
- Review the Configuration Summary screen.
- Click Next.
- Any Additional Actionsare listed. Click Next to start the Modify process.
- Click Next.
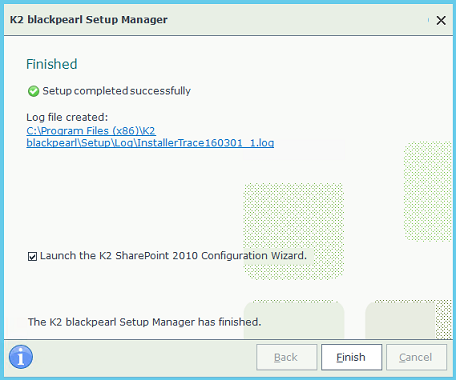
- Click Finish.
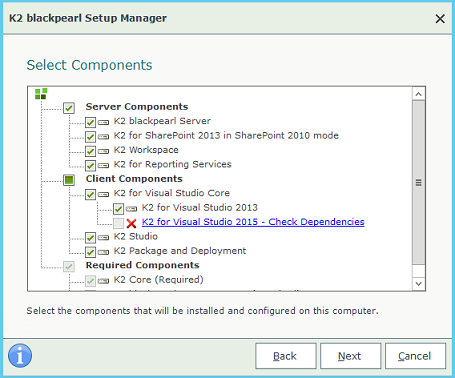
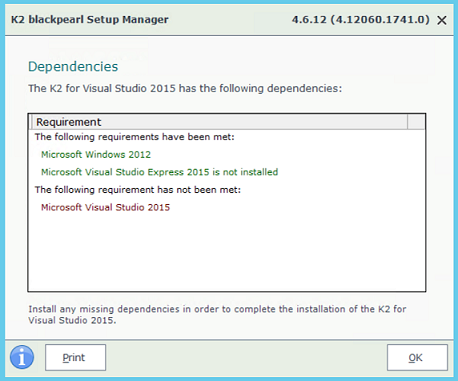
Any components with Check Dependencies actions will be indicated. First fix the dependency before adding the component.
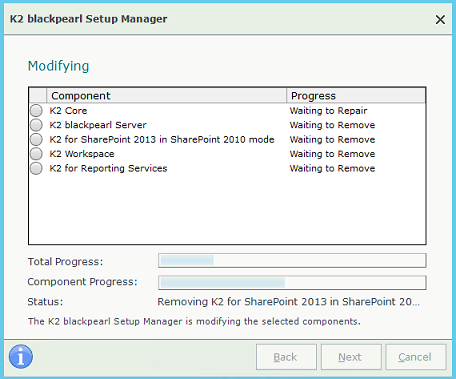
Please be patient, this process can run for a while.
- If you want to install one of the components on this server that have a Check Dependencies action, cancel the installation and fix the dependency. Then restart the installation and select that component.
- A reboot is required when selecting to remove a single server component.
- After selecting Modify from the initial screen, you can only select components to add if you open the K2 Setup Manager from the C:\ K2 blackpearl installation folder (by checking the check box next to the listed component), or by removing an existing component (by unchecking the check box next to an installed component).
- Be sure to clear the browser cache after adding components, see Clear cache after deploying K2 blackpearl for more information.
- When running Setup.exe from a temporary folder (where you copied / extracted the installer to), and components have been installed previously, the modify option will show you all the components, because it detects the msi files in the Setup folder.
- When running the Setup.exe from the folder where K2 blackpearl had been installed to, the Modify option will only show those components that are installed. You can then select which ones to remove.
- Running the Setup.exe from the folder where K2 blackpearl had been installed to will NOT show you components that have not been installed. This is because the msi files are not installed to the K2 blackpearl install directory. This means you cannot add components by running Setup.exe from this folder. You have to run it from the original setup folder that contains the msi files.
If, after the initial installation of K2 smartforms, you need to add additional components to an existing server, rerunning the K2 Setup Manager will allow you to add them.
The Modify option allows you to selectively add and remove K2 smartforms components. You can install and remove different components during the same session of Modify. For example, you can select to uninstall a component while at the same time installing a different component.
Before adding a new component, evaluate your K2 environment and make sure that the target server is a good fit for your requirements. Then, determine if all the prerequisites are met, and run the K2 smartforms Setup Manager to add and configure the new components.
Steps:
- Be sure to save all your work and close the designers before continuing.
- Ensure that all K2 related processes, such as K2 Designer for Visual Studio, K2 Designer for SharePoint, K2 Web Designer (Legacy), and K2 blackpearl Server service, are shut down.
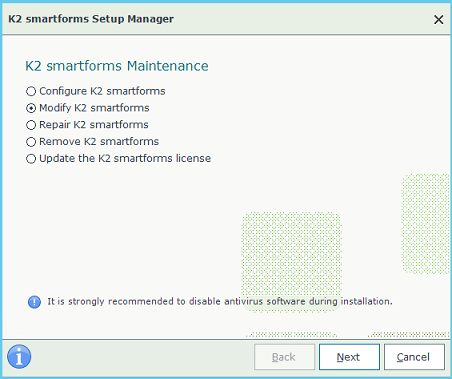
- Run the K2 smartforms Setup Manager (Setup.exe) and select the Modify K2 smartforms option.
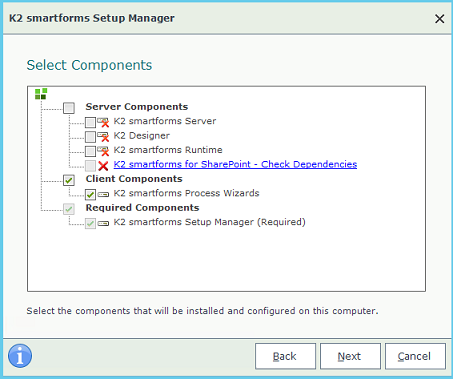
- Select components to add (by checking the check box next to the listed component) or remove existing components (by unchecking the check box next to an installed component).
- Click Next.
- Select required component to modify and click Next.
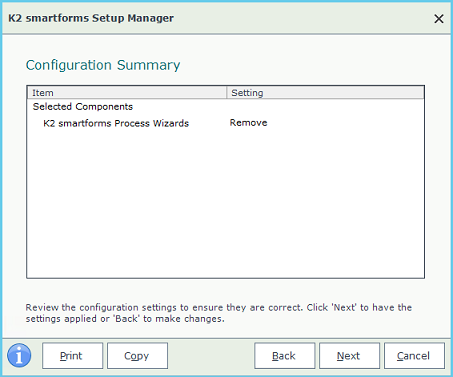
- Review the Configuration Summary screen.
- Click Next.
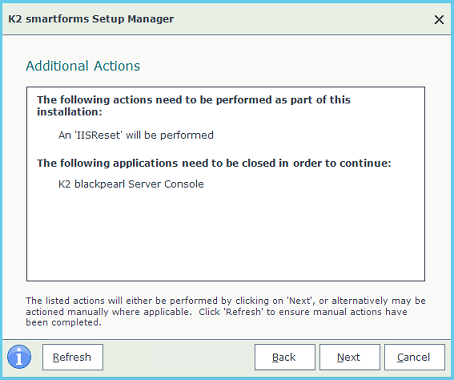
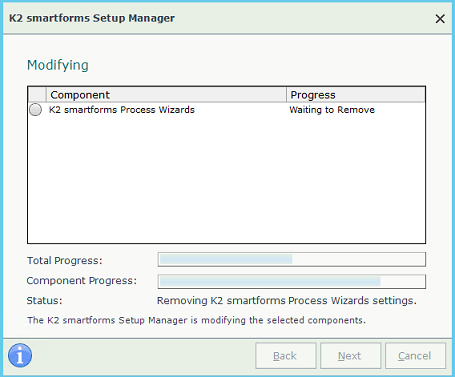
- Any Additional Actions are listed. Click Next to start the Modify process.
- Click Next.
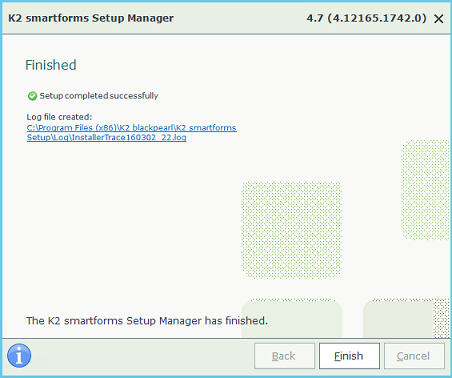
- Click Finish.
Any components with Check Dependencies actions will be indicated. First fix the dependency before adding the component.
Please be patient, this process can run for a while.
- A reboot is required when selecting to remove a single server component.
- When running Setup.exe from a temporary folder (where you copied / extracted the installer to), and components have been installed previously, the modify option will show you all the components, because it detects the msi files in the Setup folder.
- When running the Setup.exe from the folder where K2 smartforms had been installed to, the Modify option will only show those components that are installed. You can then select which ones to remove.
- Running the Setup.exe from the folder where K2 smartforms had been installed to will NOT show you components that have not been installed. This is because the msi files are not installed to the K2 smartforms install directory.
- This means you cannot add components by running Setup.exe from this folder. You have to run it from the original setup folder that contains the msi files, or start the Setup Manager from the Start menu.
- Be sure to clear the browser cache after adding components, see the topic Clear cache after deploying K2 blackpearl for more information.
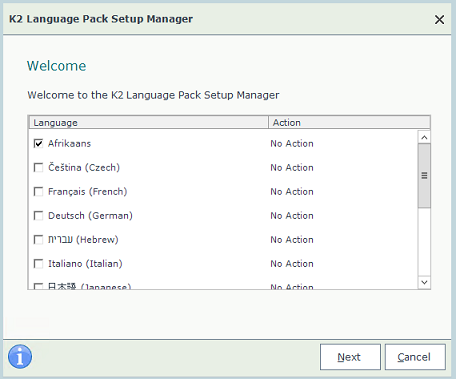
Make use of the K2 Language Pack Setup Manager to modify existing installed languages.
If you have installed languages from the K2 Language Pack and would like to modify it you will need to run the K2 Language Pack Setup Manager tool. This will enable you to add additional languages.
Steps
- Run the K2 Language Pack Setup Manager (Setup.exe or browse to Start > All Programs > K2 blackpearl > K2 Language Pack > K2 Language Pack Setup Manager).
- A list of currently installed and available languages displays. A check next to a language indicates that the language is currently installed.
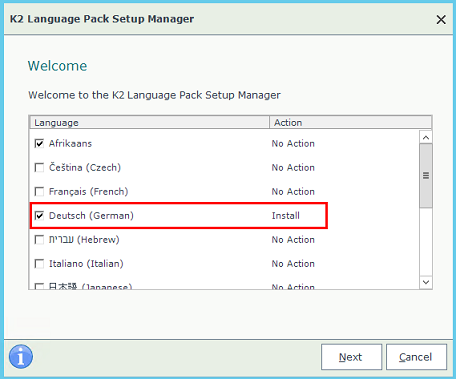
- To modify the Language Pack by adding another language, select the required language. Notice the Action status indicates Install. Click Next.
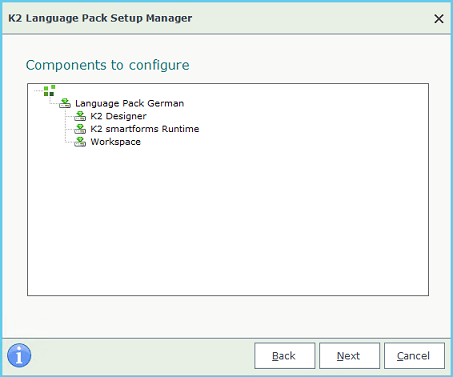
- Click Next to add the selected language.
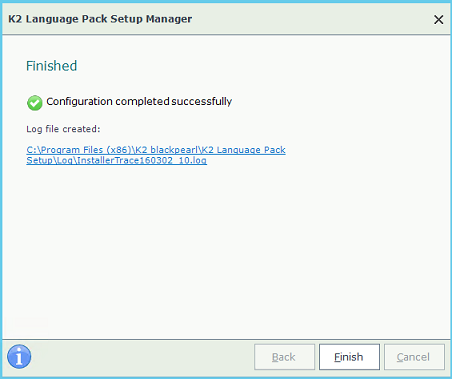
- Click Finish.