Creating K2 Platform based RDL Reports in Visual Studio
The information presented in this topic assumes a level of proficiency with Microsoft Visual Studio and the Report Definition Language (RDL).
 |
Create a new Microsoft Visual Studio Report Server Project within the Business Intelligence Project Options 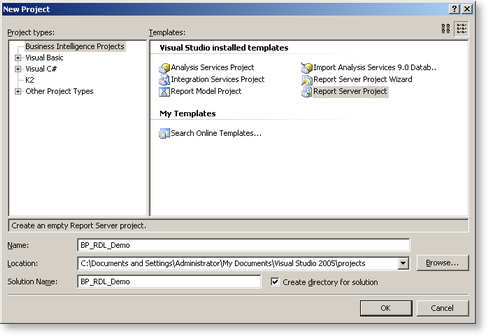 |
||
 |
Add a new Report to the Project. In the Solution Explorer, right-click on the Project name and select Add > New Item 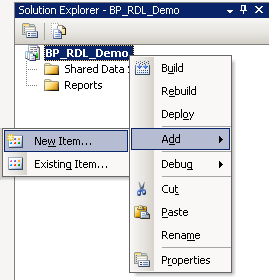 |
||
 |
Select the Report Option from the installed templates 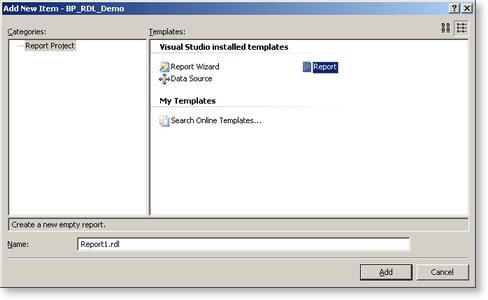 |
||
 |
Configure the DataSource to use the K2 Platform. Click on the Dataset drop down within the Data tab of the Report Design canvas. |
||
 |
Select<New Dataset...>. 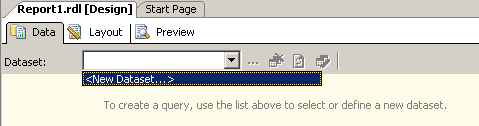 |
||
 |
Select SourceCode from the Data Source Type drop down options.  |
||
 |
Click the Edit button to configure the SmartObjects to be used in the Report. |
||
 |
Enter the Port and Server information of the K2 SQL databases. |
||
 |
Click on the Ellipsis [...] button to select the SmartObject(s). 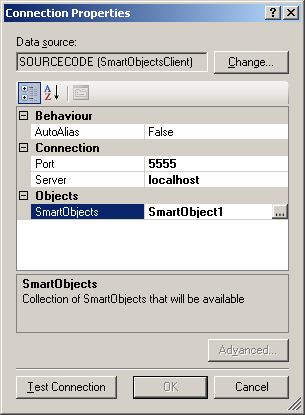 |
||
 |
Expand the SmartObject root node and select the required SmartObject(s). 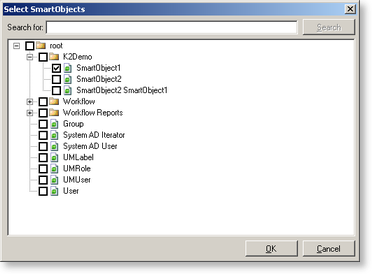 |
||
 |
Click OK to return to the DataSource Connection Properties screen. |
||
 |
Click OK to continue.
|
||
 |
Deploy the project to publish the Report to the Report Server. |

 |
Follow the link http://kb.k2workflow.com/articles/kb000189.aspx for another example on how to extend Reports to Visual Studio |
