32. Submit Expense Claims
After a long and complex application build, you are now ready to test your work! In this step, you will submit two new expense claims. You will select the approver for each claim as part of completing the Expense Claim form. The approver will approve the first claim and send the second claim back for rework.
- Add two new expense claims to the Expense Claim list. Complete the header view fields with your own content. If you prefer, you can select yourself as the approver to speed up testing. Add one or more expense claim line items to the details view, using your own content.
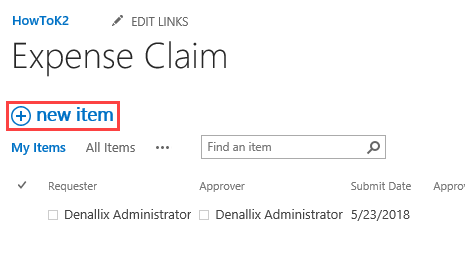
- Navigate to the Expense Claim list in SharePoint, then click the new item link. The New Expense Claim form launches.
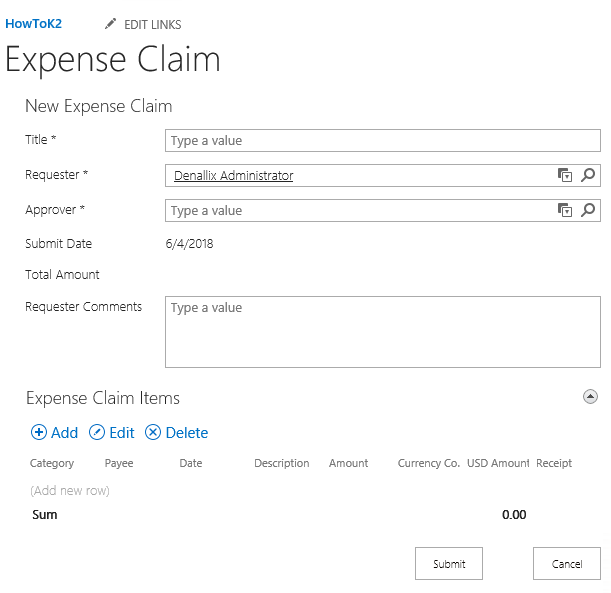
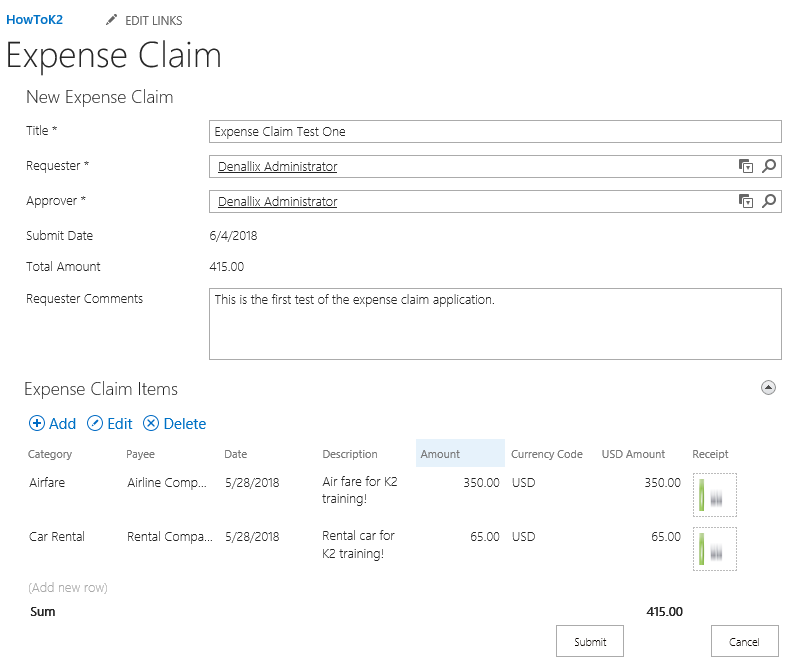
- Compete the expense claim (header) fields with your own content. Remember, the approver you select must complete the approval task. For testing purposes, you can select yourself if you prefer.
- Add Expense Claim Items (including attachments) to the editable list view at the bottom of the form. As you add items, notice how K2 calculates the amounts and updates the total amount. When ready, click the Submit button to submit the form and start the workflow. You will see the confirmation message with the reference ID of the expense claim. When you click OK for the confirmation, you will return to the Expense Claim list.
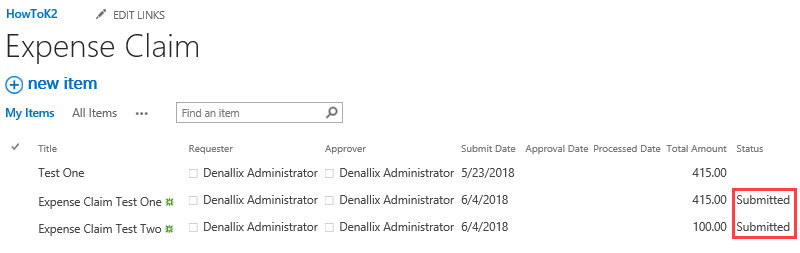
- Use the new Item link to submit a second expense claim for approval, once again using your own content. If you prefer, select yourself as the approver to speed up testing.
- You will see that the status of both expense claims in the SharePoint list were changed to Submitted. (If not, wait a few minutes and refresh the list. If the status does not update after 5 minutes, the workflow may have failed to start.)
- Navigate to the Expense Claim list in SharePoint, then click the new item link. The New Expense Claim form launches.
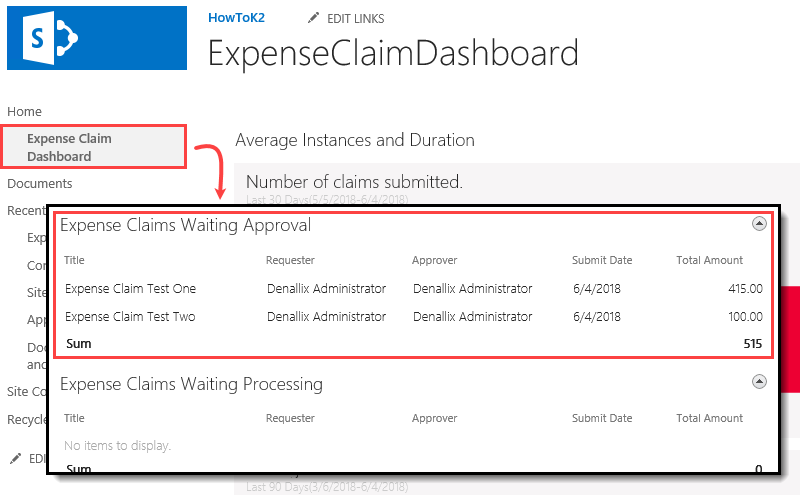
- Open the dashboard page and verify you see the two expense claims in the Expense Claims Waiting Approval view.
- Now, you will test your reporting dashboard. Both of the claims you just submitted are waiting initial approval, so they should appear in the report. Click the Expense Claim Dashboard link in the Quick Launch column. At the bottom of the screen are your two list views. Locate the Expense Claims Waiting Approval view and confirm you can see both your claims.
- Now, you will test your reporting dashboard. Both of the claims you just submitted are waiting initial approval, so they should appear in the report. Click the Expense Claim Dashboard link in the Quick Launch column. At the bottom of the screen are your two list views. Locate the Expense Claims Waiting Approval view and confirm you can see both your claims.
Review
In this step, you submitted two new expense claims, each of which started a separate workflow instance. You launched the Expense Claim Dashboard and viewed the first entry in your reports! In the next step, you will approve the first claim, then query the second claim.