13. Add the Review Document Task Step
In this step, you add and configure the Task step for the assigned reviewers. This step is similar to the approval workflow task step. You select one or more reviews when you complete the review request form. You will configure outcome rules as a consensus as well. This means all the reviews must accept the document as approved or the workflow follows the reject. Add a Task step to the workflow and assign it to the Reviewers SmartObject reference. The Task step has two actions: Reviewed and Accepted and Rework Required.
-
Add a Task to the workflow with the following configuration:
- Instructions: Please review the attached document and indicate your decision.
- Actions: Reviewed and Accepted, Rework Required
- Form: SmartForm > Display Document
- References: Keep default settings
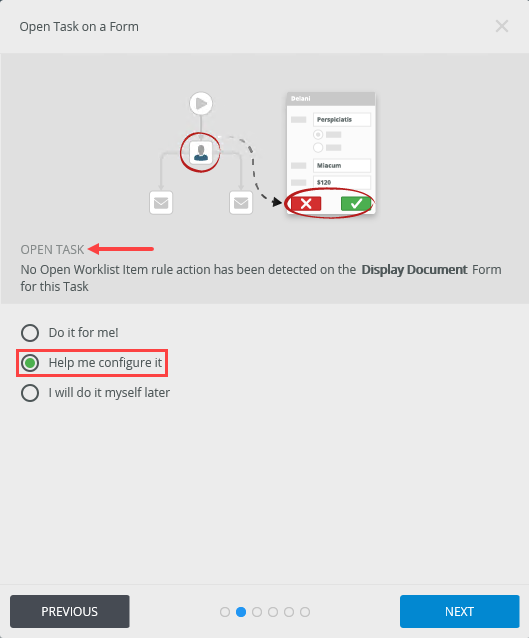
- Open Task: Help me configure it
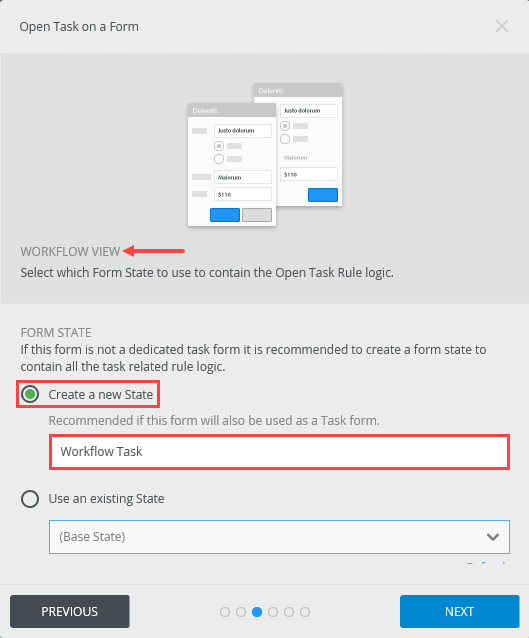
- Workflow View: Create a new State: Workflow Task
- Open Task Rule Action: Keep default settings
- After submit: Keep default settings
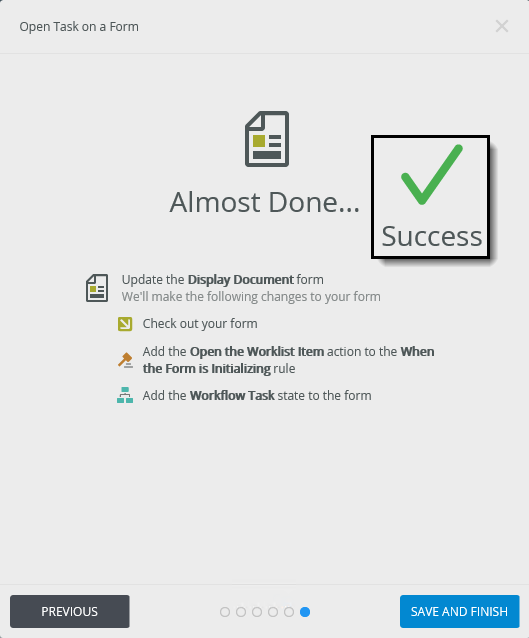
- Summary: Save and Finish
- Recipients: Context Browser > Documents to Review and Approve REFERENCES > Reviewers
- Use the drop-down for the Originator bar, then select Type/Construct my own. Delete the Originator's FQN value, then add the Reviews reference.
- Notification: Personalize the notification to include Context Browser references. Attach the Document (File) reference to the email.

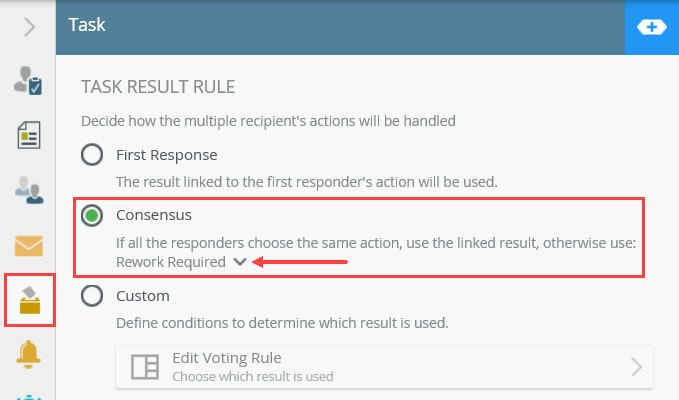
- Outcome Rule: Change the rule to Consensus, with Rework Required being the followed outcome if there is not a consensus.
- General Properties: Rename the step:
Review Document
-
First, add the task step and connect it to the Update Document Properties step.
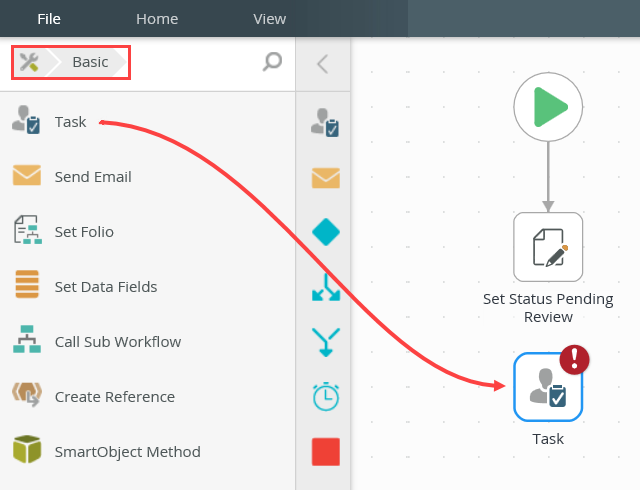
From the Toolbox > Basic node, drag a Task step below the Set Status Pending Review step.When adding a step to the workflow design canvas, you may see a red warning badge. This badge simply indicates the step has required configurations. When you expand the Configuration Panel, the required configuration is also flagged.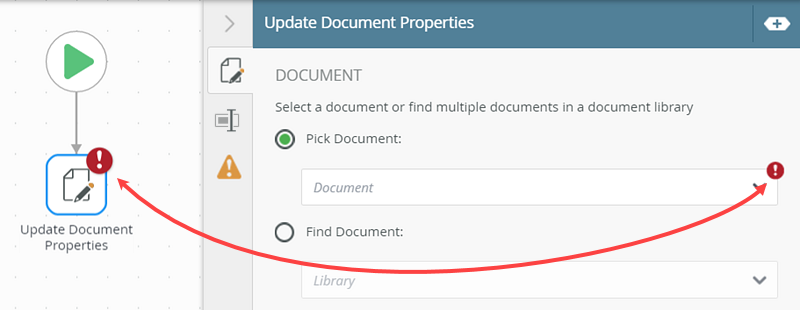
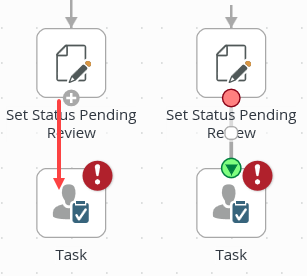
- Hover over the bottom border of the Set Status Pending Review step to expose the outcome handle, then drag the handle down into the Task step. Click the design canvas to set the outcome.
- Click to highlight the Task step, then expand the Configuration Panel. Click the Task Detail tab to make it active, if it is not already. For the INSTRUCTIONS, enter
Please review the attached document and indicate your decision.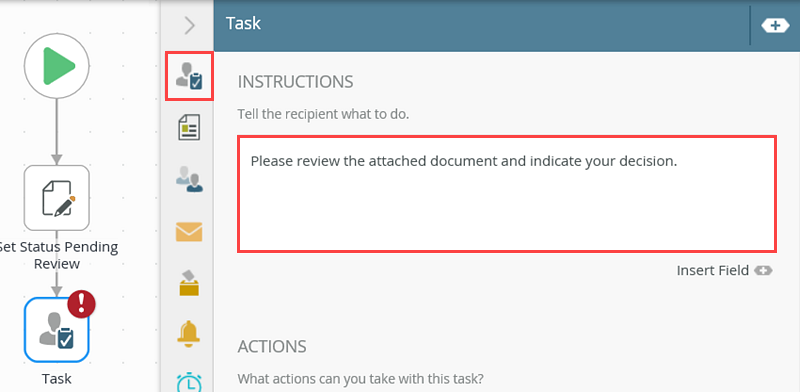
- Click the Add (+) icon under the ACTIONS heading to add the task actions:
Reviewed and Accepted
Rework Required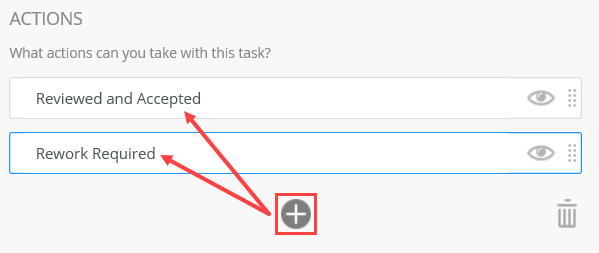
- Click the Forms tab. You will select the display form for the task steps, as you do not want the recipient to make changes to the original form entries.
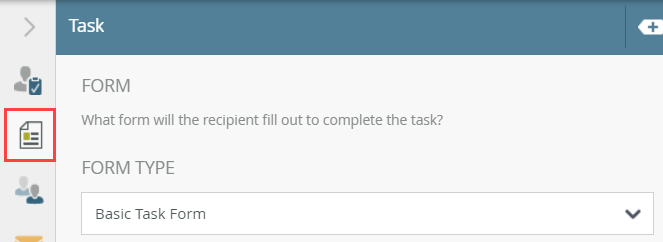
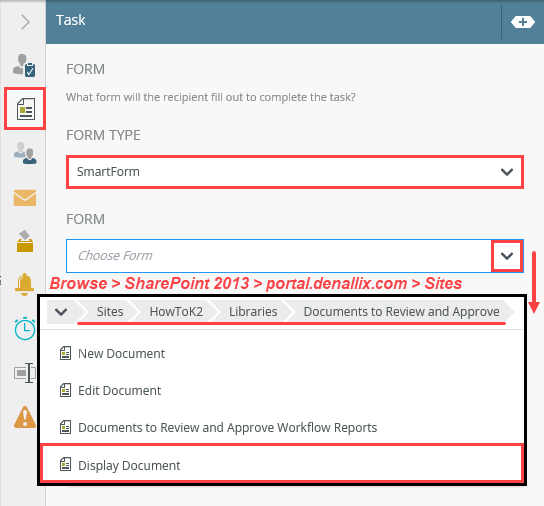
- For the FORM TYPE, select SmartForm. For the FORM, browse to and select the Display Document form. Your menu structure may be different than the image below, depending on subsites and other naming conventions. Click OK.
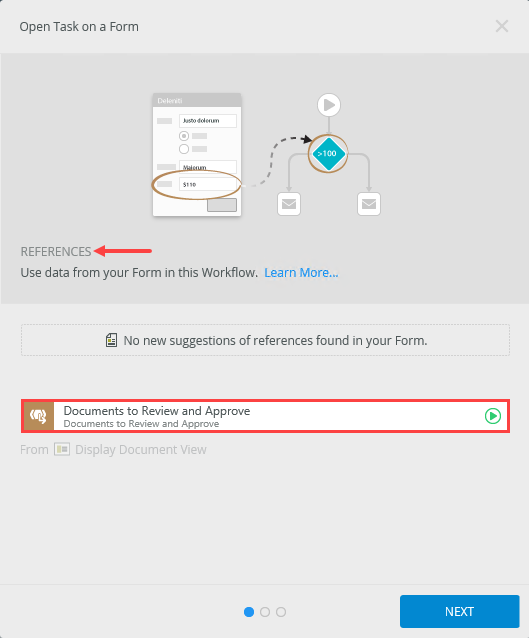
- On the REFERENCES screen, notice that K2 has found the Documents to Review and Approve SmartObject reference. Click NEXT.
- On the OPEN TASK screen, select Help me configure it, then click NEXT.
- On the WORKFLOW VIEW screen, confirm the option to Create a new State has the Workflow Task state. Click NEXT.
- There are no changes to the OPEN TASK RULE ACTION screen, click NEXT.
- There are no changes to the AFTER SUBMIT ACTION screen, click NEXT.
- On the Summary screen, review the settings, then click SAVE AND FINISH. When you see the green success check, click OK to close the wizard.
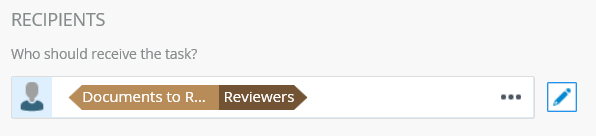
- Click the Recipients tab.
- Click the Originator bar. From the drop-down options, select Type/Construct my own.
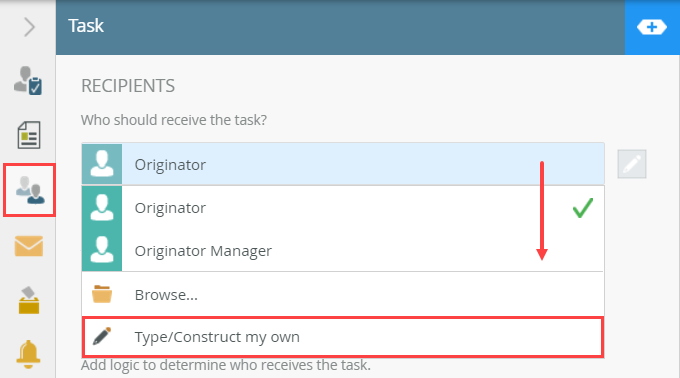
- The recipient value changes to Originator's FQN. Expand the Context Browser. Expand the Documents to Review and Approve SmartObject under REFERENCES. Drag the Reviewers property into the Originator's FQN bar. This adds the Reviewers property to the recipient bar.
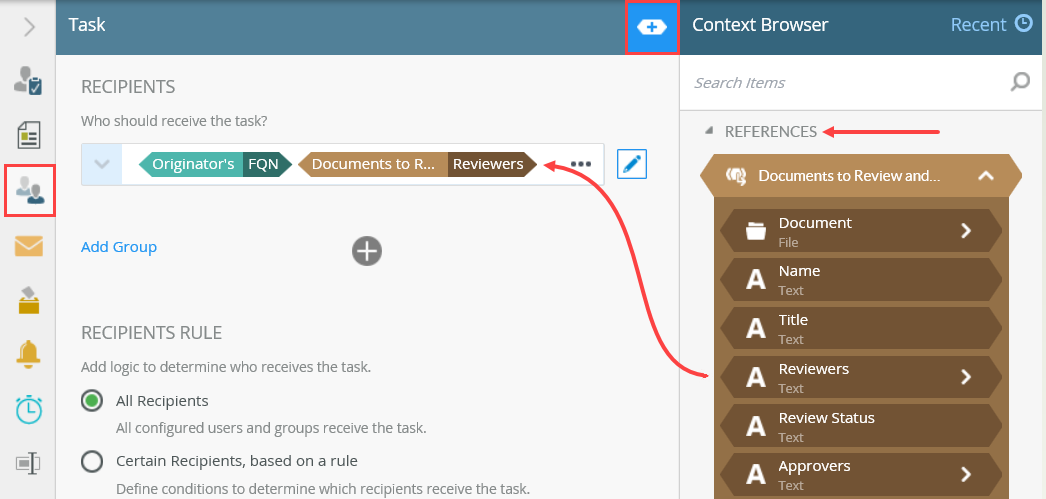
- Click once on Originator's FQN, then click <DELETE> on your keyboard. This removes the value, leaving the Reviewers property as the sole recipient entry.
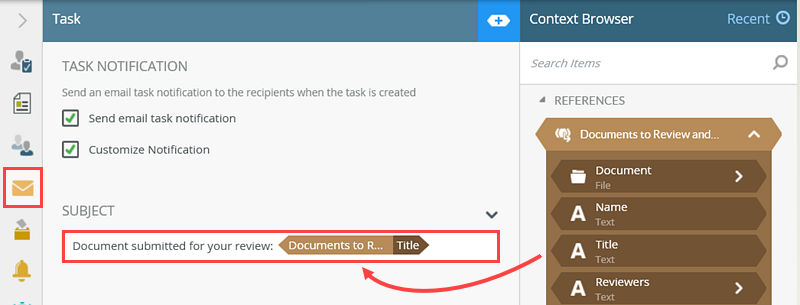
- Click the Notification tab. CHECK the Customize Notification option. Notice that the SUBJECT and BODY fields are now editable. For the SUBJECT, enter
Document submitted for your review:
then drag the Title from the Documents to Review and Approve reference and append it at the end of the line. - Scroll down to the bottom of the Notification screen. You will see the ATTACHMENT box. Click the Add Attachment link. Drag the Document (File) reference into the ATTACHMENT box. You are adding a reference to the current document as an attachment to this email. At runtime, the current document is attached to the email.
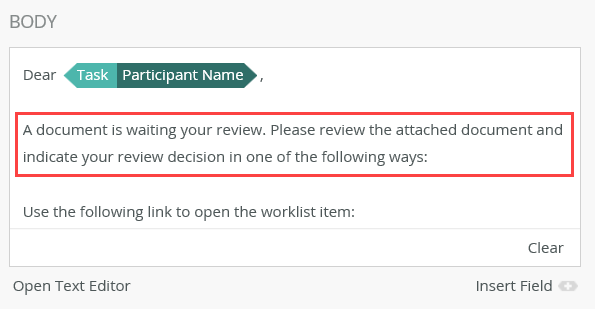
- Add additional content to the email BODY so the recipient knows what to do. For example:
A document is waiting your review. Please review the attached document and indicate your review decision in one of the following ways: - Click the Outcome Rule tab. Select the Consensus option under the TASK RESULT RULE, then change the non-consensus value to Rework Required. This is saying that all recipients must accept the document, or it is sent back for rework.
- Click the General Properties tab. The last configuration is to rename the step. Change the name to
Review Document
then collapse the Configuration Panel.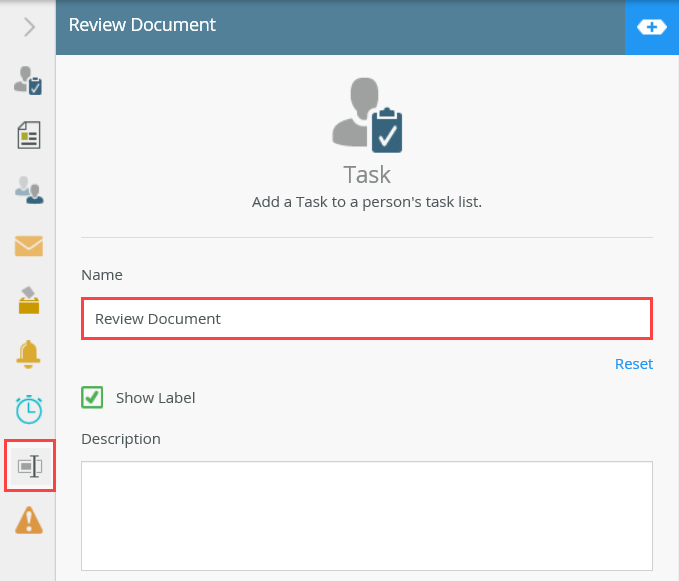
Next, you will connect the two steps.
The Open Task on a Form wizard launches.
The default recipient is Originator. You want the Reviewers property from the Documents to Review and Approve reference. At runtime, this property contains the value(s) entered by the workflow originator.
Next, you will configure the task notification email using properties once again from the Context Browser.
Next, you will attach your document to the email.
Email variables explained:
Worklist Item Link: This link opens the worklist item (user task). You can action (make a decision on) the item from the worklist item screen.
Configured Actions: At runtime, K2 replaces this variable with the actions you configured for the task. For example, approved or rejected. You can reply to the email and enter one of the actions in the reply message body. K2 will read the action and move the workflow along according to the outcome rules. K2 refers to this technology as SmartActions.
Standard Actions: Examples include: Redirect, Delegate and Sleep. Redirect sends the user task to another user and removes the task from the current user's worklist. Delegate sends the task to another user, but keeps the task open for the current user as well. Sleep pauses the worklist item. This is helpful if the user is going to be unable to action the task in the time allotted (if you specified a time allotment).
Next you will configure the outcome rules for the Review Document step. (You will name the step in a few minutes.) All reviewers must accept the document to send the workflow along the Reviewed and Approved outcome. If one or more approvers reworks the document, the workflow will follow the Rework Required outcome.
-
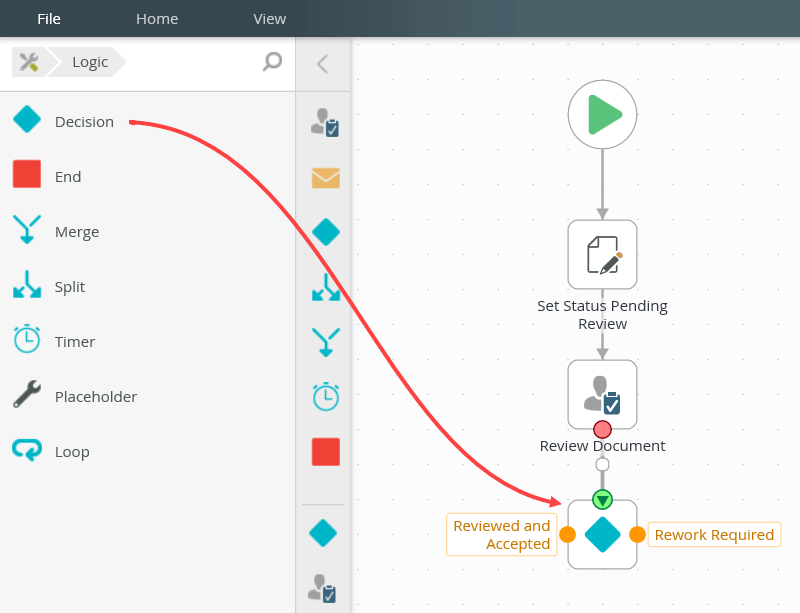
Add a Decision step and connect it to the Review Document step.
- From the Toolbox > Logic node, drag a Decision step below the Review Document step. Connect the two steps. Notice that the actions configured in the Task step are now generated as outcomes from the Decision step.
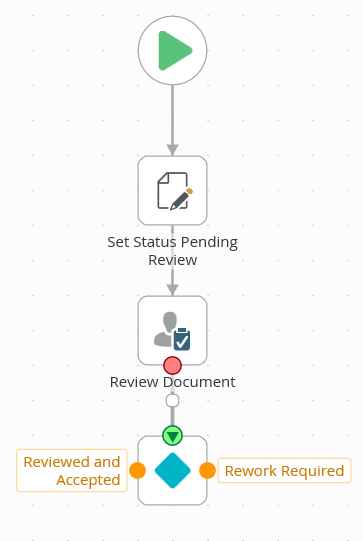
Your workflow should look like the image below at this point.
- From the Toolbox > Logic node, drag a Decision step below the Review Document step. Connect the two steps. Notice that the actions configured in the Task step are now generated as outcomes from the Decision step.
Review
In this step, you added a Task step for the document review step. You mapped the Reviewers reference for the task recipients. You added two possible actions: Reviewed and Accepted and Rework Required. You configured the outcome rules for consensus, meaning all reviewers must accept the document for the workflow to follow the accepted outcome. If one or more approvers reworks the document, the workflow follows the rework outcome. You also learned how to add a document as an attachment to an email and how to personalize the email with references from the Context Browser. In the next step, you will complete the rework outcome steps.