Create the Application Approval workflow
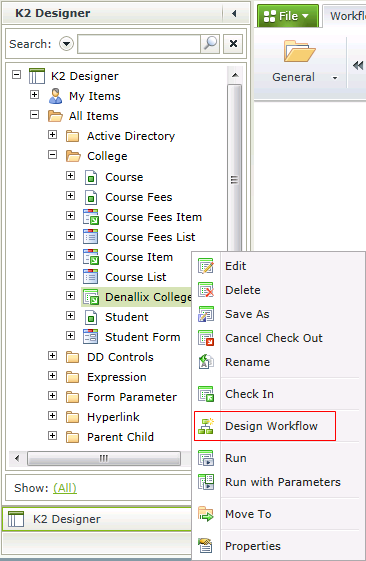
- Right-click the Denallix College Application Form and select Design Workflow.
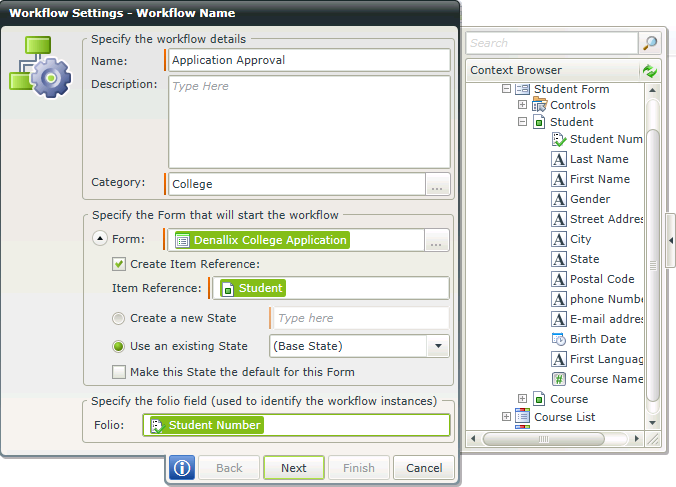
- Type the name of the Workflow as Application Approval in the Name field.
- The Category is automatically set to College.
- Expand the Form field by clicking on the down arrow in front of Form, which will open additional settings for the Form.
- Select (Base State) under the Use an existing State.
- Uncheck the check box titled Make this State the default for this Form.
- Expand SmartForms in the Context Browser and browse to Denallix College Application > Student Form > Student and drag the Student Number into the folio field.
- On the Configure the rule to start the Workflow screen (Workflow Settings - Start Form), click on the drop down box and choose the rule called On Student Form, When Create Toolbar Button is Clicked.
- Select the Rule Action called then start the Application Approval Workflow.
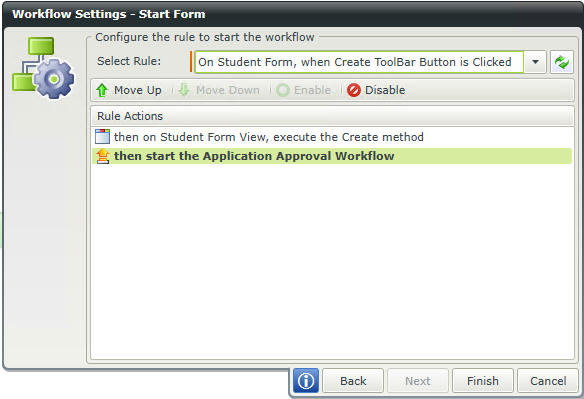
- Click Finish.
- We now need to edit the Start event to add Data Field information. Double click the Start event and go to the Data Fields screen
- Add a data field called ApplicantID of type Integer.
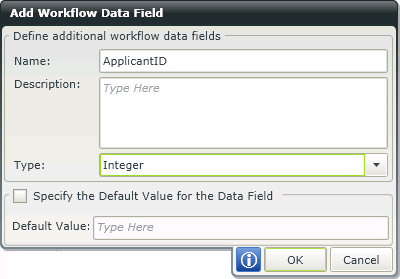
- Click OK.
- Click Next.
- Click Next.
- On the Start Form screen expand SmartForms in the Context Browser and browse to Denallix College Application > Student Form > Student. Drag the Student Number property next to ApplicantID. This will map the value from the Form to the Workflow data field.
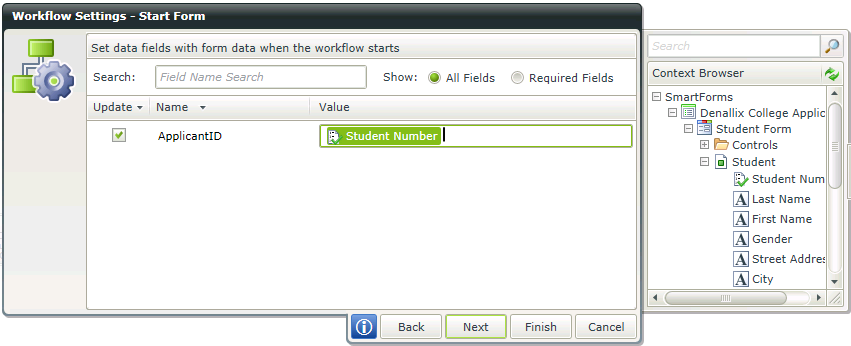
- Click Next.
- Click Next.
- Add Start rights for the user that will be completing the Application Form and clicking the Apply button. This could be domain users or an individual user such as Daniel.
- Check the Start and View Participate checkboxes.
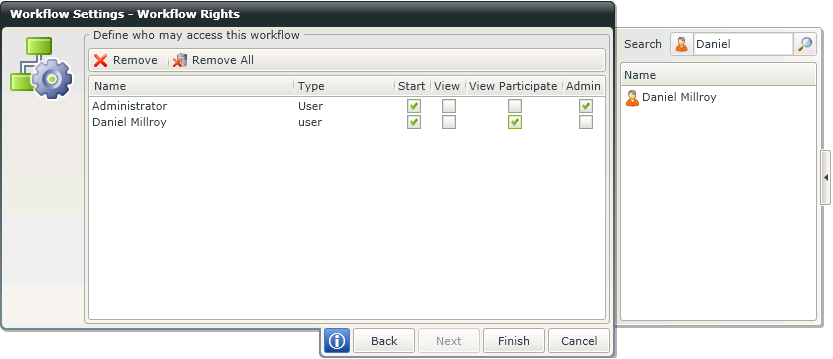
- Click Finish.
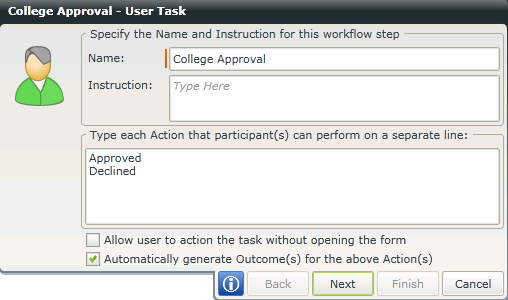
- Drag the User Task from the Workflow Steps tab, General category onto the drop zone on the canvas.
- Type College Approval in the Name field.
- Type Approved and Declined in the Action pane.
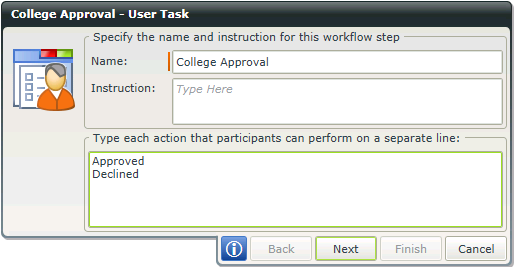
- Click Next.
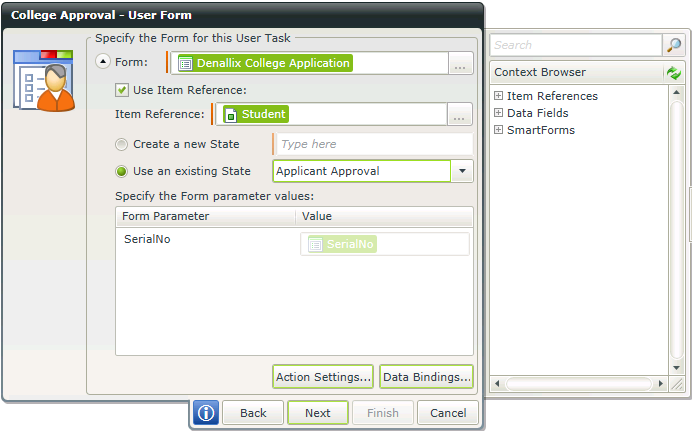
- Expand the drop down arrow in front of 'Form:' to open additional Form properties.
- Select Use an existing State and select Applicant Approval from the drop down list.
- Click on the Action Settings button.
- Click the I will configure the actions later radio button, as we will wire in the workflow actions to the button controls we already added to the Form.
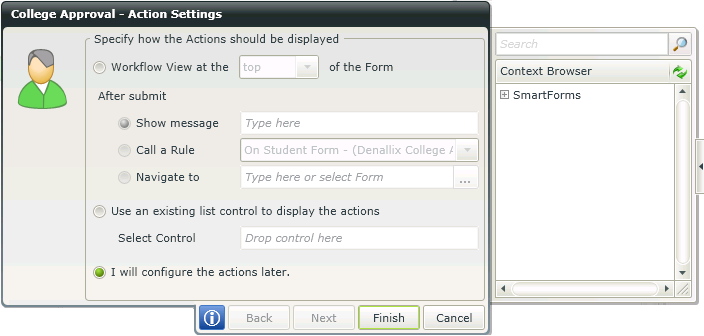
- Click Finish.
- Click Next.
- From the Select Rule drop down list select the rule named When the Form is Initializing.
- The Rule Action that must be selected is then open the College Approval Activity worklist item.
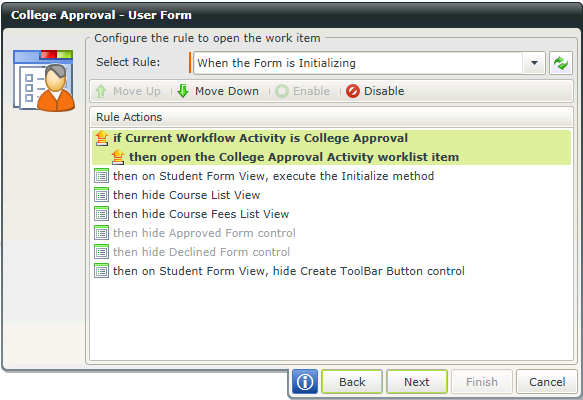
- Click Next.
- Add Bob as a participant by searching for 'Bob' and dragging the found detail under Task Group on the left.
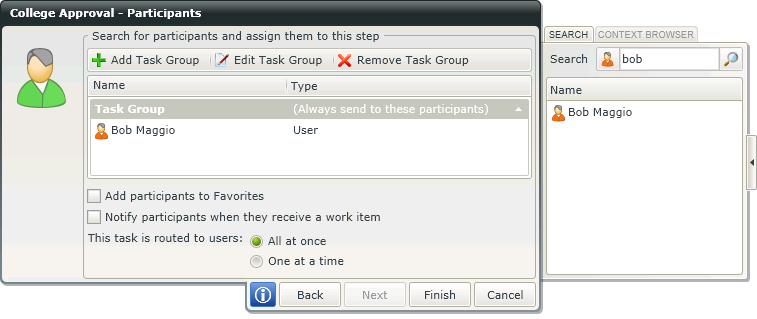
- Click Finish.
- Double click the College Approval User Task and uncheck the option labeled Allow user to action the task without opening the Form.
- Click Next
- Click Finish
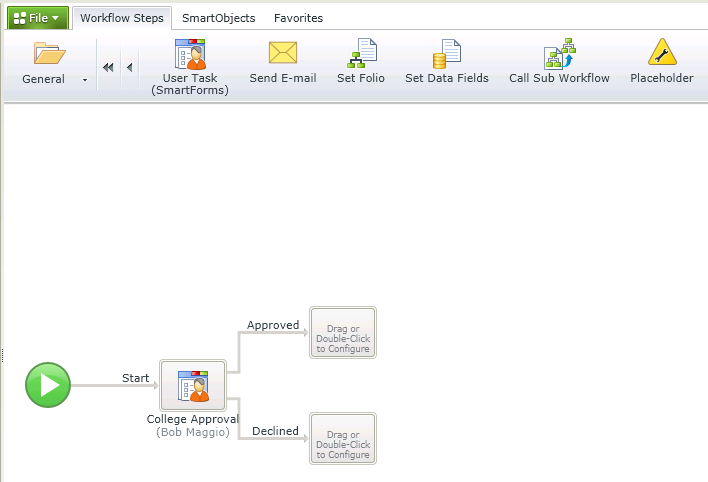
- Your Workflow should resemble the following:
- Drag the Send E-mail step from the Workflow Steps tab onto the Approved step.
- Click on the down arrow next to the To field to open all available fields for configuration.
- Type in the Administration Officer’s e-mail address in the From: field.
- Type in the Student’s e-mail address or configure it using the Context Browser. Expand SmartForms > Denallix College Application > Student > Load and drag the e-mail address onto the To: field.
The E-mail Address window will display. Drag the ApplicantID data field from the Context browser into the value field.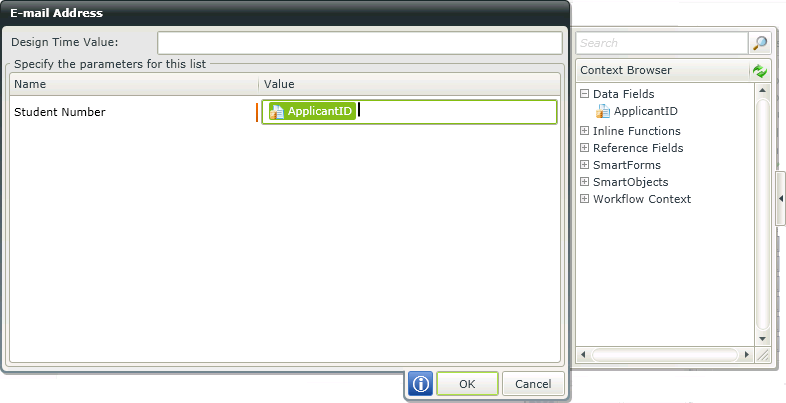
- Click OK.
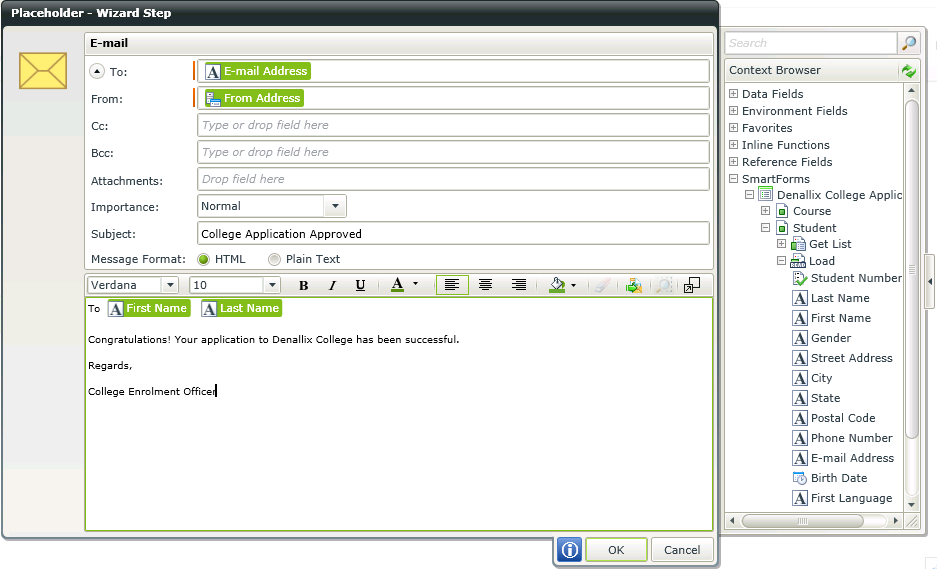
- In the Subject: line type College Application Approved.
- In the e-mail body type the following message:
To Student
Congratulations! Your application to Denallix College has been successful.
Regards,College Enrollment officer
You can use additional values from the SmartForms node in the Context Browser if you wish to customize the message further. For example, instead of typing Dear Student, browse the SmartForms node in the context Browser and locate Denallix College Application>Student> Load and drag the First name into the body of the mail. When the value window appears drag the ApplicantID data field from the Context Browser into the Value field.
- Click OK.
- Configure the Decline e-mail step in the same way as the Approved e-mail.
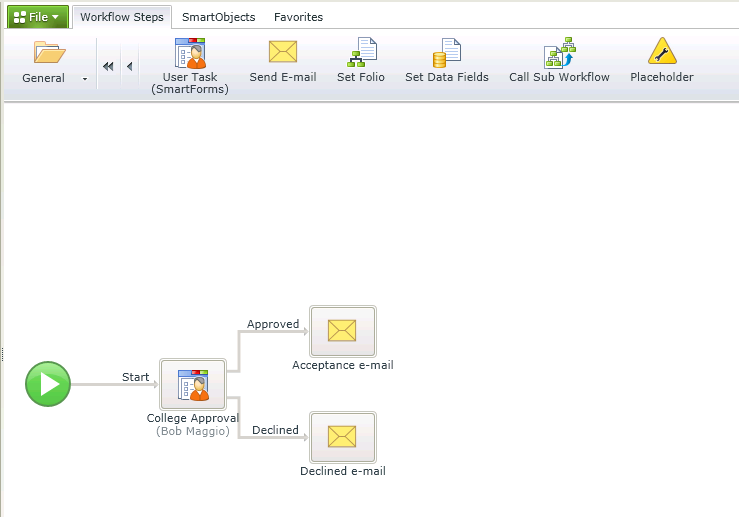
- Double click on the Send E-mail label under the Approved e-mail activity and change it to Acceptance e-mail.
- Double click on the Send E-mail1 label under the Declined e-mail activity and change it to Declined e-mail.
- Your workflow should resemble the following:
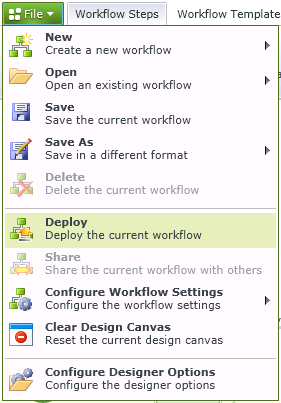
- Click File > Deploy.
- Once deployment has completed click Close


|

|
|---|