Excel
When interacting with a Microsoft Excel Workbook, Nintex RPA LE first creates an Excel Connection to the targeted workbook.
The connection is unique to the targeted Workbook, and ensures that each Excel Action created is tied to the appropriate Workbook. Nintex RPA LE assigns the next available connection letter. Each Excel Action added to your botflow A file that stores the actions and variables designed to automate tasks. is tied to one Excel Connection.
Excel Connections can be created automatically or manually.
Note: It is recommended to allow Nintex RPA LE to create Excel Connections automatically rather than manually.
Create an Excel Connection automatically
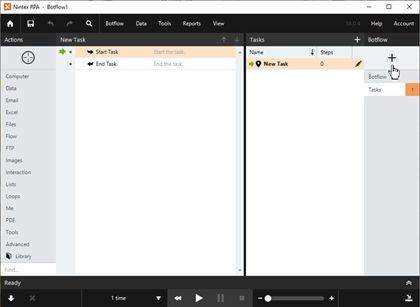
Nintex RPA LE automatically creates an Excel Connection to the targeted Workbook. After selecting an Action, Nintex RPA LE displays a new Excel item in the Botflow Pane.
Create an Excel Connection manually
To create an Excel Connection manually:
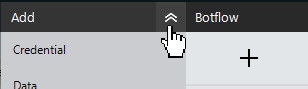
- Click Add Item on the Botflow Pane Used to manage a variety of project information such as credentials, variables, lists, and Excel connections..
- Click Excel.
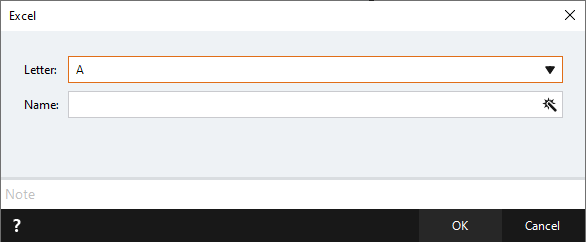
- Select a Connection Letter used to identify the Excel Connection.
- Enter a Name used to identify the Excel Connection.
- Optionally, enter a Note describing the Excel Connection action.
- Click OK to create the Excel Connection.
Note: If Excel does not display, click More to expand the list.
The Excel window displays.
Note: The following
rules must be followed when entering a workbook name:
The
file extension must be included
(such as .xlsx or .xls). Example: MyWorkbook.xlsx.
The
folder path must be excluded.
Incorrect: C:\MyFolder\MyWorkbook.xlsx.
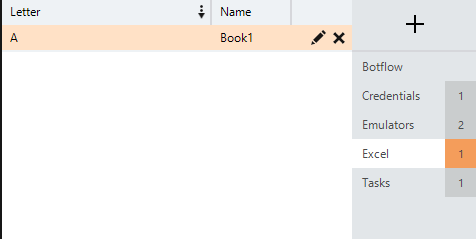
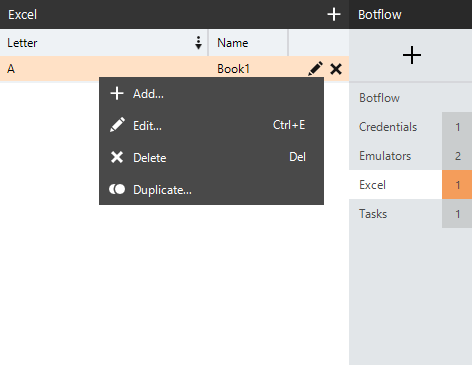
Manage Excel Connections
To manage Excel Connections:
- Navigate to the Excel Connection on the Botflow Pane.
- Right-click the Excel Connection.
- Use the Context Menu to add, edit, delete, and duplicate Excel Connections.
The Context Menu displays.
Use Excel Connections
When targeting Excel workbooks Nintex RPA LE checks for an established Excel Connection.
If there is no Excel Connection Nintex RPA LE creates one automatically.
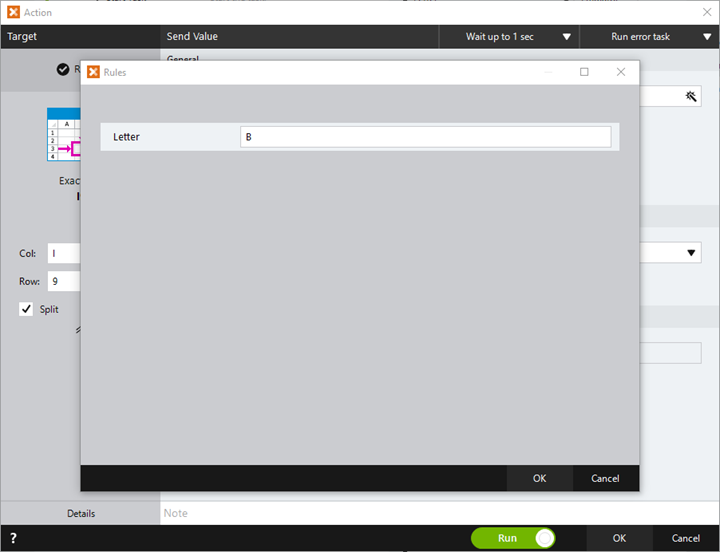
To change the default Connection Letter:
- Right-click the action in the Action Builder.
- Click Edit in the Context Menu.
- Click Rules in the Action window.
- Enter the required letter in the Rules window.
- Click OK to save.
The Rules window displays.
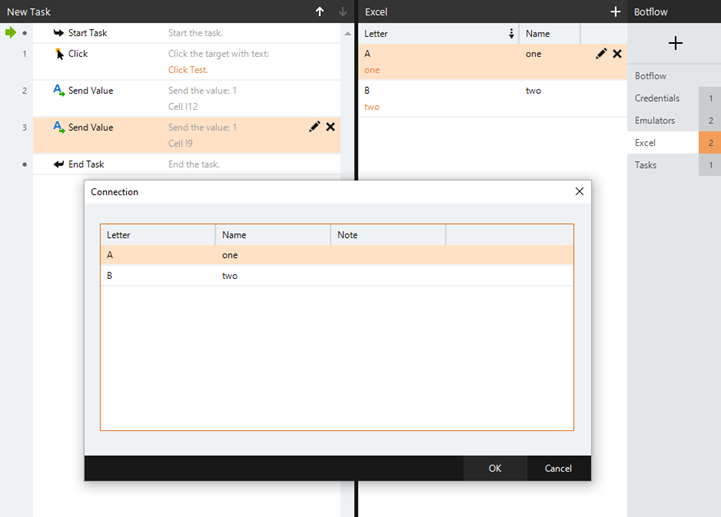
Change an Action's Excel Connection
Excel Actions are associated with a specific Excel Connection letter so that Nintex RPA LE knows which workbook to modify when the Action A feature that supplies the instructions in a botflow. is run.
To change the Excel Connection Letter:
- Right-click the action in the Action Builder.
- Mouse-over Quick Edit in the Context Menu.
- Click Excel Connections in the fly-out menu.
- Select the required Connection Letter from the list.
- Click OK to save.
The Connection window displays.
Excel window field descriptions
| Field or button | Description |
|---|---|
| Letter | Select a Connection Letter used to identify the Excel connection. |
| Name | Enter or define a name to identify the Excel connection. |